Vacuum Pressing Veneer
For most veneer applications, the problem is how to apply
pressure evenly across the entire surface of a substrate.
Applying veneer to a substrate is, in effect, making plywood.
Applying pressure evenly across the entire face of the substrate is a
completely different problem than, say, applying pressure to boards
being edge glued together. It is possible to use clamps for
smaller pieces, but as the size of the substrate gets larger, clamps
quickly become a huge disadvantage. They simply to not have the
reach to get pressure near the center of the substrate.
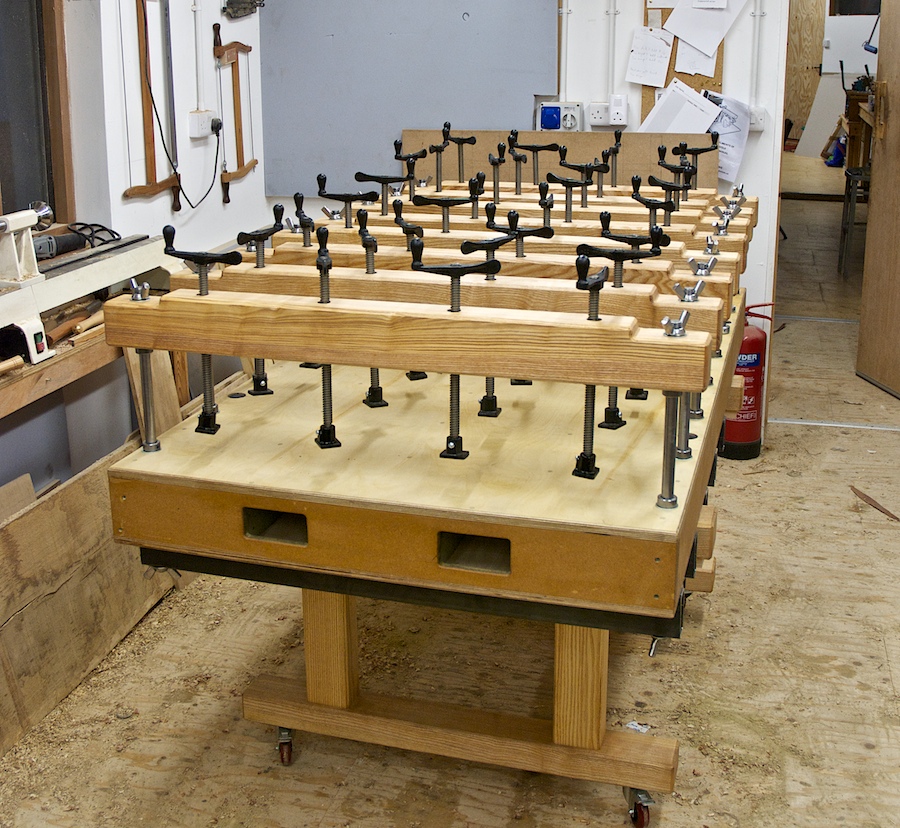
Prior
to the invention of the vacuum press this problem was solved by
building elaborate screw presses. Many woodworkers around the
world still
employ such a press in spite of their limitations. The biggest
limitation, in my opinion, is the rather obvious problem that to press
larger panels, the screw press must be built on a massive
scale. The size of the timbers and the number of screws required
increase as the press is built larger to accomodate larger
panels. Unless you have a huge workshop, storing the press when
not in use is also problematic.
I learned how to work with veneer during a week long class at the
Marc
Adams School of Woodworking taught by Daryl Keil. Daryl if the
founder of
VacuPress.com
and he invented the vacuum press system that was used at the school and
is also sold by his company. In the years since, I've noticed
that many other vacuum pressing resources have become available on the
Internet offering competing vacuum pressing systems. The
Joe Woodworker
web site is an excellent resource for anyone interested in working with
veneer, and they also offer plans and parts if you would like to build
your own.
Vacuum
bags are available in many sizes in either vinyl or industrial
poly. Industrial poly bags are more expensive than vinyl and are
a better choice if you are going to be doing a lot of pressing.
As you can see in this picture, my bag is a roll that I unroll to
expose as much of the bag as I need for a given job. When not in
use, I store the bag in a corner of my shop in the cardboard box it was
shipped in years ago. The great thing about vacuum presses is
that they easily break down and can be stored out of the way until
needed.
A key component of the system is a "platen" you custom make to fit both
the bag and the job your pressing. Melamine is a great material
to make platens from because glue will not stick to the melamine
coating. You can see a cross hatch pattern of kerfs in the
melamine that allows the air to be drawn out of the bag thru the kerfs
into the vacuum pump (which is not shown in this picture.) A hose
from the vacuum pump connects thru the platen via a nipple on the
bottom of the bag.
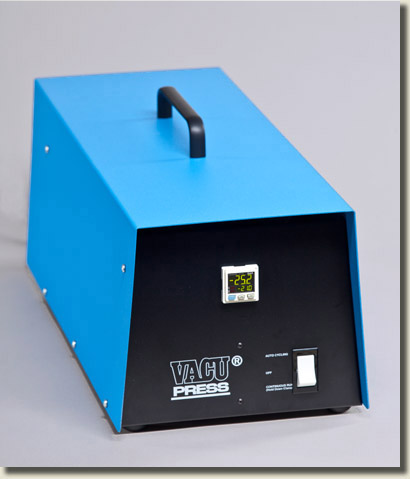
The vacuum pump connects to the vacuum bag via a stout hose. This
model is very similar to the one I own and has a continuous and
automatic mode of operation. As the pump draws a vacuum, two
things happen inside the bag:
- Atmospheric pressure bears down on the work inside the bag with perfect uniformity at about 2000 pounds per square foot.
- Air is drawn out of the cells in the surface structure of the wood, glue is sucked into these cells.
The result is very even and strong pressure applied to the substrate
and veneer with the glue tending to penetrate deeply into the cells of
the veneer and substrate.
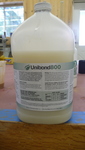
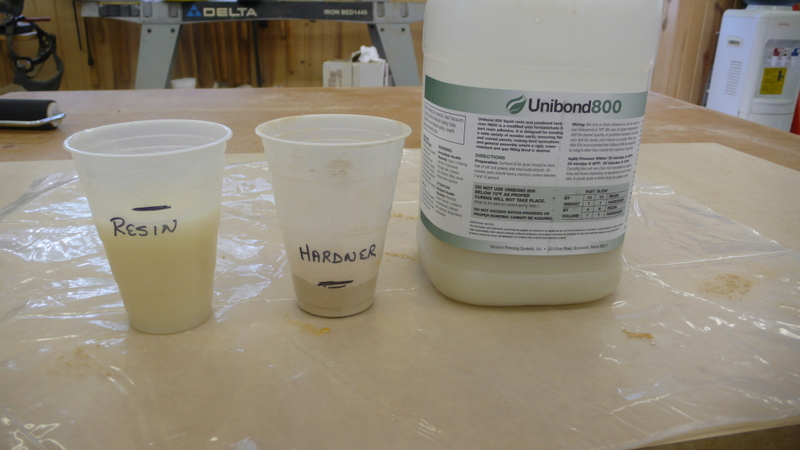
I
have found that the best glue (by far) for pressing veneer is Urea
Formaldehyde. The specific product I use is called Unibond 800
and is available on the Internet. This glue is excellent not only
for veneer and marquetry work, but also for gluing bent
laminations. It has a long opentime, forms a rigid glue line, and
cures quicker with heat. It is a two-part glue consisting of a
liquid resin and a powder hardner that you mix just before use.
Once mixed, depending on the ratio used and the ambient temp, you have
at least a 1/2 hour open time, often longer. To speed up the
curing process, after the vacuum is applied I cover the work with a
heating blanket.
The worse glue to use for veneer is contact adhesive! I'm amazed
how many times I've seen "experts" on woodworking TV shows teaching
that contact adhesive is appropriate for veneer work. It is not,
and is almost always a very poor choice. Contact adhesive was
formulated to work with plastic laminates, not veneer. It is
prone to form bubbles on the surface, will soften in the presense of
heat and alcohol, and some finishing solvents can penetrate the thin
veneer and weaken the adhesive bond. Furthermore, it is
impossible to reposition the work after making contact with the glue,
and worse of all, it only forms a surface bond and does not penetrate
the wood fibers.
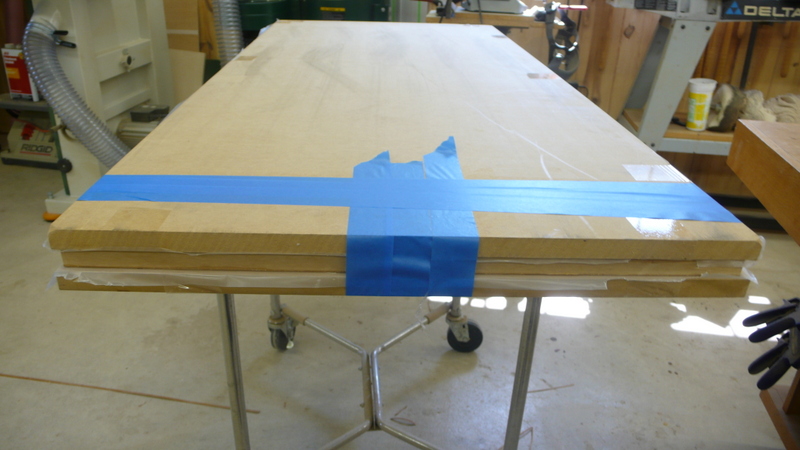
|
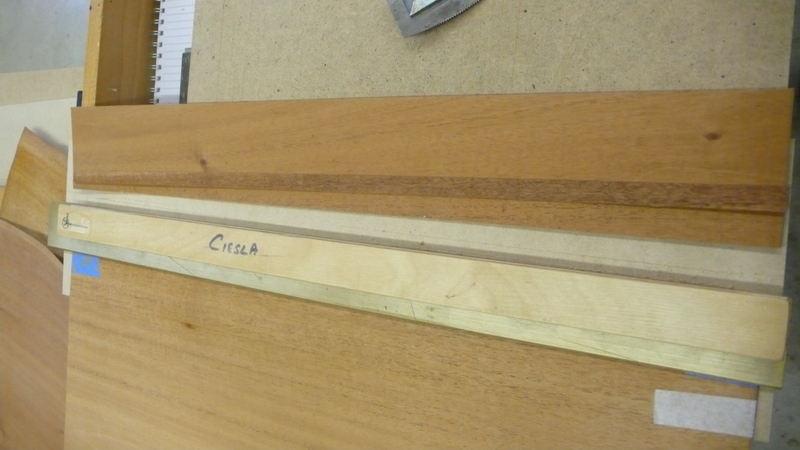
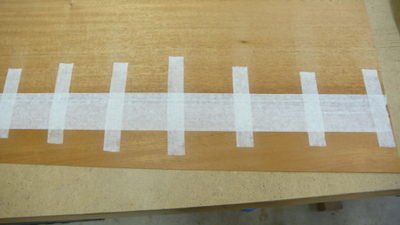
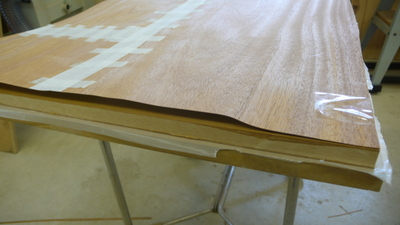
The taped side of the veneer is the "show" side.
|
|
The side without veneer tape is the glue side. I only
point out this obvious difference because, even though I do this a lot,
I have screwed this up!
|
|
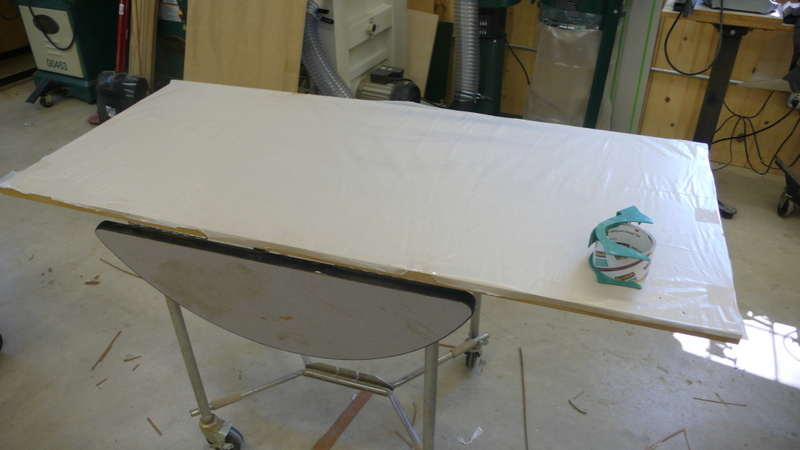
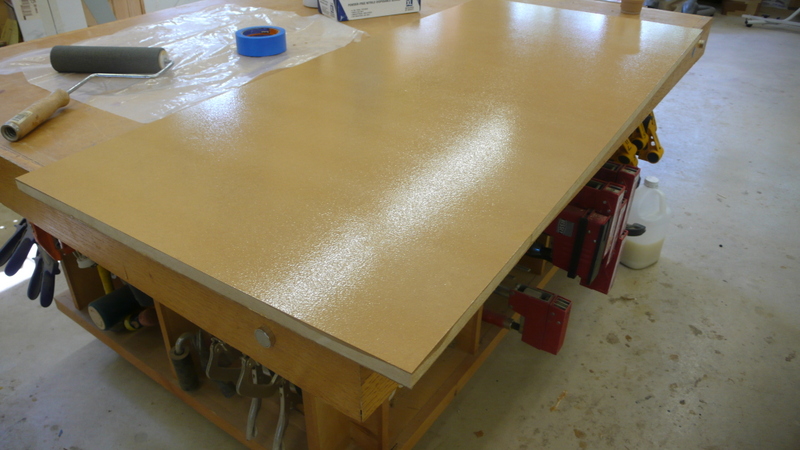
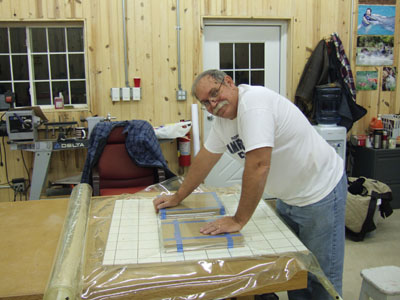
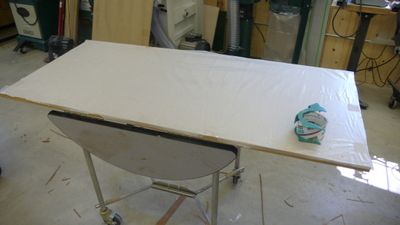
I make two cauls, one for each side because I'm gluing both
sides at the same time. Because these are very large cauls and a
large panel being glued up, I covered each caul with plastic
film. Taping the film to the MDF before the glueup procedure
makes life a lot easier!
|

|
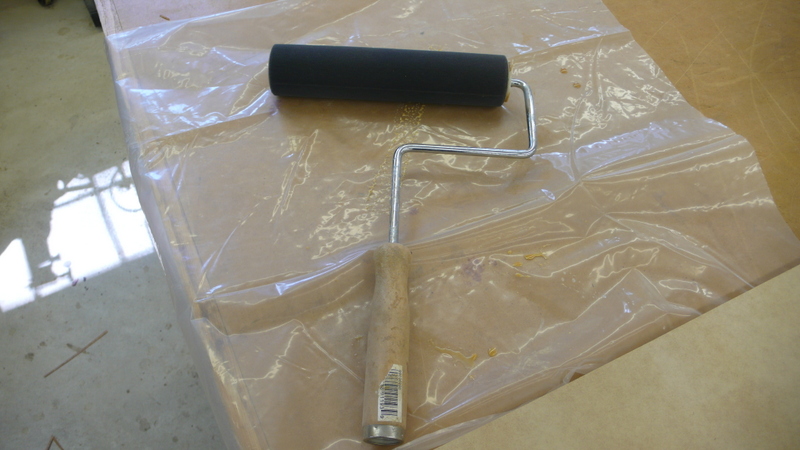
Since this is is going to be a rather large panel, I use a
full size foam roller that will make it easy to place an even coat of
glue on the panel.
|

|
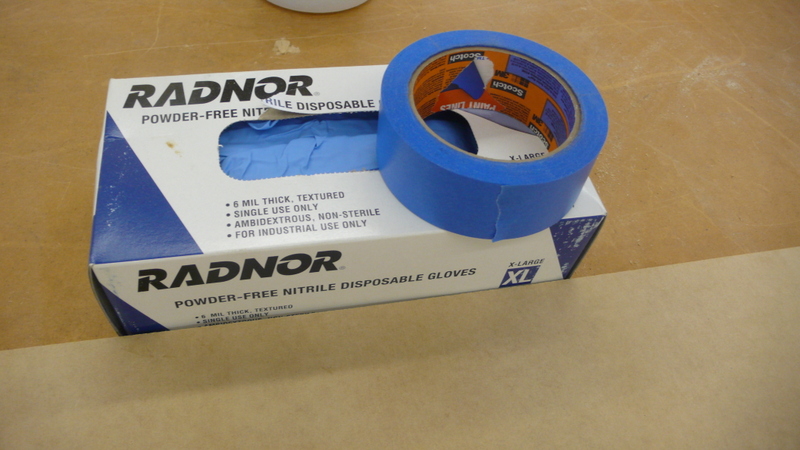
Urea Formaldehyde glue is not something you want to get on
your hands, so gloves are an absolute must. You'll see the what I
do with the blue tape in a bit.
|

|
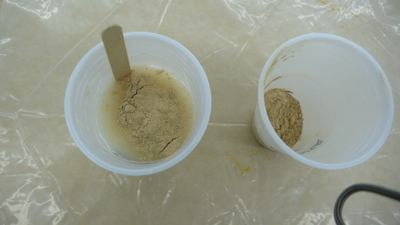
I make a mark on two cup to show roughly a four to one ratio of resin to hardner.
|
|
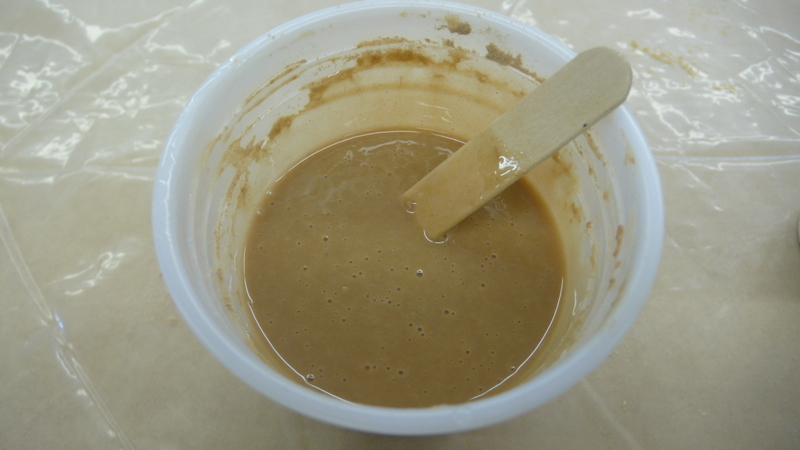
I pour a small amount of hardner into the resin and begin
mixing. The idea is to mix the hardner in a little at a time so
you don't end up with a lumpy mess.
|

|
Mixed and ready to go.
|


|
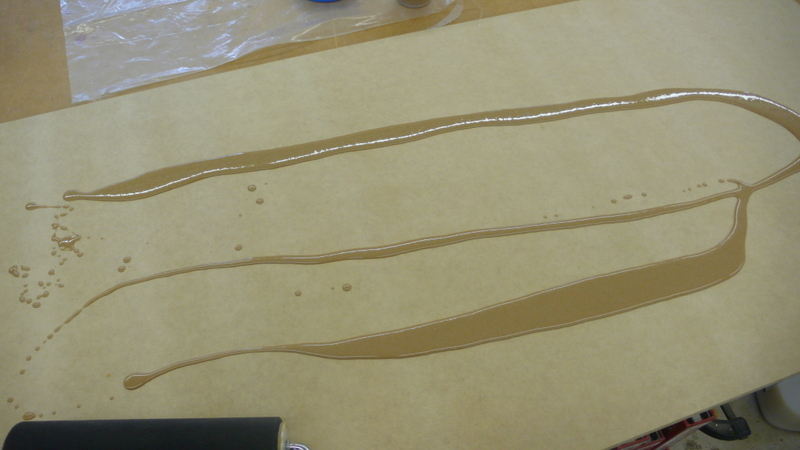
I pour some of the glue and spread it around with the
roller. The result should be a thin and very even coat as shown
in the bottom photo.
|
|
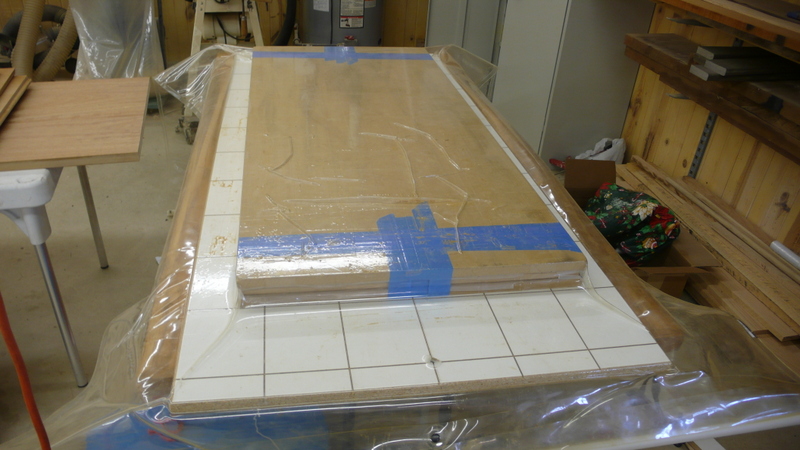
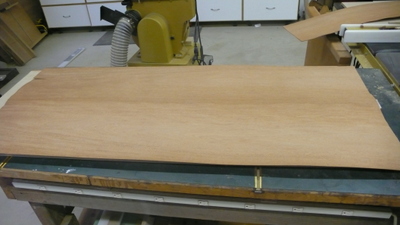
Glue has been applied to both faces of the substrate, the
bottom and top veneer are in place, and the "sandwich" is placed on one
of the pre-prepared cauls. I use packing tape to secure both
veneers to prevent movement as the press starts to apply pressure.
|

|
I secure the top and bottom cauls together using blue
tape. I try to make the package as secure as possible so nothing
moves during the pressing process.
|
|
The package is heavy so I move it around the shop on a
wheeled cart that height is perfect to allow me to slide it into the
press.
|

|
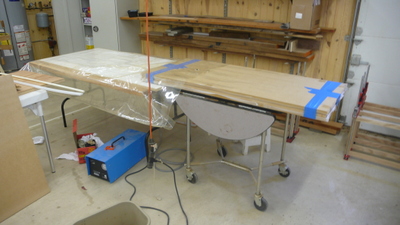
The bag has been sealed, the pump turned on, and a vacuum drawn. The Urea
Formaldehyde glue is a slow setting glue so I'll leave it in the press
all night. Before I leave I'll cover the panel with a heating
blanket.
|
 Prior
to the invention of the vacuum press this problem was solved by
building elaborate screw presses. Many woodworkers around the
world still
employ such a press in spite of their limitations. The biggest
limitation, in my opinion, is the rather obvious problem that to press
larger panels, the screw press must be built on a massive
scale. The size of the timbers and the number of screws required
increase as the press is built larger to accomodate larger
panels. Unless you have a huge workshop, storing the press when
not in use is also problematic.
Prior
to the invention of the vacuum press this problem was solved by
building elaborate screw presses. Many woodworkers around the
world still
employ such a press in spite of their limitations. The biggest
limitation, in my opinion, is the rather obvious problem that to press
larger panels, the screw press must be built on a massive
scale. The size of the timbers and the number of screws required
increase as the press is built larger to accomodate larger
panels. Unless you have a huge workshop, storing the press when
not in use is also problematic. I
have found that the best glue (by far) for pressing veneer is Urea
Formaldehyde. The specific product I use is called Unibond 800
and is available on the Internet. This glue is excellent not only
for veneer and marquetry work, but also for gluing bent
laminations. It has a long opentime, forms a rigid glue line, and
cures quicker with heat. It is a two-part glue consisting of a
liquid resin and a powder hardner that you mix just before use.
Once mixed, depending on the ratio used and the ambient temp, you have
at least a 1/2 hour open time, often longer. To speed up the
curing process, after the vacuum is applied I cover the work with a
heating blanket.
I
have found that the best glue (by far) for pressing veneer is Urea
Formaldehyde. The specific product I use is called Unibond 800
and is available on the Internet. This glue is excellent not only
for veneer and marquetry work, but also for gluing bent
laminations. It has a long opentime, forms a rigid glue line, and
cures quicker with heat. It is a two-part glue consisting of a
liquid resin and a powder hardner that you mix just before use.
Once mixed, depending on the ratio used and the ambient temp, you have
at least a 1/2 hour open time, often longer. To speed up the
curing process, after the vacuum is applied I cover the work with a
heating blanket.