|
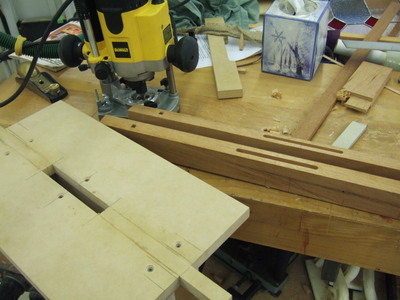
This simple router jig allows me to precisely cut the mortises for the ebony inlay. |
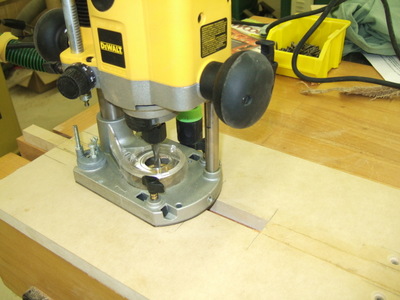 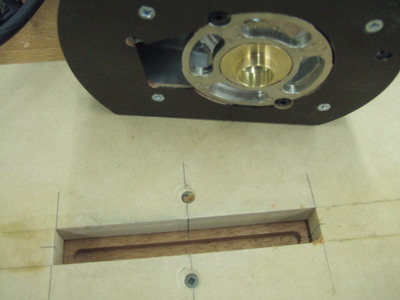 |
A 3/4" guide bushing with a 5/16 carbide spiral bit yields the perfect mortise for the ebony splines. The jig
captures the guide bushing and limits travel. I cut the mortise a
little less than 5/16" which will result in a 5/16x5/16 ebony bar to
sit slightly proud of the surface. |
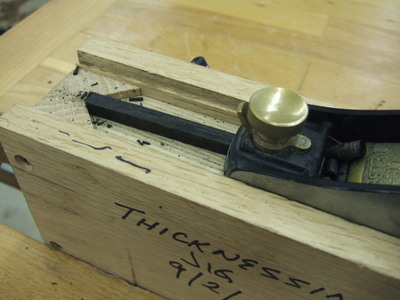 |
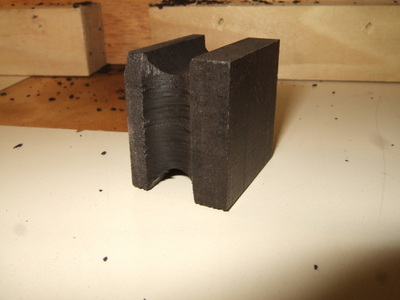
This is a thicknessing jig I
made specifically for my block plane. Using this jig I can
precisely plane small parts to a consistent thickness. I use this
jig in much the same way as you would use a thickness planer to create
a perfectly square piece of stock. |
|
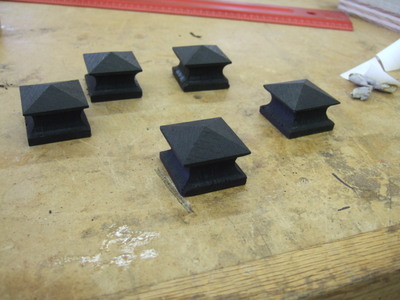
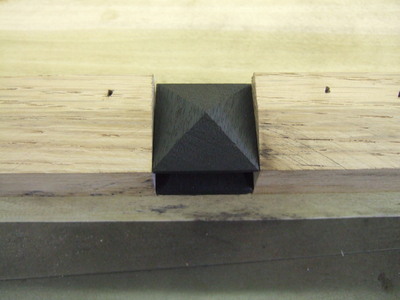
The ebony pulls start as blocks of ebony that undergo several steps to end up as the finished product you see here. |
|
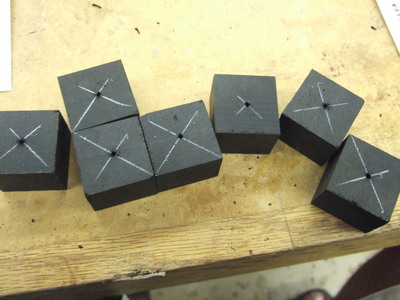
Find the center of each block and drill a small hole that will be enlarged later to 5/16 to house a dowel. |
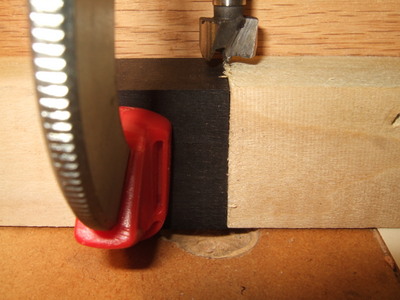 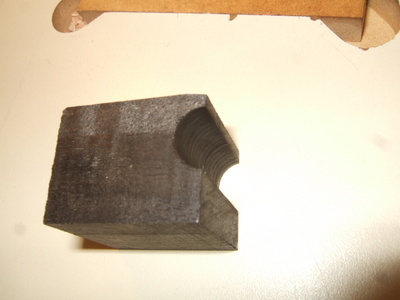  |
I
made a jig for the drill press to allow me to use a forstner bit to
drill holes in each of the four faces. The jig consists of long
pieces of wood cut to the same height and thickness of the ebony
blocks. Note that each block is tightly inserted into the jig
allowing me to drill thru the ebony and jig at the same time with half
the hole in the ebony and half in the jig. The block is removed
from the jig, rotated 90 degrees, and the next hole drilled. |
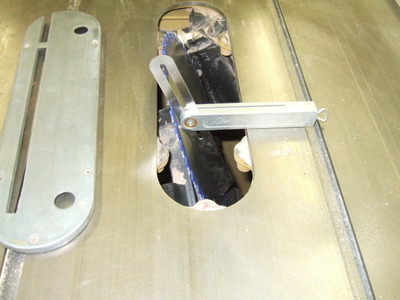 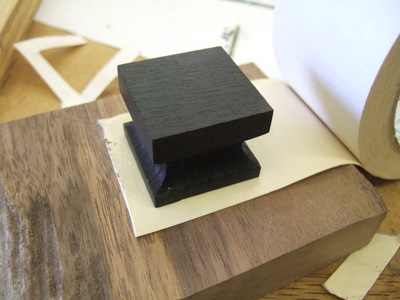  |
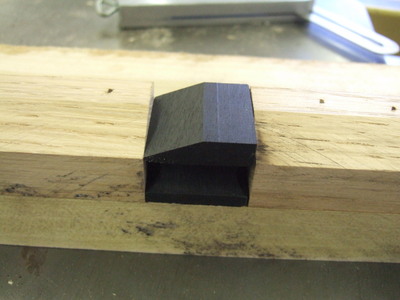
Here
I set my table saw for the angle I want for the pyramid shape I want to
form on the top of each pull. I'm using double-stick tape to help
to hold the pull in the table saw cutting jig. |
 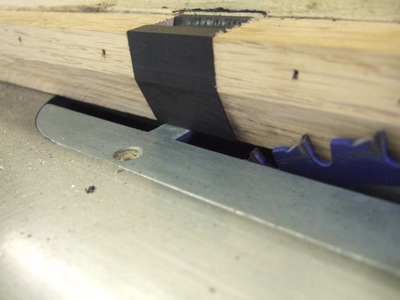   |
The
pyramid is cut on the table saw with the jig you see here. As
with the drill press jig, this jig is designed to hold each block as it
is passed thru the saw blade. I made the jig so the ebony jig is
a very tight fit and added the double stick tape as a bit of insurance. With the saw blade height set such that the saw cuts thru the precise center of the block, I pass the jig thru the saw creating the first facet of the pyramid. After cutting the first facet, the block is removed and rotated in the jig 90 degrees. I used a fresh piece of double sided tape each time I rotated the block. After four rotations and four passes thru the saw blade the pyramid emerges. |
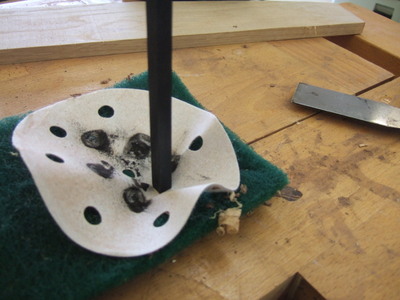 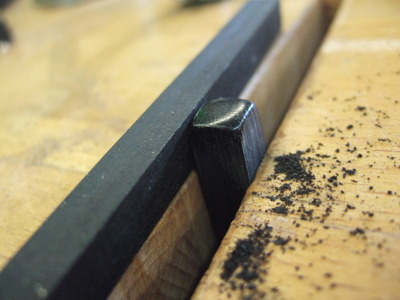 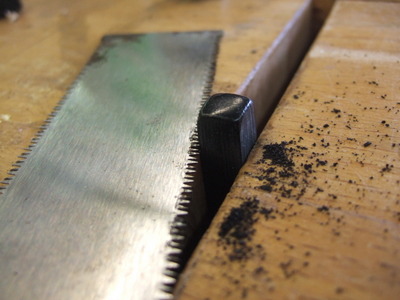 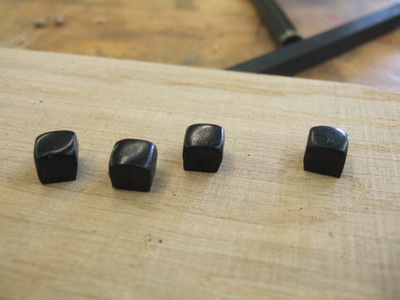 |
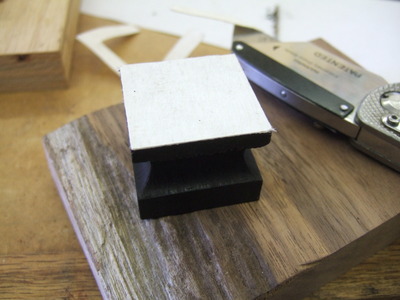
This sequence of photos
illustrates the way I made the pillowed ebony plugs. First I use
the sizing jig I showed earlier to make a perfectly square ebony
rod. I size the rod to precisely fit the square mortise that will
house the plug. I chucked the rod in a drill and used some sandpaper sitting on top of some pads to sand the top to create the pillowing effect. I used a buffing wheel to polish the top of the plug before I cut the plug from the rod. I carefully used a sharp chisel to slightly taper each plug to make it easier to fit into the mortise. The idea is to use a small amount of glue and gently tap the plug leaving the top of the plut just proud of the surface. |
 |
These square hole punches from Lee Valley cut the perfect hole for the plugs. |