 |
The back rest and rockers of
this rocking chair are curved. My preference for making curved
pieces like this is to use the bentwood lamination technique.
With bentwood lamination, you cut as many thin pieces as you need to
make up the final thickness and glue them in a form that will force the
pieces into the curve you desire. There are several ways to make
forms and my preference is to make them out of MDF which is cheap and
easy to work with. The only drawback to MDF is that it generates
a lot of very fine dust. |
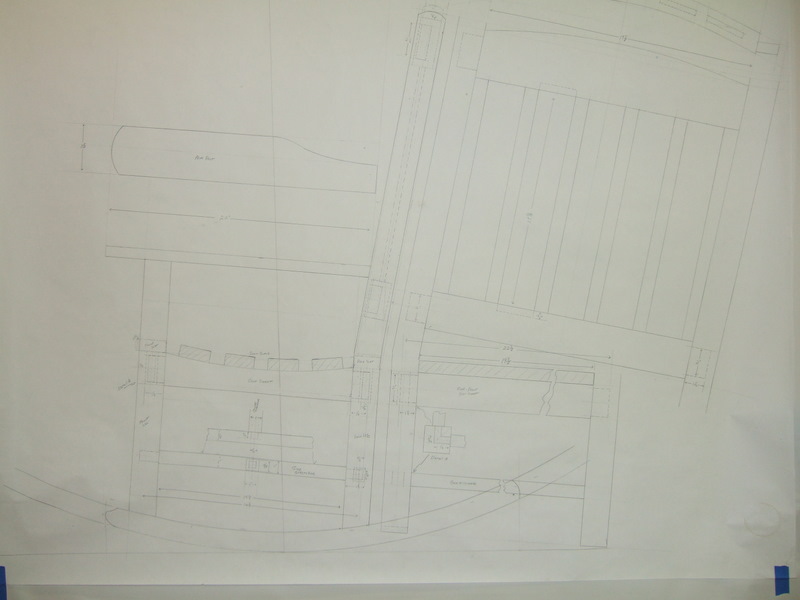 |
The construction process starts
with a full size drawing of the chair. The drawing must
accurately reflect the exact shape of any curved pieces because I make
my master templates directly from the drawing as shown below. |
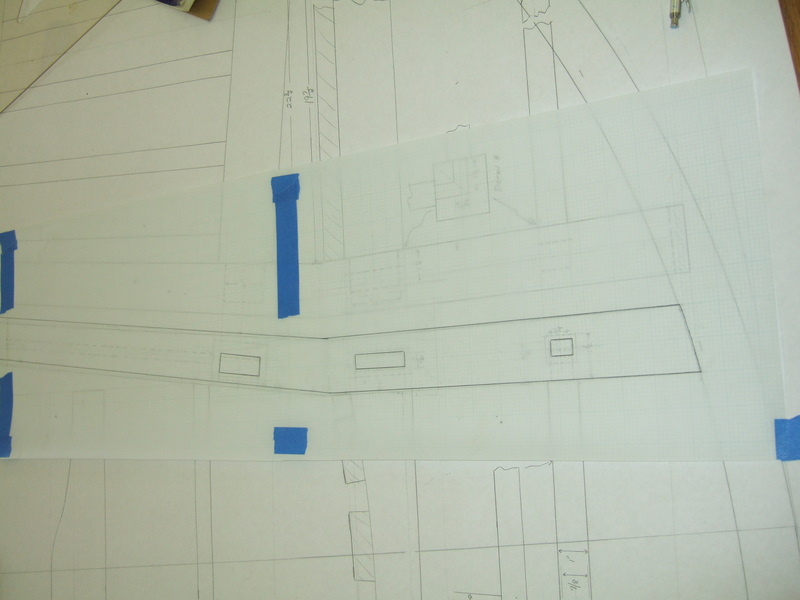 |
To
make my master templates I place transparent paper directly on the
drawing then trace the shape. In this photo I'm tracking the back
leg and including the precise locations of the mortises. I will
remove this tracing from the drawing and cut it to a size that can be
glued on a piece of MDF. After the glue dries and the tracing is
firmly affixed to the MDF, I can use my bandsaw and stationary sanding
machines to form the master template. |
 |
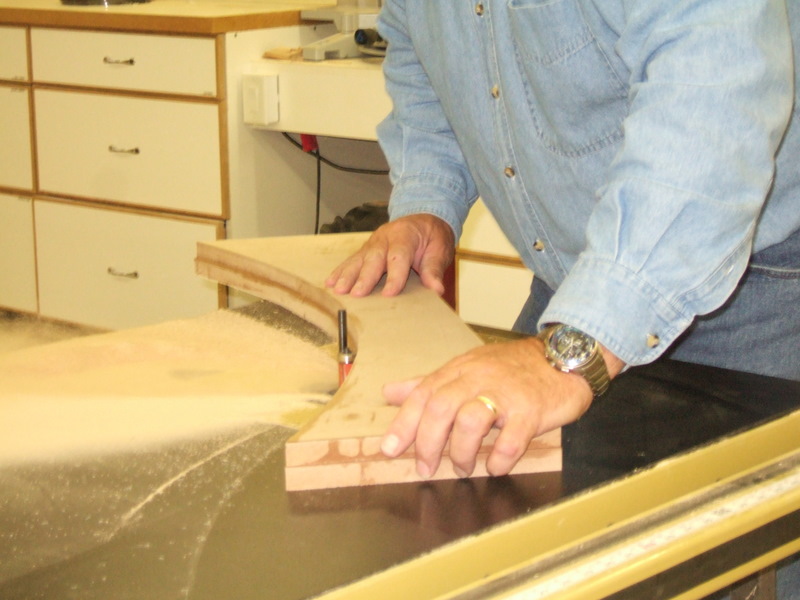
To
make a form to laminate a curve, I make two master templates for the
inside and outside of the curve. Here is a picture of one of the
master templates for the rocker. On the right is the master for
the opposite side of the curve. Each of these must reflect the
thickness of the material that will be in the form. In other
words while both curves may look similar, they actually each represent
a segment from two circles whose radius differs by the thickness of
what is being formed. I use the master to draw the curve on another piece of MDF which I cut on the bandsaw but are careful to not cut close to the line, but actually cut away from it leaving material well outside the line. |
    |
In this sequence of photos you can see the process for building the form one piece at a time.
|
|
After these steps are repeated as many times as necessary to
achieve the thickness required, I completely cover the form with clear
packing tape. Glue will not stick to packing tape keeping the
material from becoming glued to the form and allowing the form to be
used over and over again. Also notice I attached two sets of
alignment sticks to both sides of the form to make it easier to keep
everything registered as the clamps are applied. To account for
any minor irregularies in the form, I also glue think cork to the
inside of the form. |
 |
Here are the laminations
ready for glue up for two complete chairs. All laminations are
white oak and have been resawn and thickness sanded to a uniform
thickness of 1/8 inch. It is very important to thickness sand
these laminations to assure a very consistent thickness so there will
be no voids during glueup. |
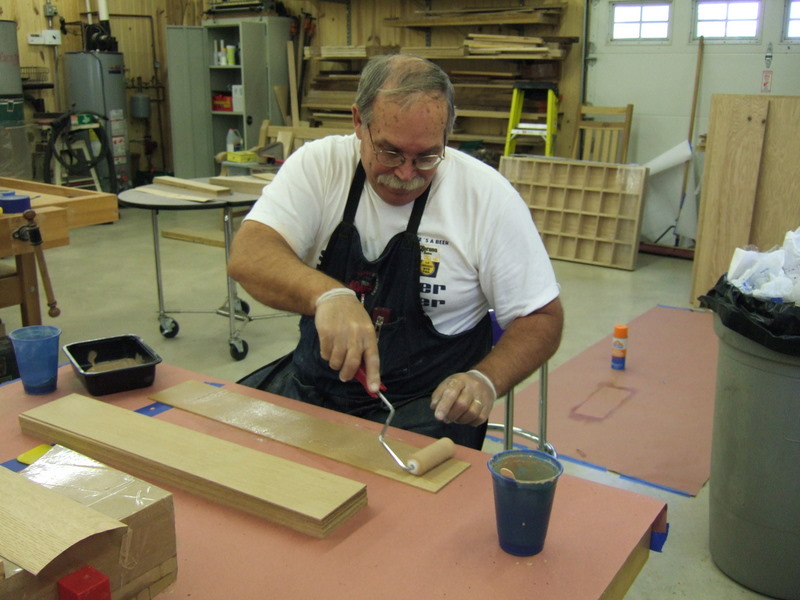 |
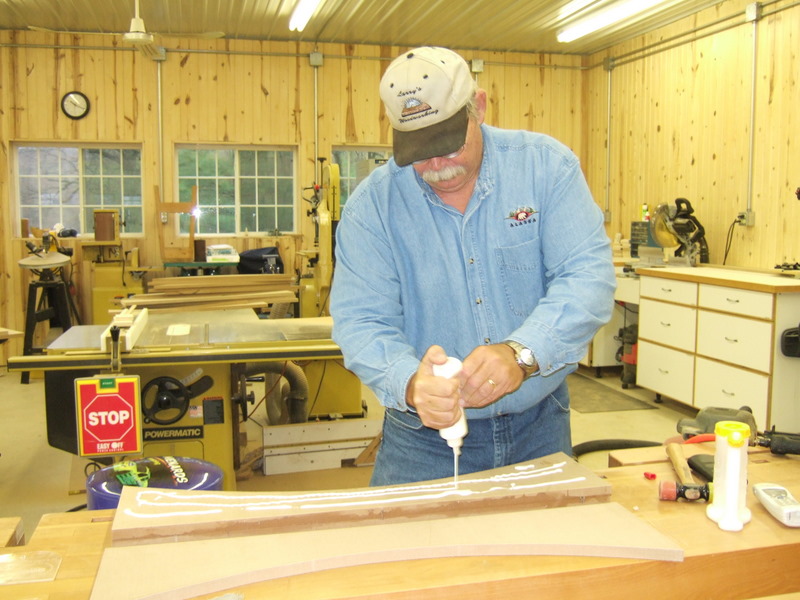
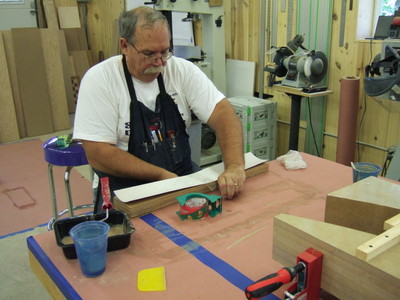
The glue used for bentwood lamination is absolutely
critical. I use a two part glue alled urea formeldhyde.
This is the same glue commonly used in the plywood industry, but
formulated to cure at room temperature. Unlike other glues, this
glue forms an absolutely rigid glue line resulting in virtually no
creep or spring back after the laminations are removed from the forms. I use a small paint roller to place an even coat of glue on all mating surfaces. To protect the two outside surfaces (e.g.: the outside faces of the resulting glue lam) I covered each surface with packing tape. This glue is very difficult to remove from anyplace you don't want it to be, so using tape to protect surfaces is essential. |
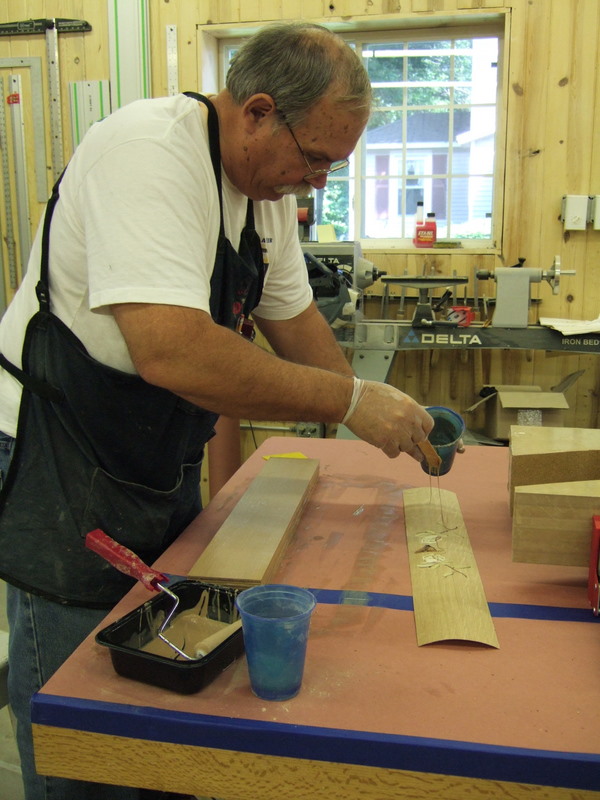 |
Here I'm apply a fairly generous amount of the glue to the
glue side of the sheet of veneer containing the marquetry image.
Since this veneer is only about 1/42 inch thick, you normally only
apply glue to the substrate when working with veneer. This is the
one exception to that rule because applying the glue over the marquetry
image ensures that any tiny spaces in the images will be filled with
glue causing the joints to virtually disappear. |
 |
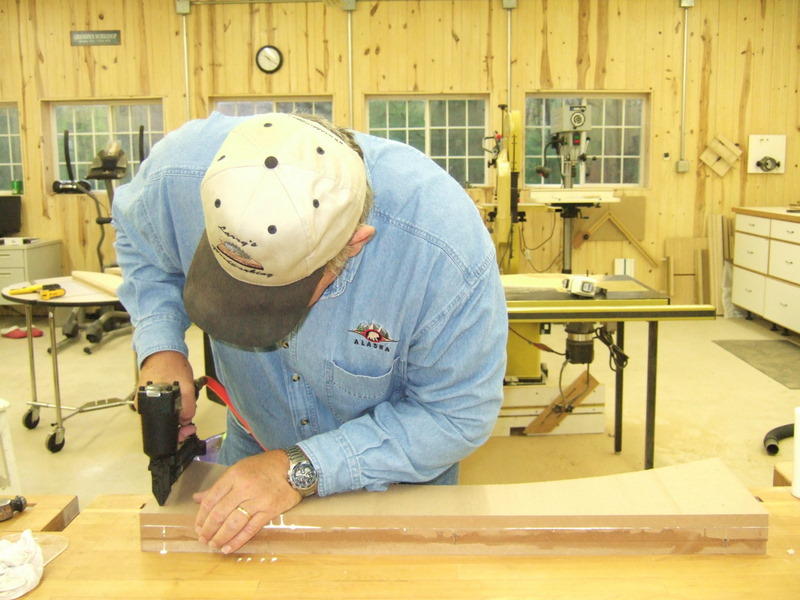
At this point all the surfaces have glue on them and I'm
preparing the stack to go into the form. To keep the stack from
moving as pressure is applied, I'm using packing tape to bind the
package of laminations together in the center. |
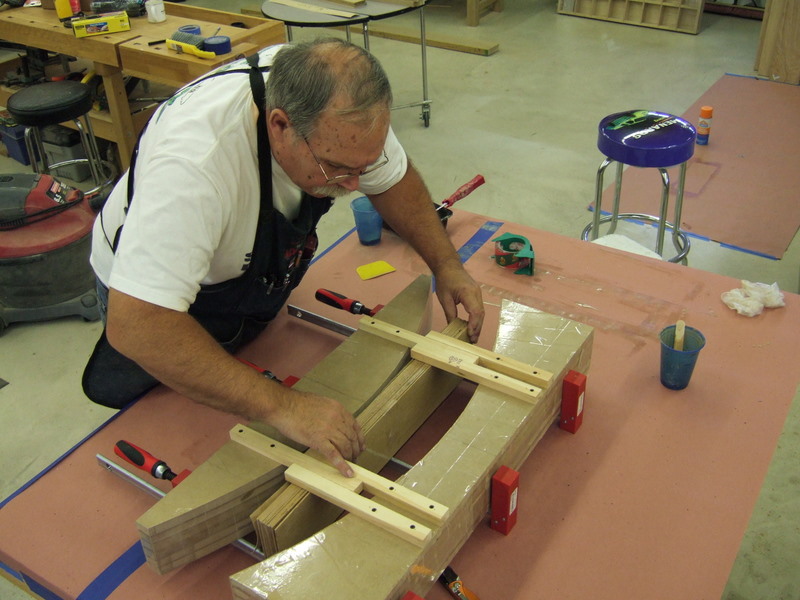 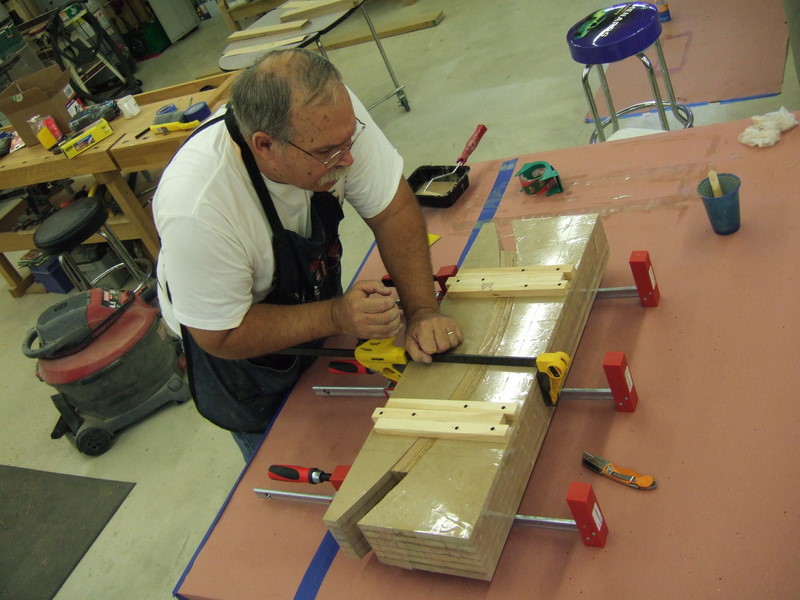 |
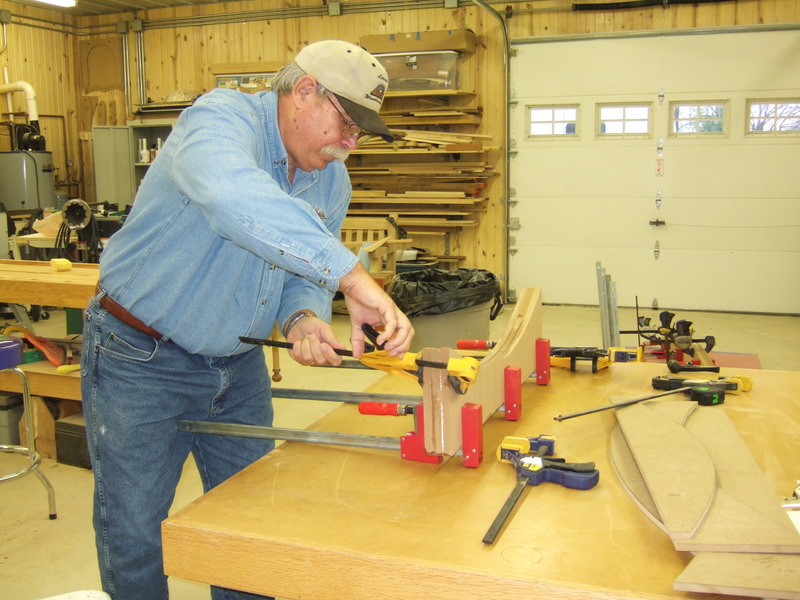
Here you can see the process of bringing the two halves of
the forms together. Notice the system I use to ensure both forms
remain in alignment as pressure is applied by the clamps. Also
notice that the clamps under the forms are ready to go to apply uniform
pressure as soon as I use the yellow clamp to bring the two halves
together. This picture also shows how everything is coverd with
packing tape to keep the glue from sticking where it does not belong. |
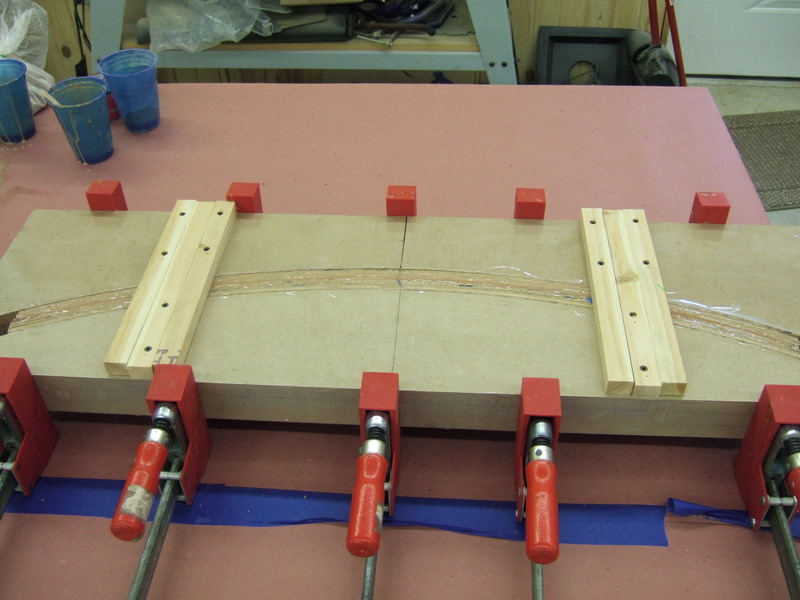 |
This is a picture of one of the rockers in clamps waiting for the glue to dry. I leave the assembly clamped overnight. |
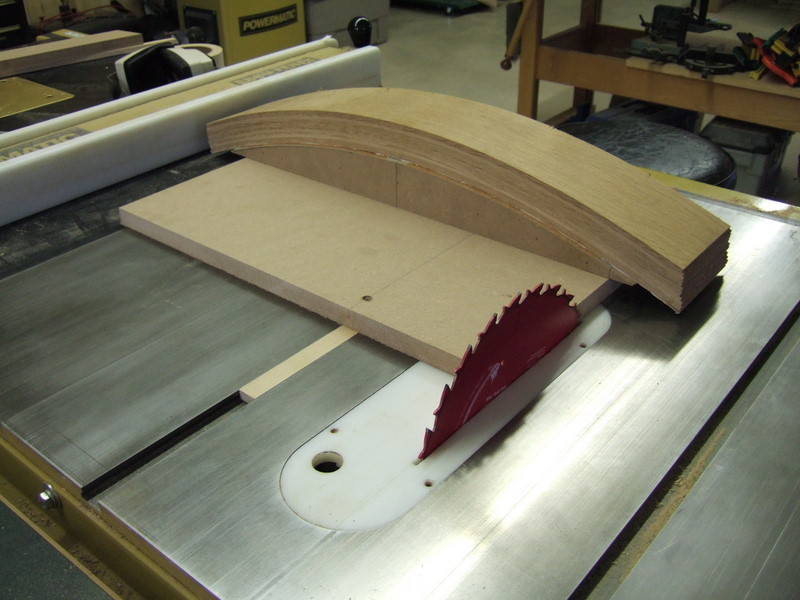 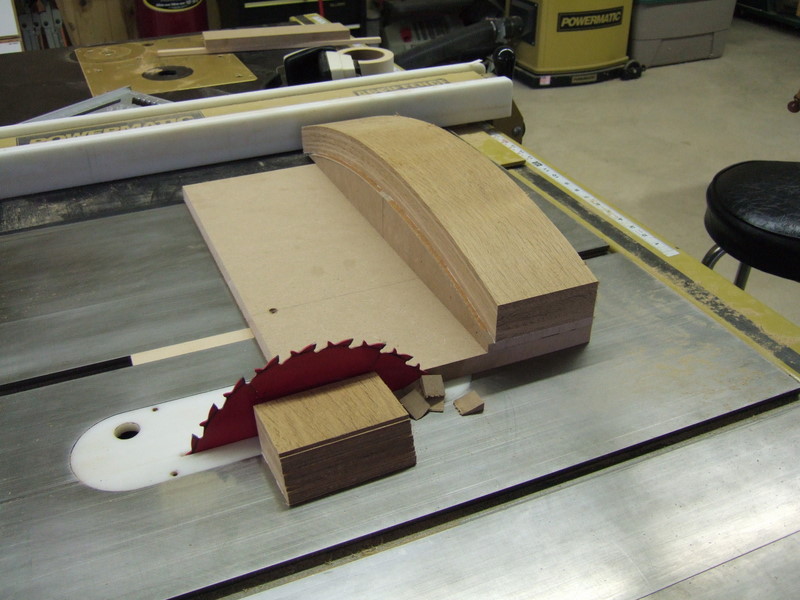  |
I made the back rests longer and used this jig on the table
saw to trim the ends to exact length and at a relative angle of 90
degrees. This sled took about 4 hours to build and the trimming
operation on the back rest pieces about 10 minutes to complete.
This really is the nature of chair making. You spend a lot of
time making forms, jigs and fixtures. The rule is that it will
usually take you a lot long to make these things that it will spend
using them. Of course, these can be reused later to make another
chair and the time you spend making the next chair is reduced by the
time it took you to make the jigs and fixtures. The only trick to
this is to keep careful notes on what each jig and fixture is
for. You may not get around to using it again for years and it is
very easy to forget over that much time. |
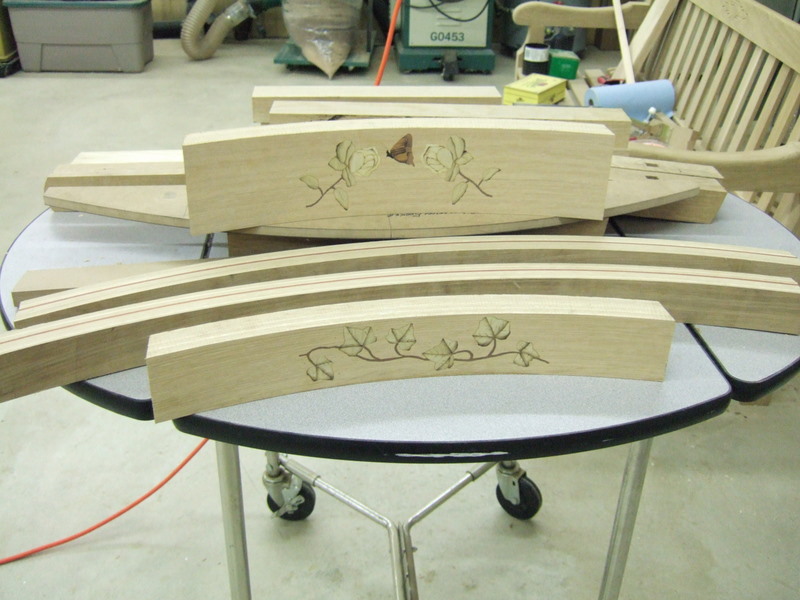 |
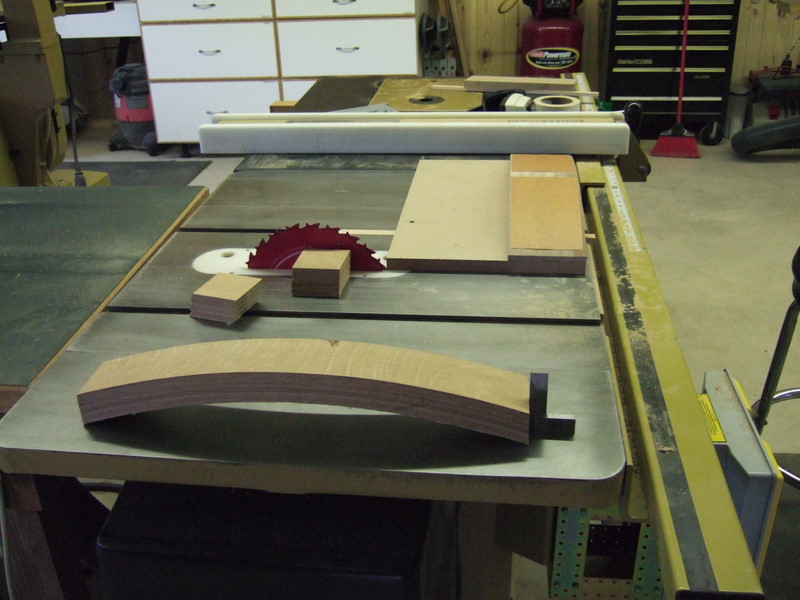
Here is a set of laminations for one chair after all the trimming and cleanup was done. |