  |
Joinerery was mostly traditional pegged mortise and tenon
joints with the exception of attaching the curved back rest to the back
legs. While it was certainly possible to used mortise and tenon
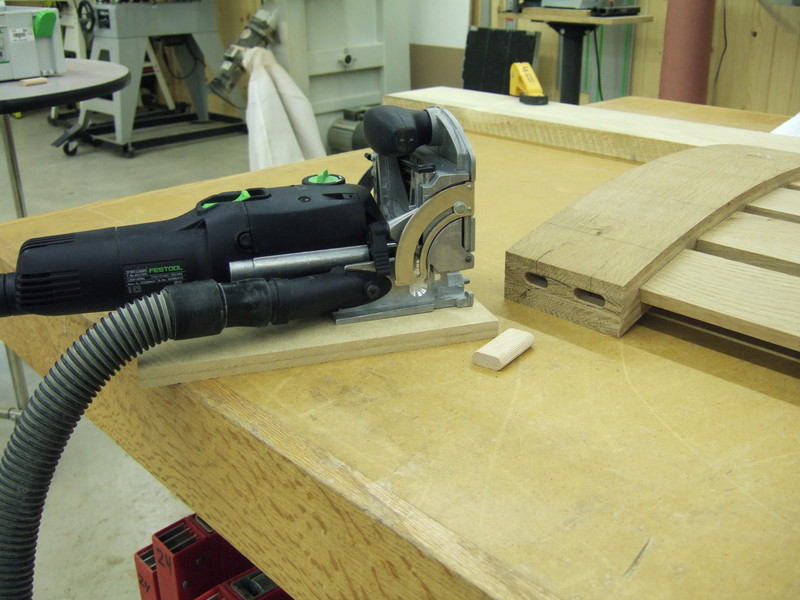
joinery for this, I choose instead to use my Domino machine using the
largests tenons the machine would accomodate. The Domino machine
is a marvel of engineering from Festool and for certain applications,
it works amazingly well. |
 |
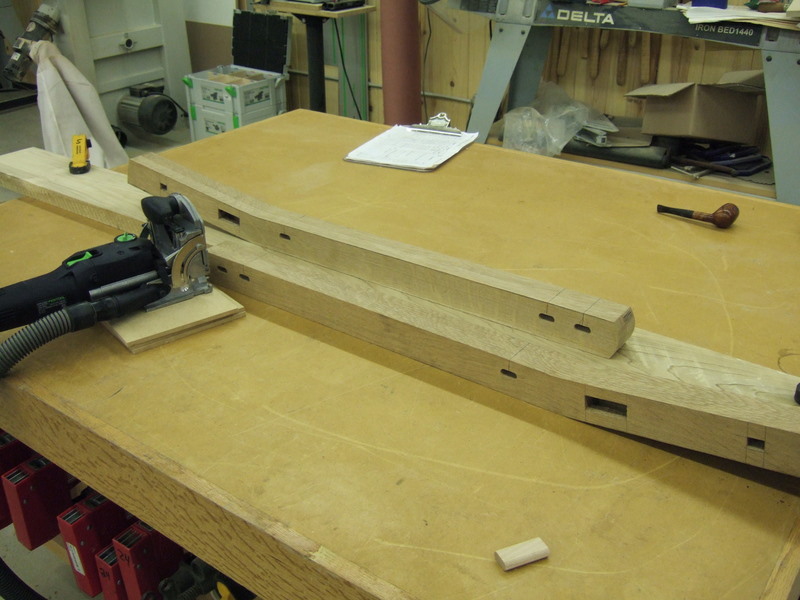
I also used the Domino machine to join the back splats to the top and bottom back rests. |
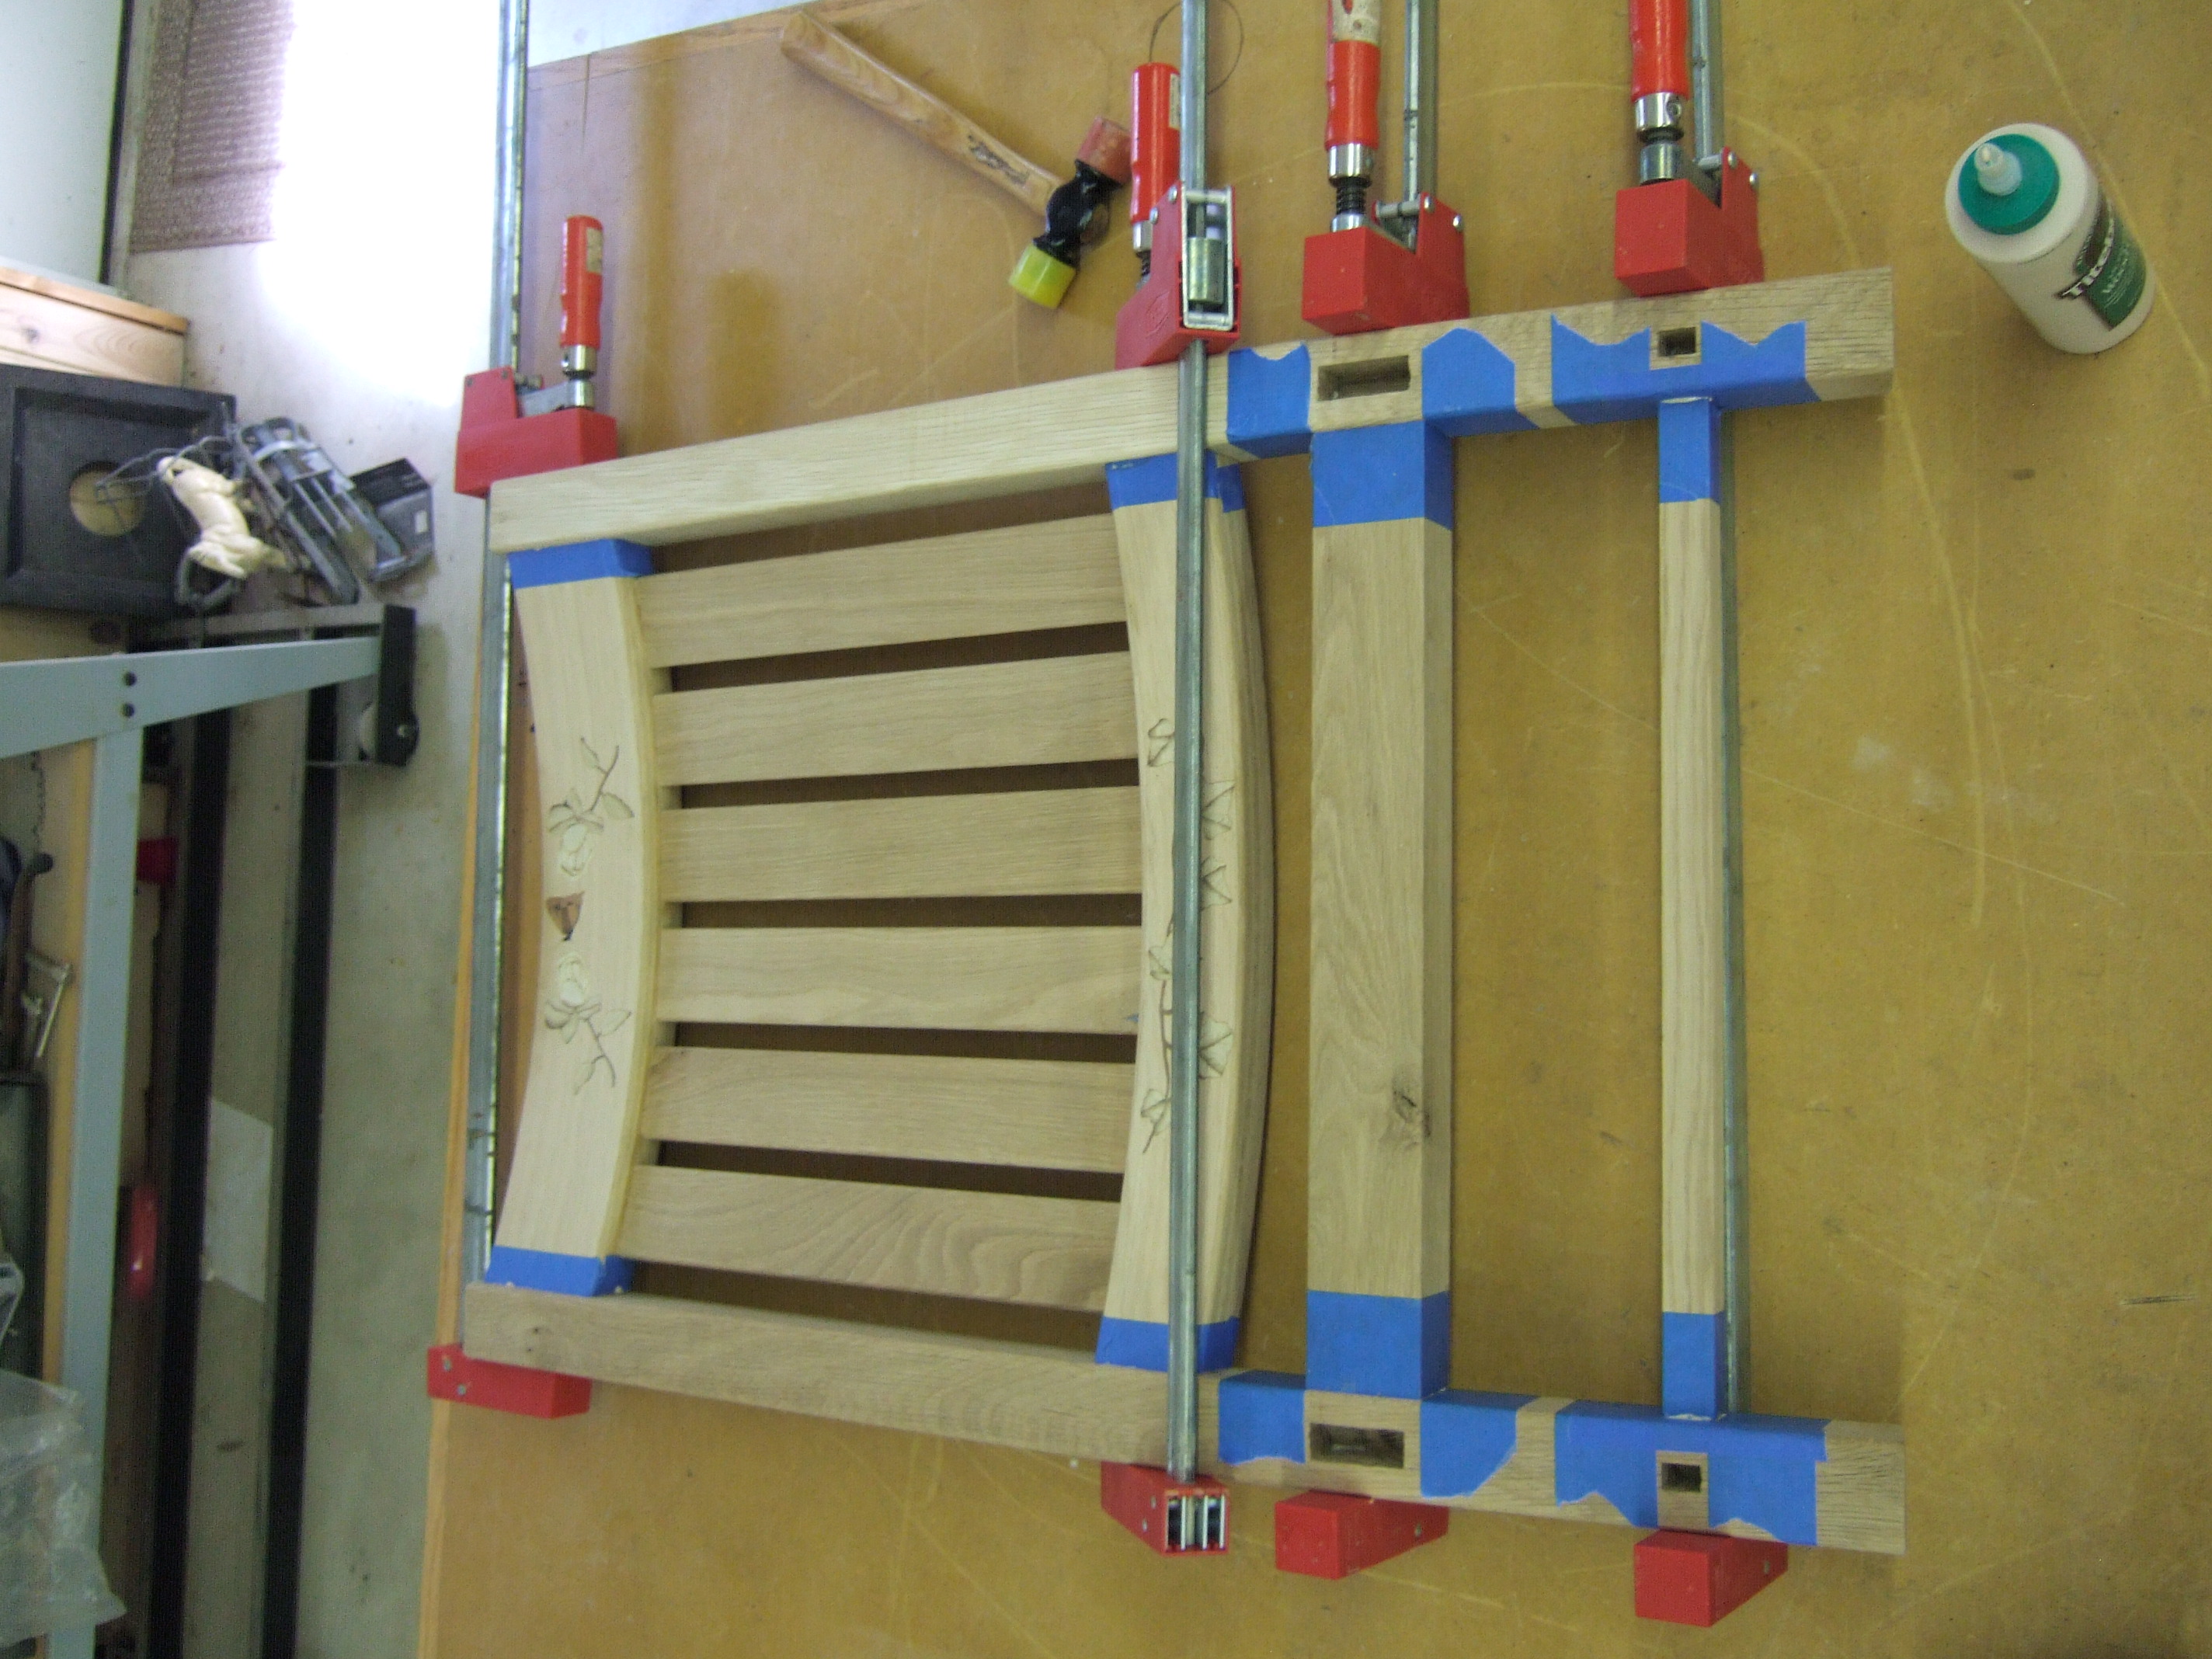 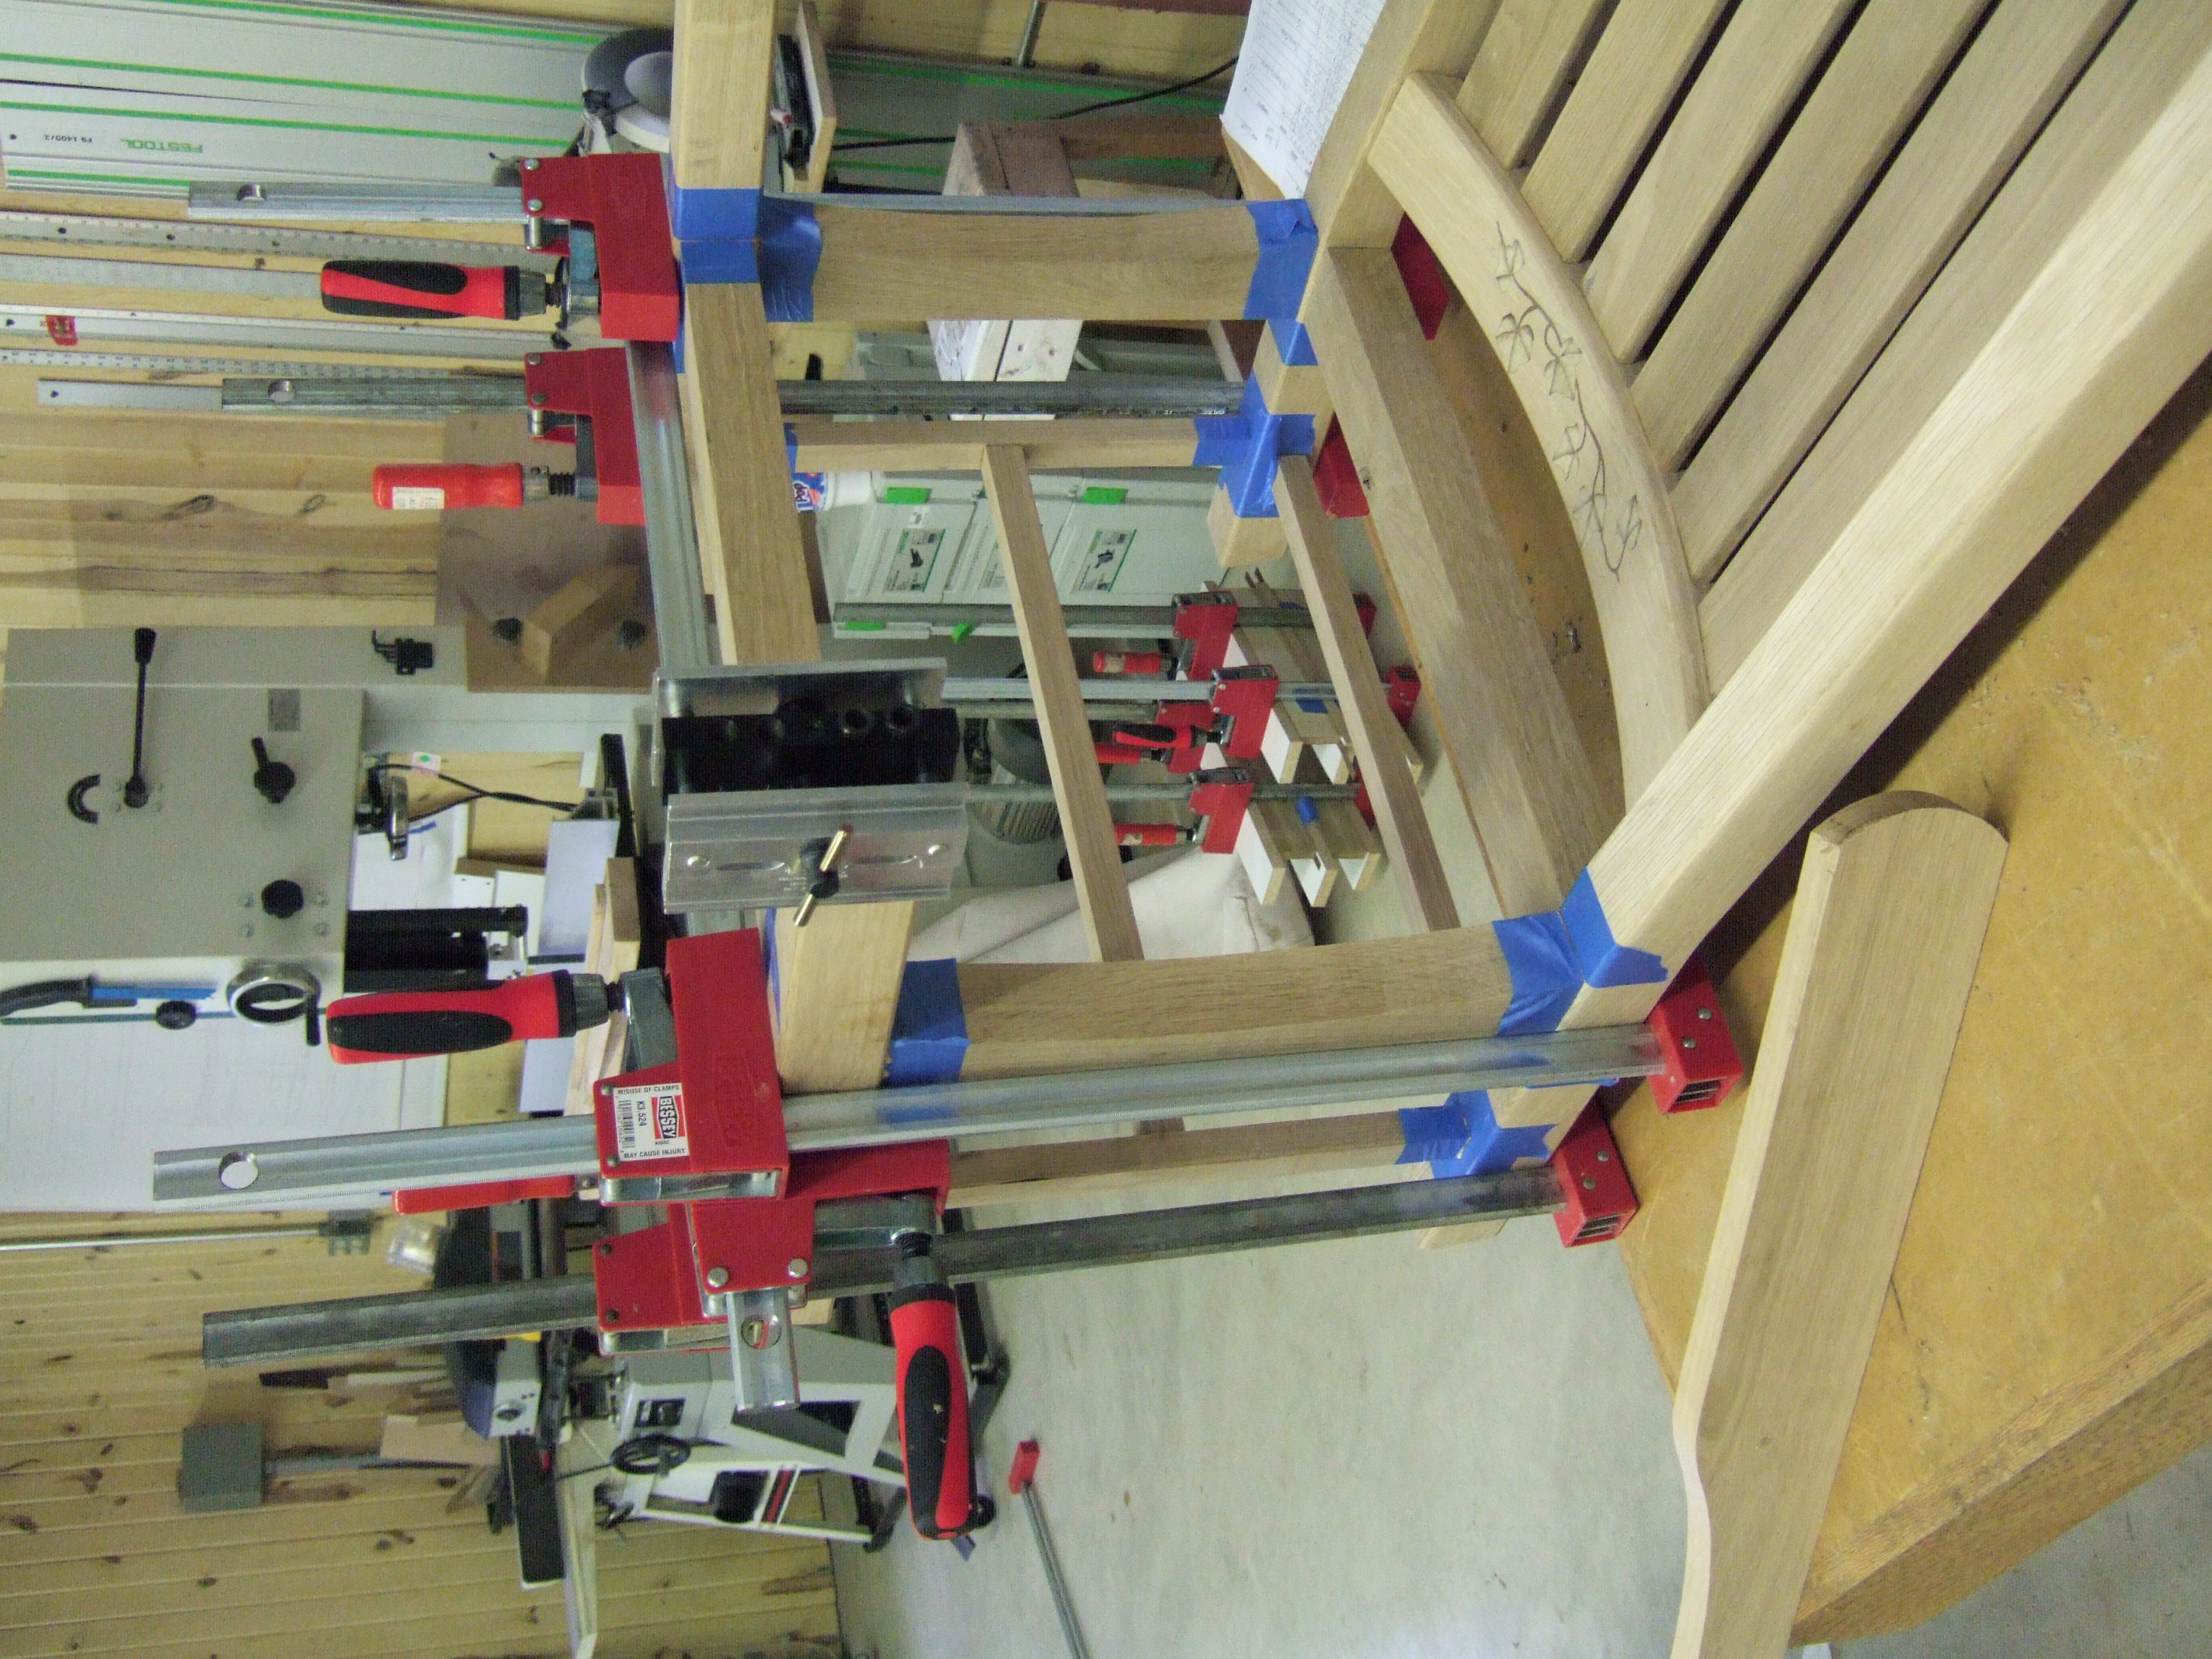 |
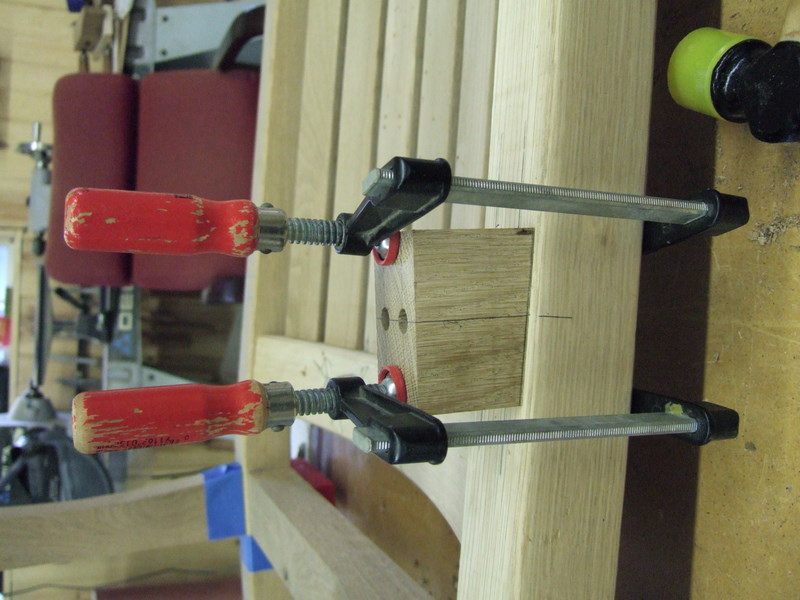
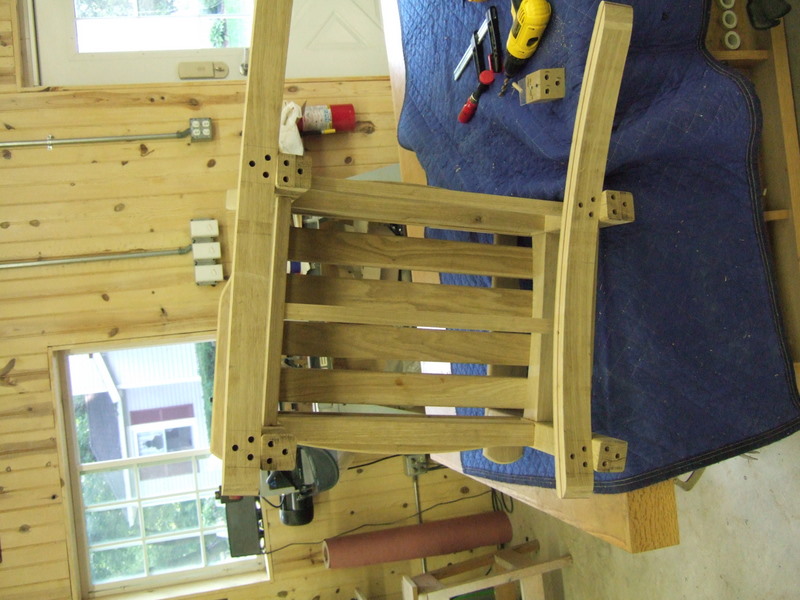
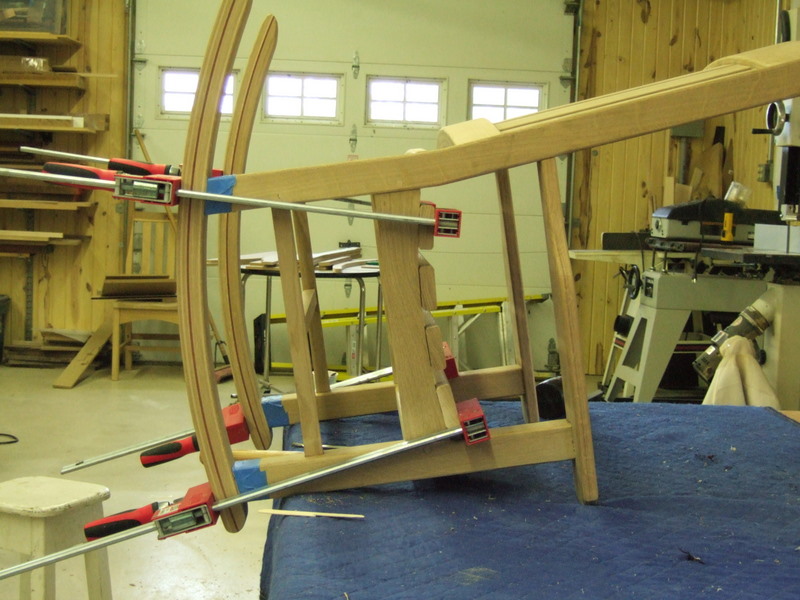
The top photo is the first glueup where I created the back of
the rocker. The next photo shows the front legs and stretchers
being glued. Note my copius use of blue tape to limit the mess
from glue squeeze out. Also notice the dowling jig I've attached to the top of the left front leg in the second photo. I used this jig to drill two 3/8 holes in the leg to accept dowels to join the arm rest. |
  |
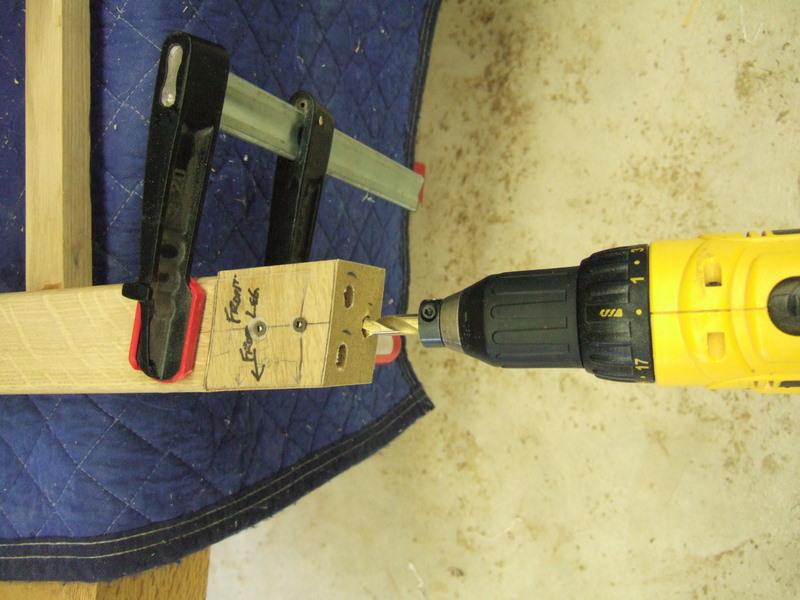
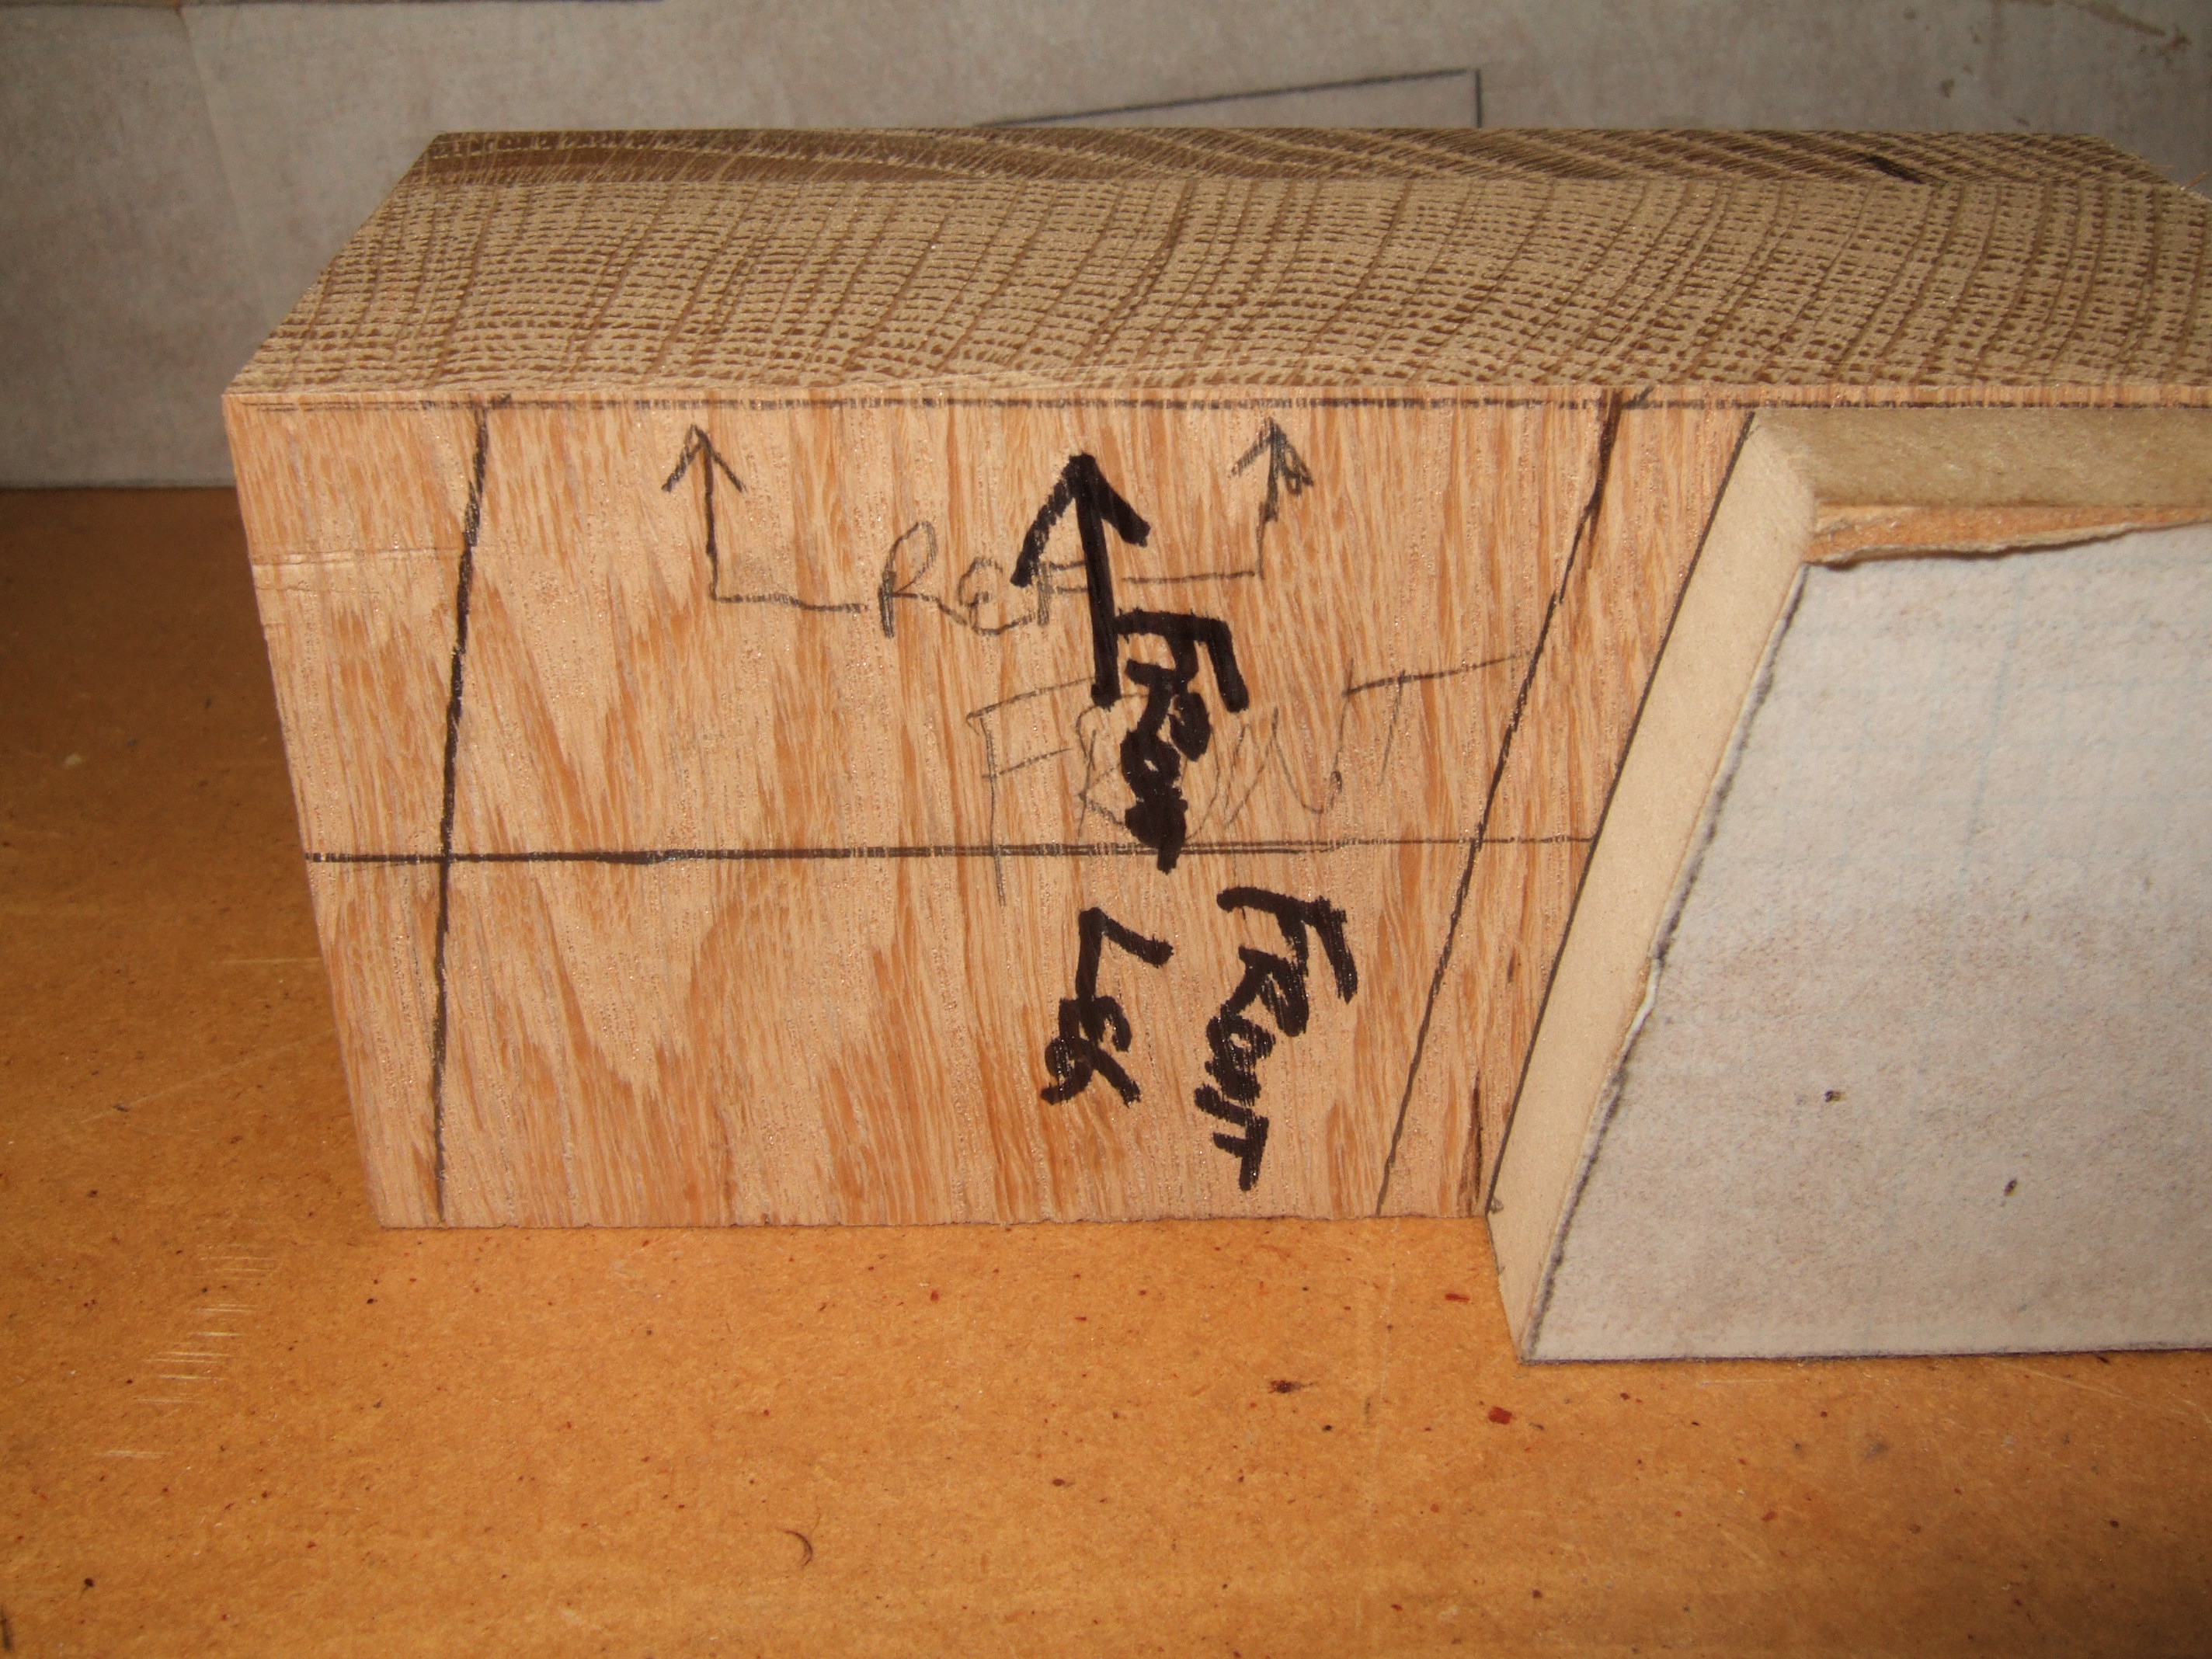
One of the tricky steps was drilling dowel holes in the back
of each back rest. Because the back of the chair does not meet
the back of the back rest at 90 degrees, I needed to create a drilling
jig to hold the drill bit at the proper angle. To keep the jig
from moving, I glued 120 grit sand paper to the surface. Note the
reference line on the leg and jig that must be perfectly aligned. |
  |
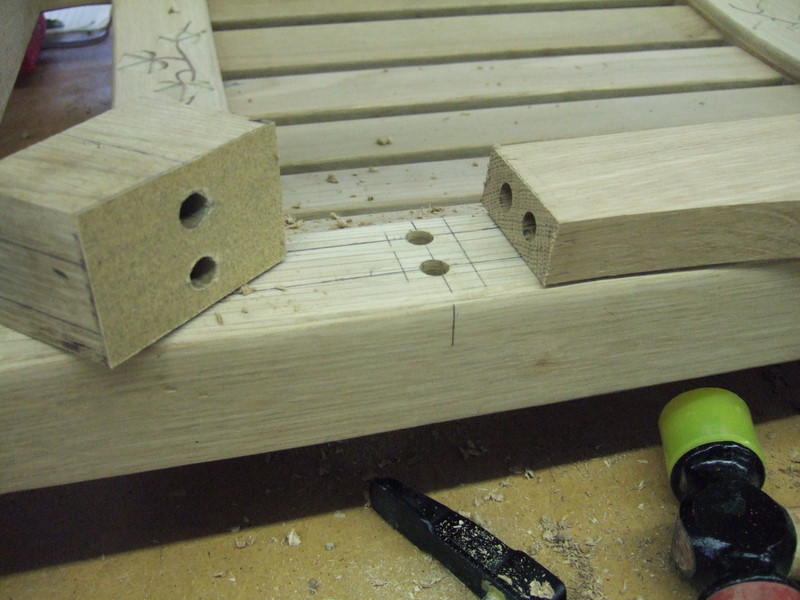
One of the challenges was figuring out how to attach the
rockers to the front and rear legs. The rocker is a curve and the
front and back leg bottoms have a corresponding curve. The trick
is figuring out a way to drill dowel holes such that the hole in the
leg is perfectly aligned with the hole in the rocker. I created these
jigs to accomplish this and I explain below how I made them. |
  |
I started out with a square piece of oak that exactly matched
the thickness of the legs and rockers. Using the template I took
directly from the full size drawing, I marked the curves as shown in
the photos. |
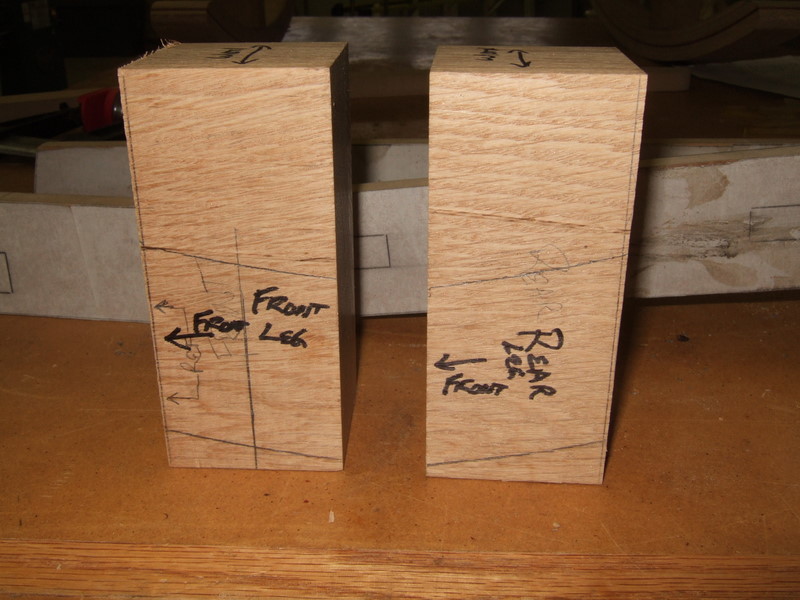 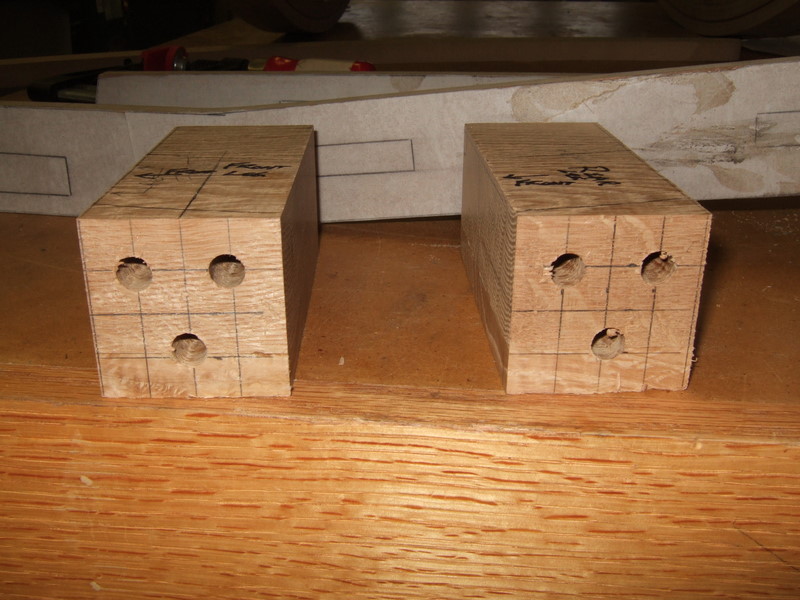 |
These photos show that I needed to create two jigs, one for
the front leg and one for the rear. Using the drill press and
while the blocks were still square, I drilled three 3/8 in holes thru
the entire block. |
  |
After cutting away most of the waste on the band saw I used
my disc and drum sanders to refine the curves to match those drawn from
the master template. After sanding I glued 120 grit sand paper to
both surfaces of both jigs. |
 |
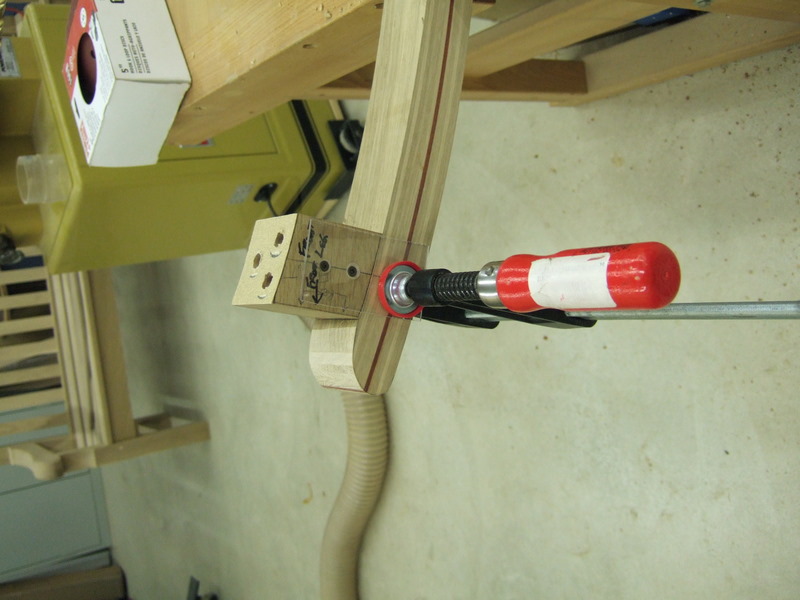
In these photos you can see the jigs in action. I
attached two pieces of plexiglass to either side of the jig with wood
screws. Note the reference line that is drawn along the length of
the jig. This line is critical since it is used to precisely
align the jig to the leg and rocker. Prior to using the jig I
placed the chair on the rockers and drew these alignment lines. The bottom photo shows the result of all this work. |
  |
The top photo shows the rockers being clamped to the
chair. It took about two hours to make the jigs to attach the
rockers and about 10 minutes to actually drill the holes! But it worked great and the rockers fit the legs perfectly. The bottom photo shows my pretty wife taking the chair for its first test drive! |