 |
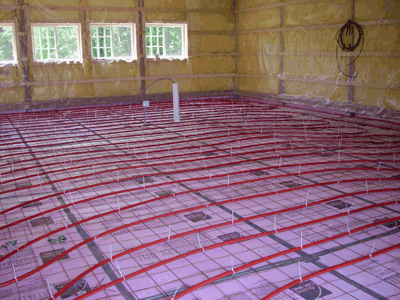
Here is the floor
just before
the concrete pour. It took quite a bit of work to get to this
point. Notice that the foam insulation completely covers the
floor and has been taped together with duck tape. On top of
the
insulation sits the concrete mesh and attached to the mesh with wire
ties is 900 feet of 5/8" PEX tubing. The tubing is laid out
in
three 300 foot loops that will come together at the manifold
in
the next picture. |
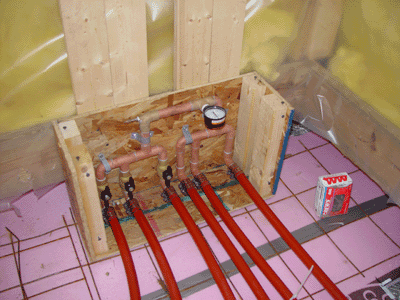 |
Here is the manifold
that
connects all the PEX tubing. Notice the pressure gauge which
happens to be reading 50PSI. At this point the PEX and
manifold
form a completely closed sytem that I've pressurized to test for any
leaks. I left the tubing pressurized over the weekend to be
sure
all was well. Some change in pressure will normally occur as
the
temprature changes and must be taken into account. (Top of page) |
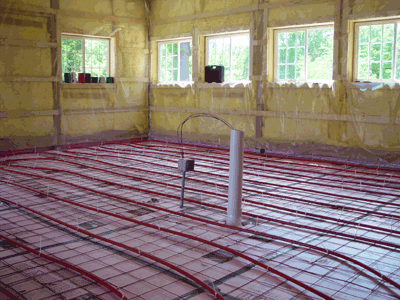 |
Another view of the
floor
waiting for the concrete. The PVC pipe and electrical conduit
are
near where I will be placing my new table saw. Also notice
the
vapor barrier covering the walls. (Top of page) |
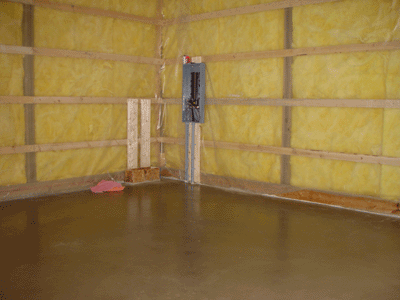 |
The concrete has
been poured and its too late to change anything now! (Top of page) |
 |
(Top of page) |
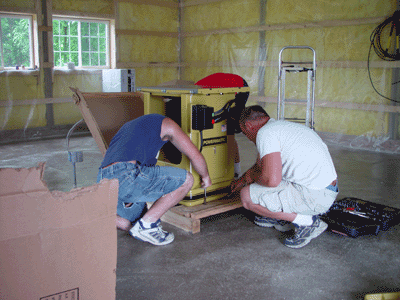 |
Here my son and a friend are helping me uncrate
my
new Powermatic Model 66 table saw. We placed it just in front
of
the PVC vacuum pipe and electrical box. The saw remains
within a
few inches of this initial placement to this very day! (Top of page) |
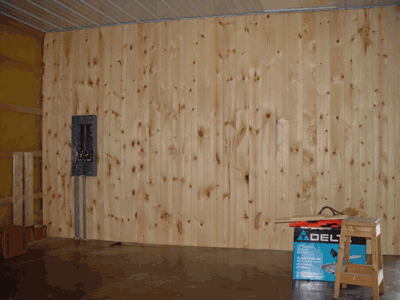 |
Here I've starfted
to install
the "box car" siding on the walls. I've always loved the look
of
this type of siding and was determined to never have a piece of
pegboard in my shop again! (Top of page) |