|
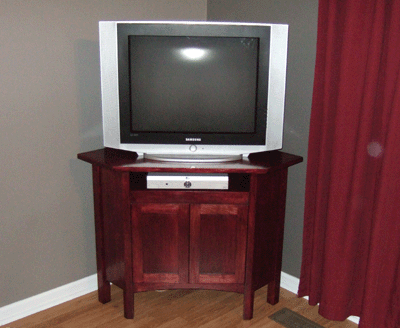
Here is the finished project in the home ready to watch the Bears game!
|
|
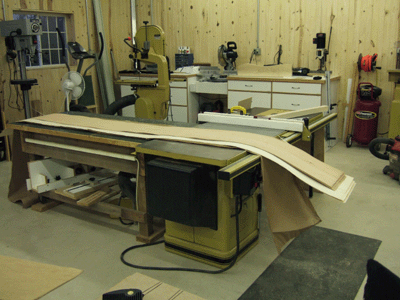
The cherry veneer arrives
looking like this from the veneer supplier. I also ordered poplar
veneer to use as the backing veneer for any surface that would not be
exposed. (Back to top of page)
|
|
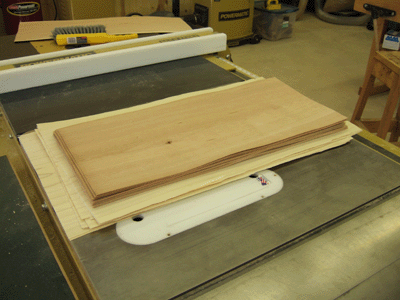
The cherry and poplar
veneer is next cut into assorted lengths in preparation for the
jointing operation. This veneer was was about 10 inches wide and
the poplar was wider still. (Back to top of page) |
|
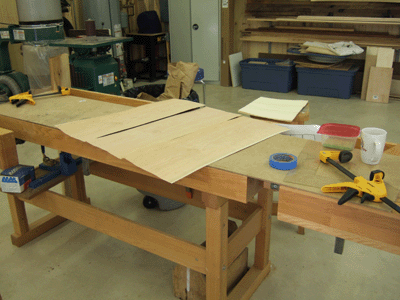
Here are three sheets ready to be joined with veneer tape into a single large sheet. (Back to top of page)
|
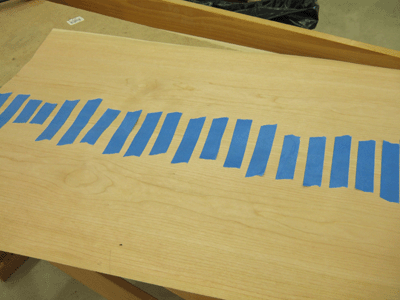 |
Here two sheets have been
edge joined together held with blue tape. The blue masking tape
provides enough holding power to keep the joint tight until the veneer
tape is placed on the other side. The blue tape side will
eventually become the glue side of the veneer sheet. (Back to top of page) |
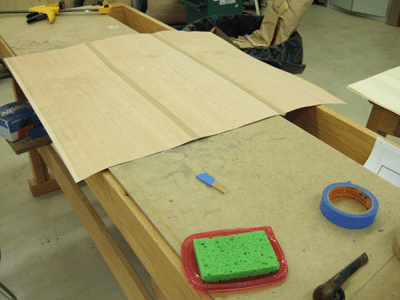 |
Here are three cherry veneer sheets edge jointed with
veneer tape ready for glueup. I have a vacuum press that I use to
press the veneer panels. Unfortunately I did not photograph this
part of the process for this particular project, but other projects in
my web site will show that part of the process. (Back to top of page) |
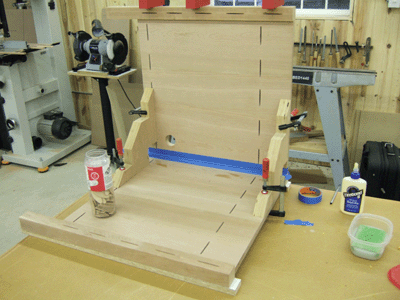 |
Here we are at the start of the glue up phase.
Notice that bisquit joinery is used extensively. The entire
project used over 75 bisquits - nearly the entire container shown in
the picture. (Back to top of page) |
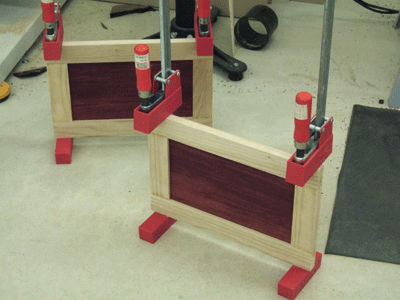 |
Here the doors are being glued up. Notice that the panel has already received the cherry stain. (Back to top of page) |
 |
Here is the top after being cut and edged with 3/8" solid cherry. (Back to top of page) |
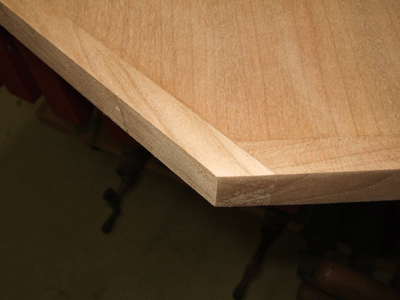 |
Closeup of the 3/8" cherry edging. (Back to top of page) |
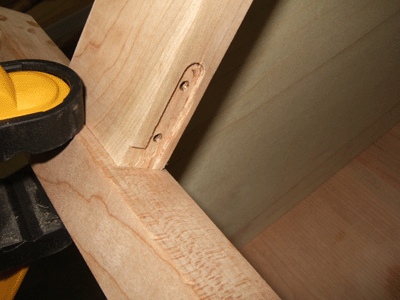 |
Mortise for the knife hinge. (Back to top of page) |
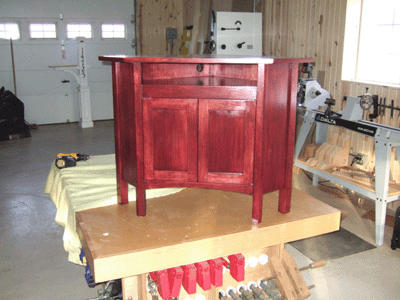 |
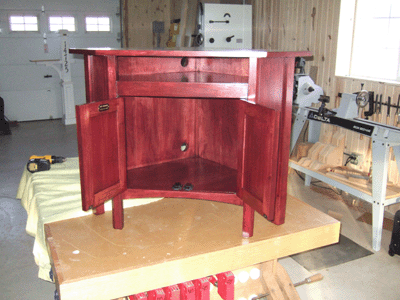
Ready for delivery (Back to top of page) |
 |
(Back to top of page) |

