|
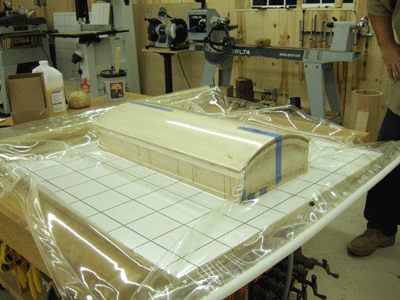
The
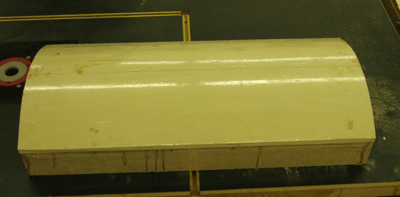
completed form for the top. Four sheets of 1/8 inch Italian
bending poplar were pressed and laminated on the ribs then trimmed.
The top was covered with packing tape to keep the pressed top
from sticking. Note the center line faintly visible. With
curved work it is critical to keep a constant reference of the center
line. (Top of page)
|
|
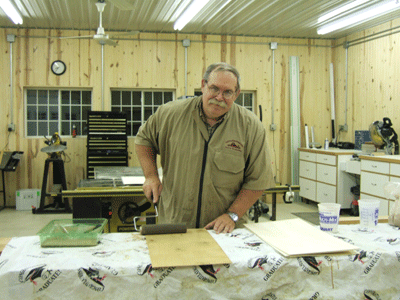
Here I'm using a roller to apply glue to one of
4 sheets of 1/8 inch Italian bending poplar that will form the curved
plywood top. The glue I use is specially formulated for veneer
work and available by mail order. It is called Urea Formeldhyde
and is a two part glue consisting of a resin and hardener. (Top of page)
|
|
All four sheets have had glue applied and the plywood sandwich is taped
with blue tape to minimize movement in the press. (Top of page) |
|
The form and plywood sandwich is placed into the vacuum press. Here I'm sealing the vacuum bag. (Top of page)
|
 |
As the vacuum starts to draw down I keep an eye to be sure everything remains aligned. (Top of page) |
 |
The vacuum is fully formed. The top will remain in the press for about 8 hours to allow time for the glue to fully cure. (Top of page) |
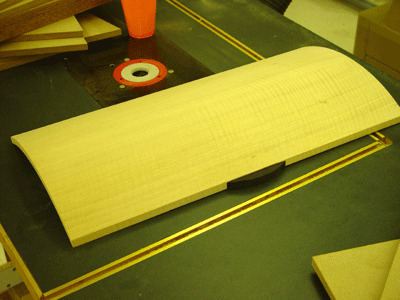 |
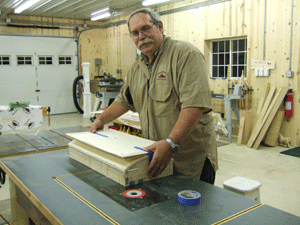
The completed top with its ebony handle attached.
After the plywood top came out of the press in the previous step,
two more pressings were needed. One to veneer the fiddleback
anegre to the top and another to the bottom. Note that all the
edges are banded with anegre as well. The figure of the anegre is
not apparent in the photo, but it really pops after a coating of tung
oil. (Top of page) |
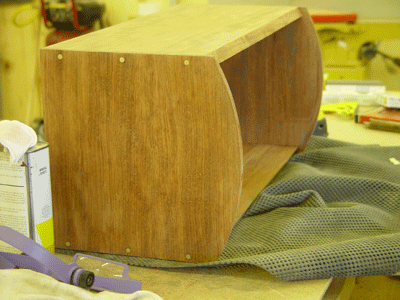 |
I used very simple rabbit construction to build the
box. Note the brass pins inserted to add both strength and for
their visual appeal. I should also say that the box is
constructed based on the precise geometry of the top. The top fits into
rabbits cuts into the curved sides. (Top of page) |
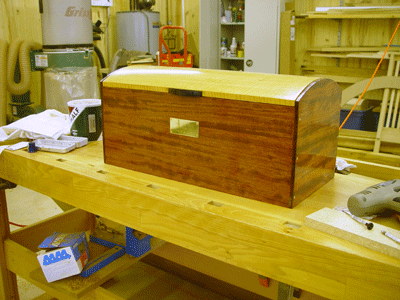 |
After 5 coats of hand rubbed tung oil the treasure box is ready for the wedding. (Top of page) |
 |
I made an insert out of polycarbonate with a slot to
allow wedding cards to be inserted. Technically this was the
purpose of the box. My daughter-in-law now uses the box to store
wedding mementos. (Top of page) |
