|
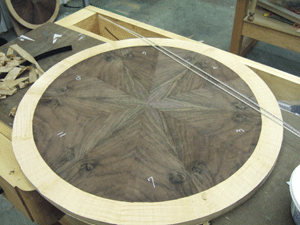
Here is the table top
after pressing. I will attempt to explain in some detail how I
got the project to this point. Walnut burl veneer is used to
create the pattern you see. The border is fiddleback anegre.
I have routed a circular groove to accept the XYZZY that will
separate the walnut from the anegre.
|
 |
Step 1: Number each sheet in the veneer pack
consecutively from 1 to 12.
|
 |
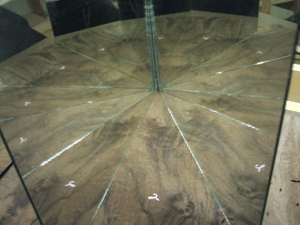
Step 2: Place a pair of mirrors opened to
approximately 30 degrees over sheet 1.
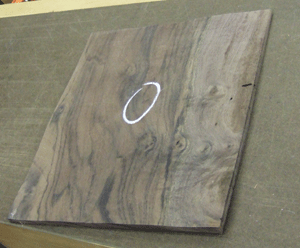
Move the mirrors around the sheet until you identify a pleasing pattern. Look for interesting shapes formed by color
variations or slight defects in the veneer.
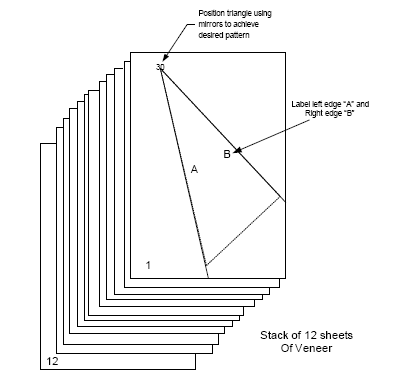
Once this position has been determined, place your 30 degree triangle on
the top sheet in the same position as the mirrors and use the triangle to mark
side A and side B as shown below.
|
 |
Note that you will actually label side A and side B on the
veneer itself to identify the correct orientation of each piece in the stack
later. Note that the numbers 1 – 12 on
each sheet should now be rewritten (if necessary) so the numbers will be
written inside the triangle on each sheet.
Try to also place the A and B designations on each sheet so they will be
visible after you have cut away the waste material.
|

