
 |
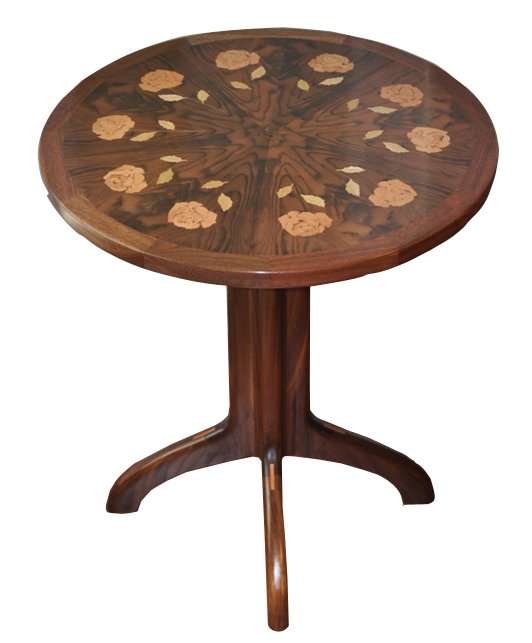
Here is a closeup of one of
the roses. |
 |
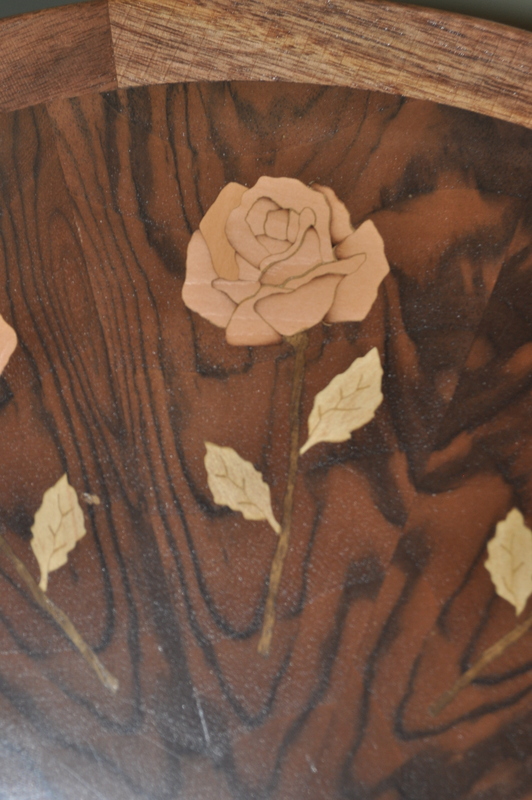
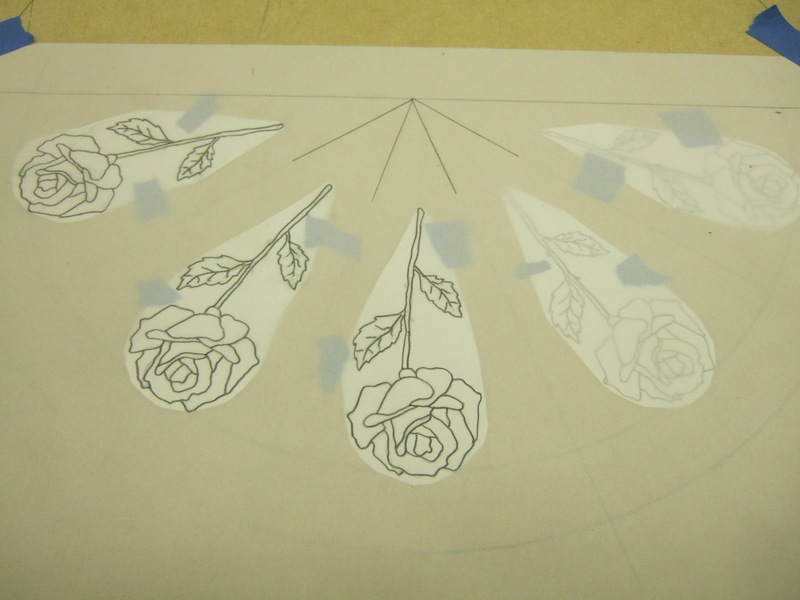
Here is the working
cartoon of one of the roses. Each rose has 20
individual parts, and with 10 roses, the marquetry has a
total of 200 individual parts. The dots you see in the picture designate where each part is to be sandshaded. The parallel lines you see indicate grain direction. |
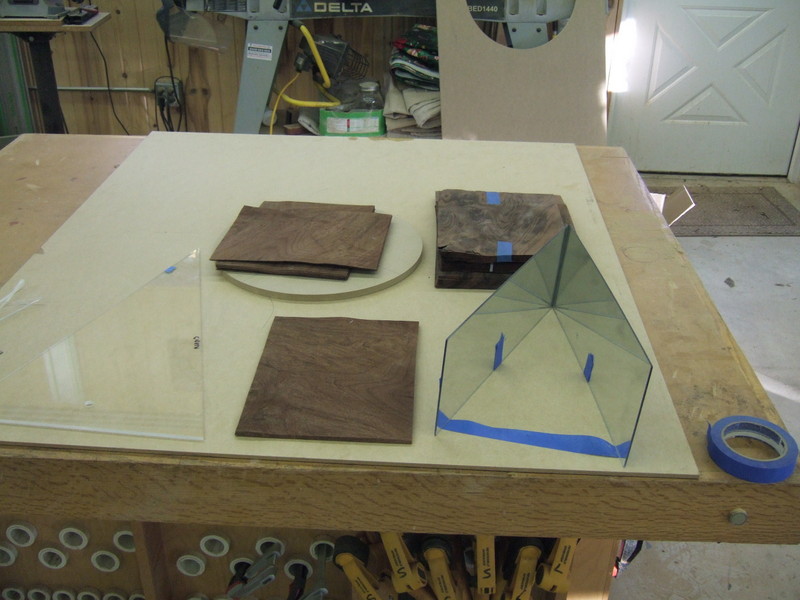 |
The process begins with
a stack of at least 10 pieces of veneer. Note the
plastic 10-way radial match template on the left.
The template is used to set the width of the mirrors you
see that I've secured temporarily with a piece of blue
tape to keep the mirrors at about the same angle as the
template. By moving the mirror around the surface of
a sheet of veneer, I can visualize the pattern that will
emerge when all 10 pieces are cut from below where the
mirror is positioned, then arranged in a radial match. |
 |
After I've located the
position on the stack of veneer where I want to make the
cut, I use a veneer saw to cut thru all 10 pieces of
veneer at once. Here you see the packet of veneer
just after I completed the first cut. Next I'll use
a sanding block on the edge to sand away any rough spots. |
 |
Here I've arranged the pieces as they'll be
in the finished table top. |
 |
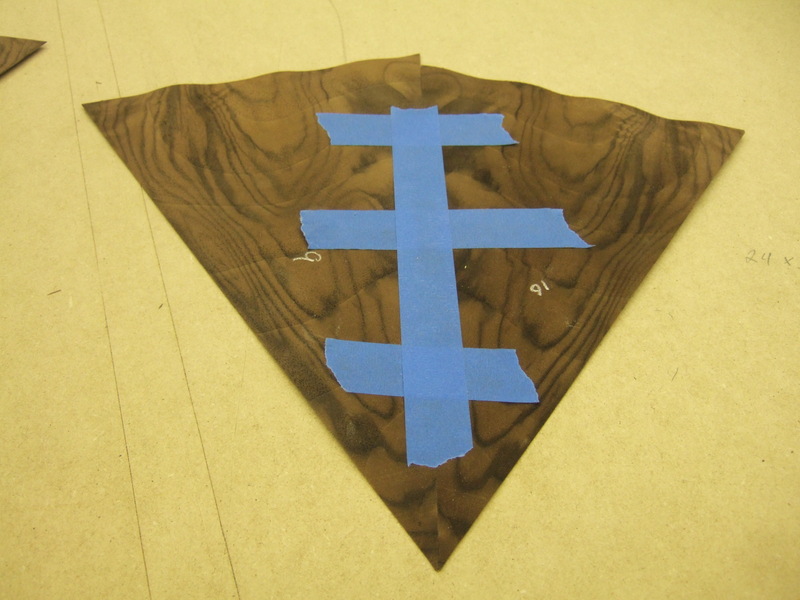
The process of
assembling the radial match begins by using blue tape to
secure two edges together. |
 |
Next I flip the taped pieces together
and use veneer tape to secure the seam. |
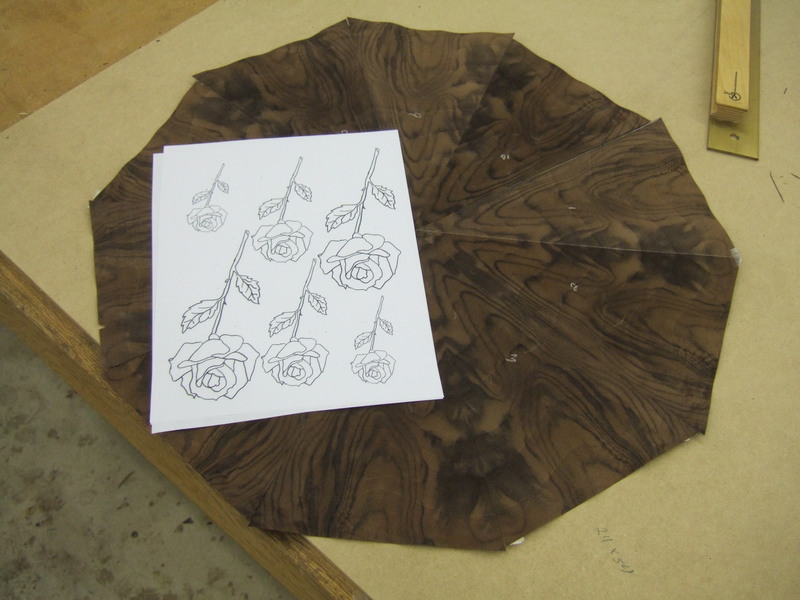 |
Here is the fully taped veneer top. I
created one rose image and scanned it into my
computer. Next I used an image processing program to
make six copies of the image each scaled
differently. Here I've placed this over the top
trying to decide which of the scaled images best fits. |
 |
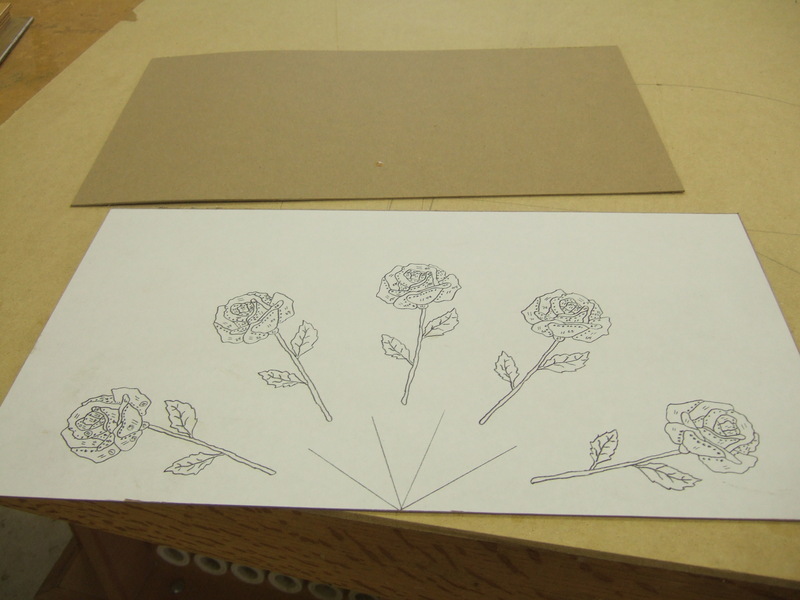
Having selected the size of the rose I
want, next is made several copies and cut each out.
I've positioned each copy under a piece of vellum
arranging the roses as I want them to appear in the
finished project. Note that I'm working on 1/2 of
the table top. When I actually cut the marquetry
images, I'll fold the table veneer in half and only cut
five roses out. Later I'll unfold the veneer giving
me 10 roses that are a mirror image of each other. In this particular step I'm happy with the position of the roses and I'm using a pencil to copy each rose on the vellum. When complete, I made several copies of the image to be used as you see below. |
 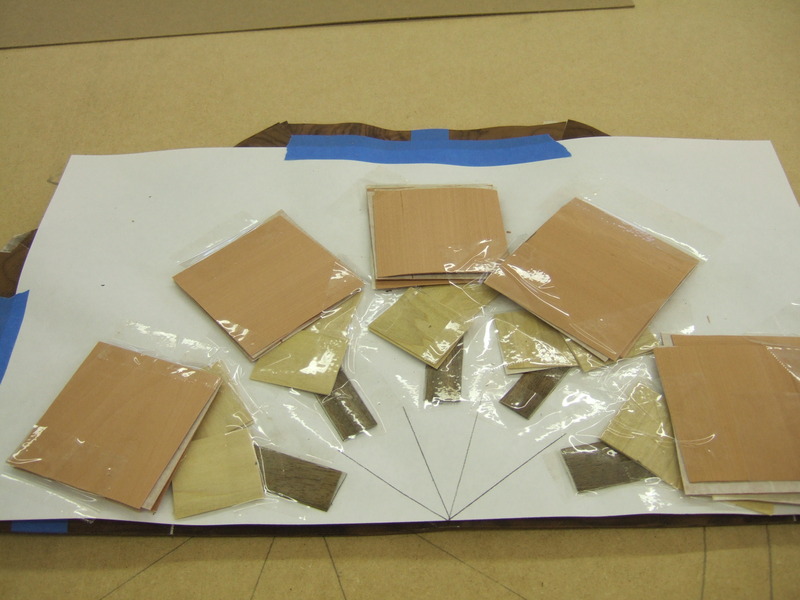 |
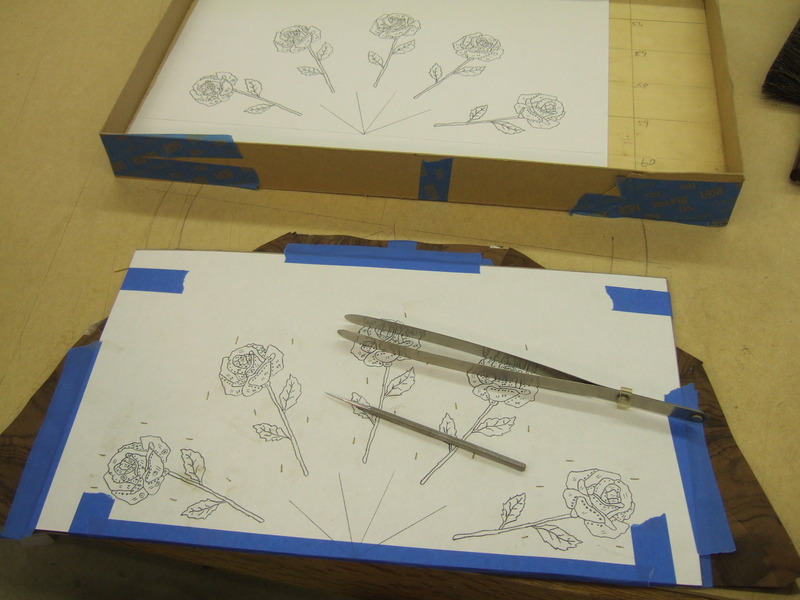
This step is a bit tricky to explain.
I've taken a copy of the cartoon and layed it on top of
the folded radial match veneer, then secured it in place
with blue tape. I've selected the veneer I want for
the rose petals, leaves, and branch. I've built on
top of each image a packet of veneer out of which the
image will be eventualy cut. Note the poplar veneer I've placed over where the leaves are. There are actually two pieces of veneer, back-to-back, for each leaf. I need two because I'll be cutting two leaves at the same time. The same logic is repeated for the rose petals and the branch. I like to use clear packing tape to hold all the piecies in place. I've found that clear packing tape holds everything securely, and provides some lubrication to the scroll saw blade as I'm cutting out the packets. |
 |
Here is the finished packet ready for the
scroll saw. The image I'll be cutting lies exactly
over the packets of veneer I've arranged under it and the
background veneer. |
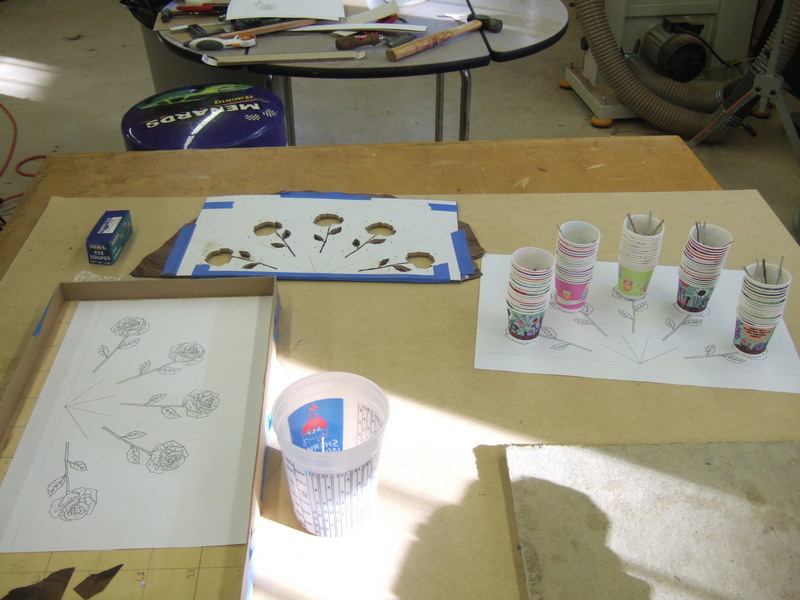 |
I didn't take any photos of the actuall
scroll saw work, but here you can see the end
result. The dixie cups you see placed above each
rose contain the individual parts that I cut from the
pattern. Since each rose has twenty components, and
I've cut two roses simultaneously, each stack of cups
contains forty components. I had to resort to dixie
cups because the shear number of components made it too
difficult to use the normal grid system I would use for
fewer components. |
 |
I've skipped a lot of steps, but here you
can see the finished skin just after I trimmed it using
template I cut from MDF you see in the picture. To
hold the veneer securely under the template I placed a few
pieces of sticky sandpaper, then trimmed with a utility
knife. The trimmed skin is still oversized and will
be trimmed a final time after the final glueup. Note that you are looking at the "glue" side of the skin. |
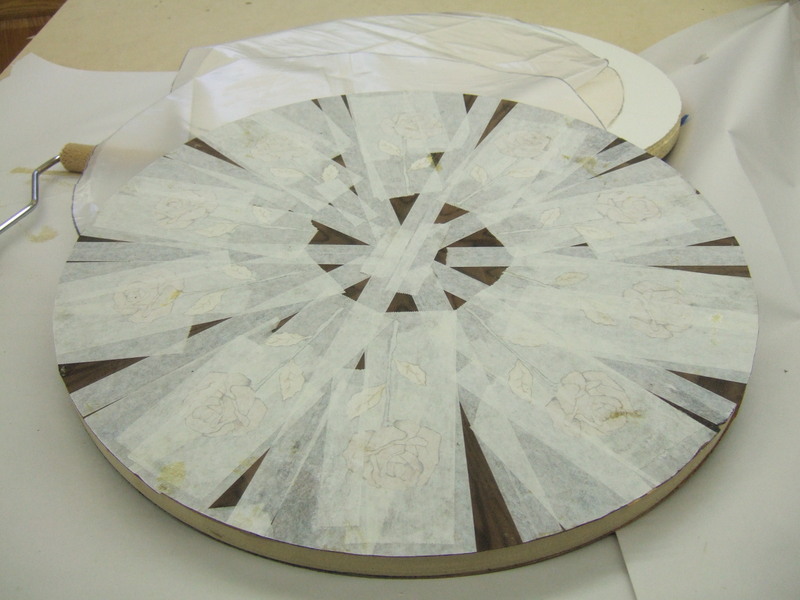 |
Here is the top just after coming out of
the vacuum press. All the veneer tape you see will
have to be carefully removed. |
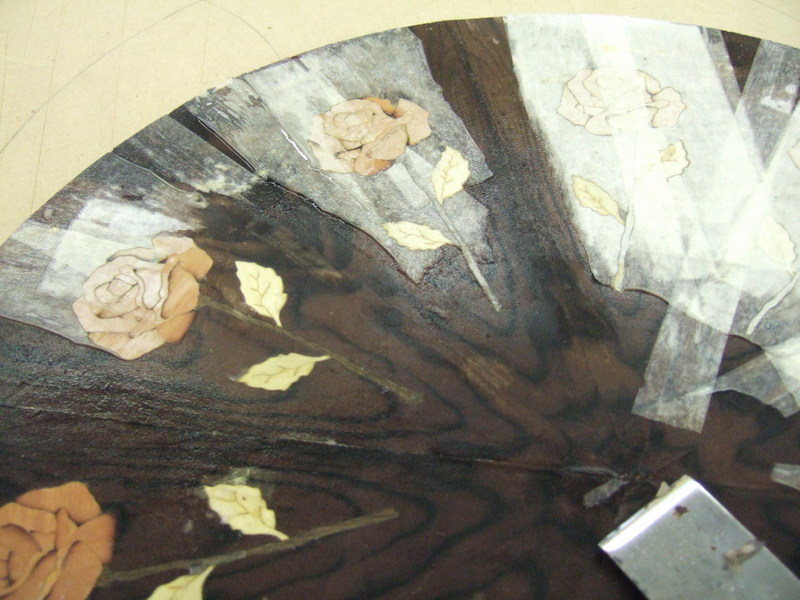 |
Removing the veneer tape is done by
thoroughly soaking the tape with water and waiting for the
glue to be reactiviated. I carefully scrape the wet
veneer tape off using a specially sharpened scraper you
see here. |
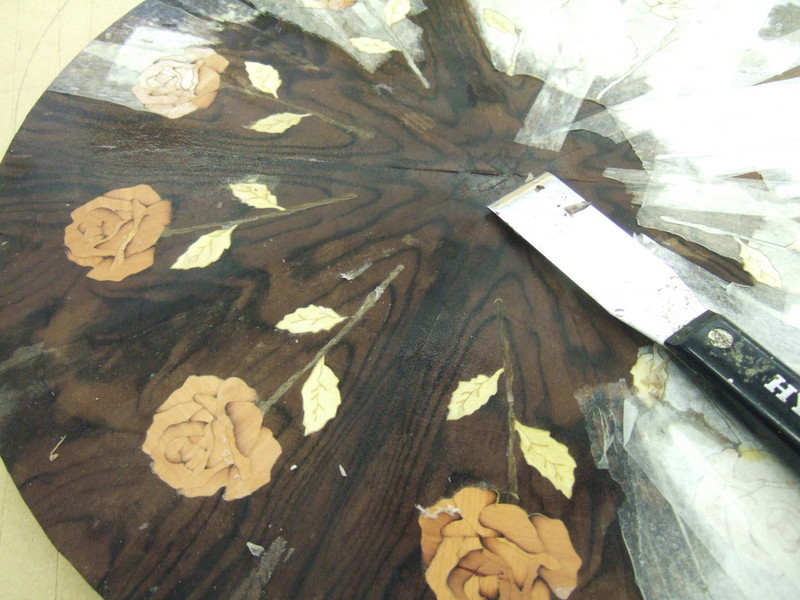 |
After an hour or so of scraping, the tape
is removed and the top is ready for sanding. |
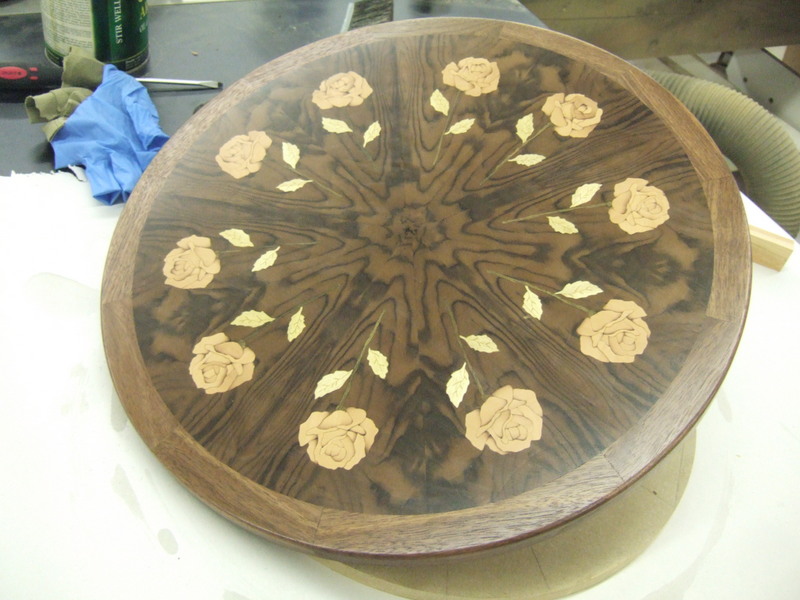 |
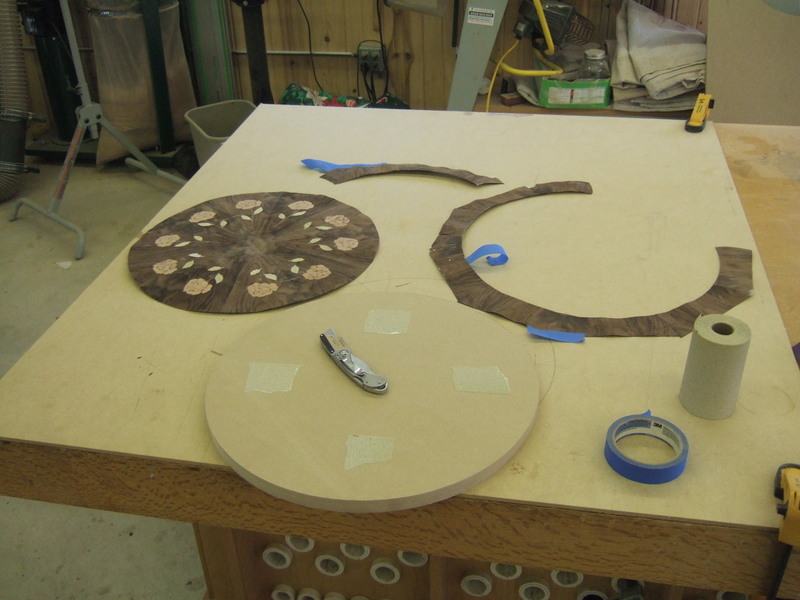
After applying the solid wood edge and an application of top coat. |