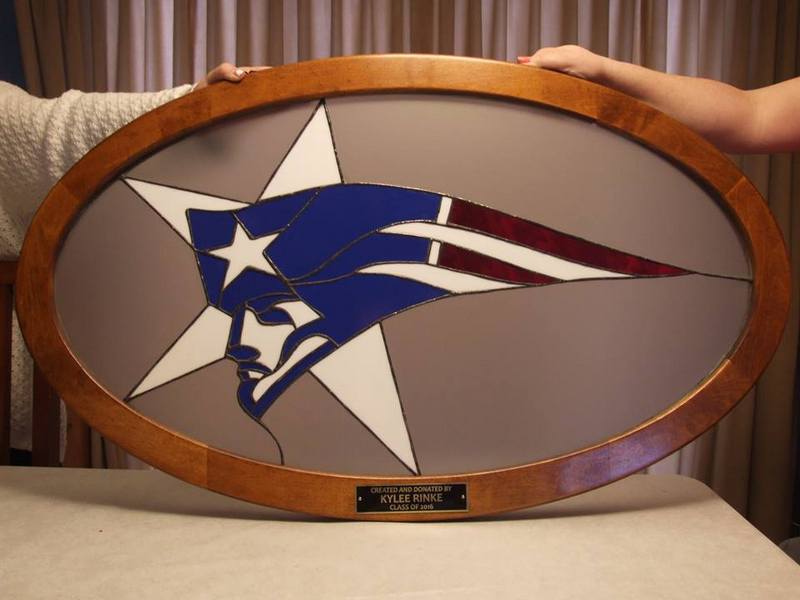
 |
Here is the beginning of the oval frame. Two
pieces of 8/4 maple about 7 inches wide and eight feet
long. |
 |
The process begins by
making two templates out of MDF using an oval jig that I
describe how to make in this
article. One template will be used to cut the
outside of the oval and a smaller template will be used to
cut the inside of the oval. These were both sized to
account for a guide bushing and router bit I'd use later
to actually cut the frame. |
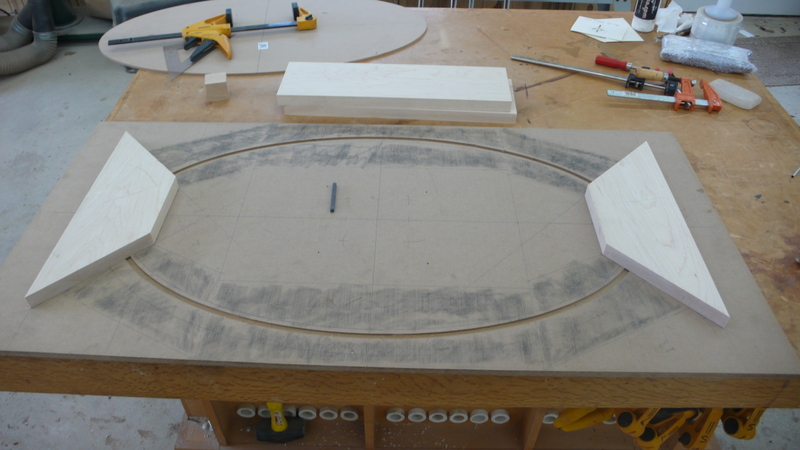 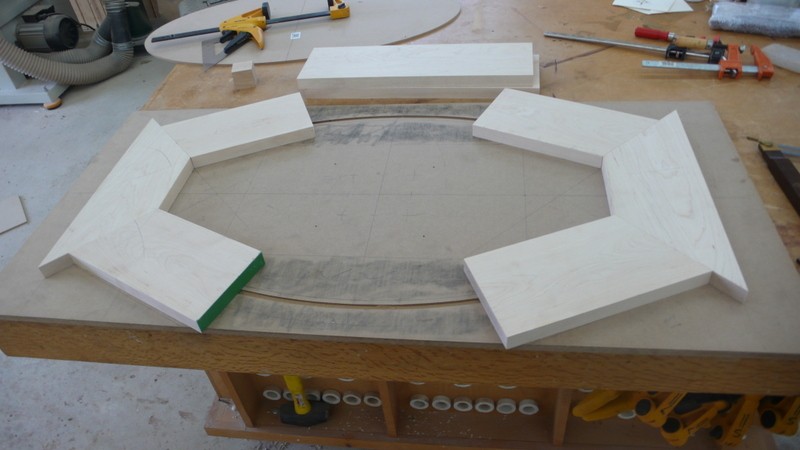 |
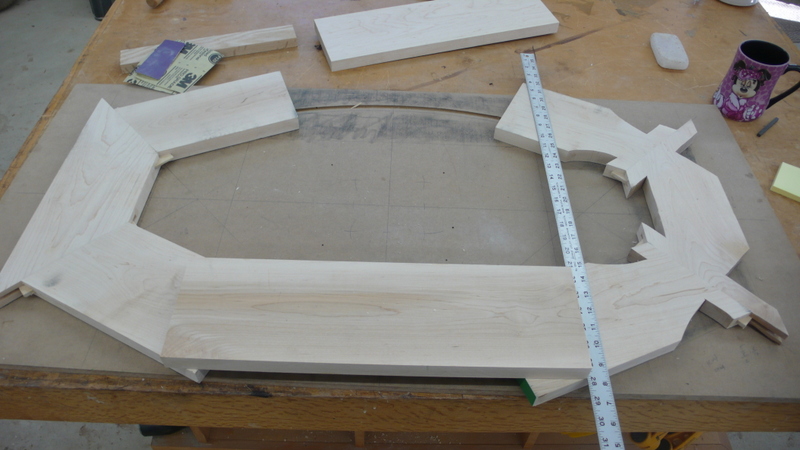
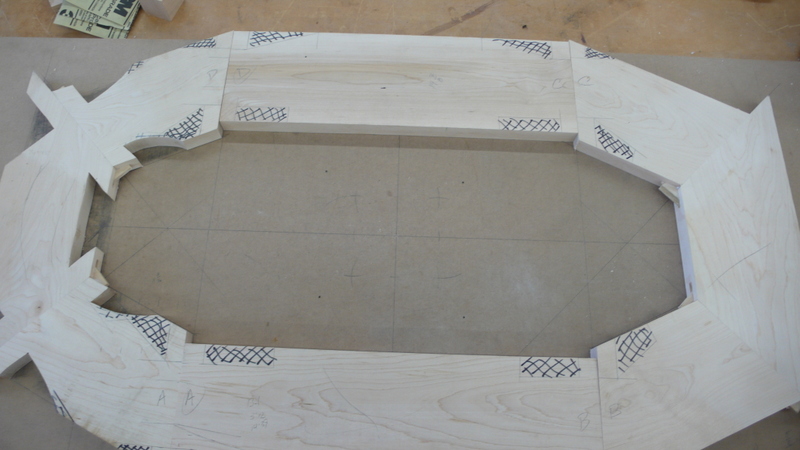
From the templates I
drew an approximate outline of the frame on a piece of
scrap MDF. Using that, I was able to draw and shade
an area that needed to be covered by solid wood that would
be of a size necessary to cut out the oval frame.
Now it's just a matter of figuring out angles and lengths
of stock to cut that when eventually joined together,
would give me enough stock to make the frame. |
 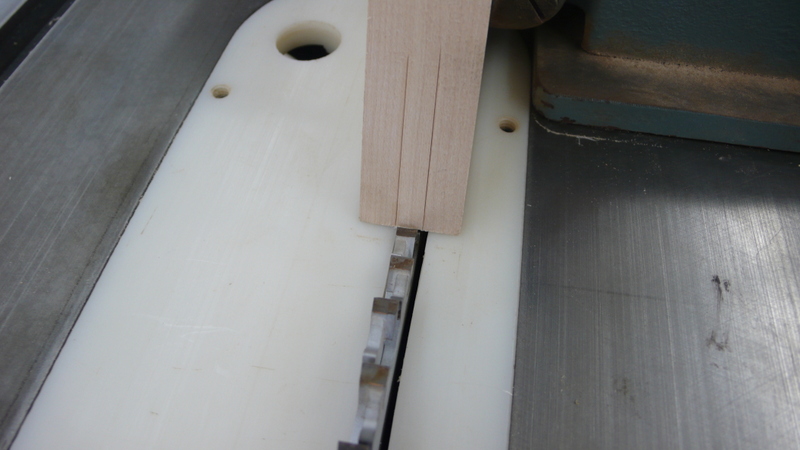 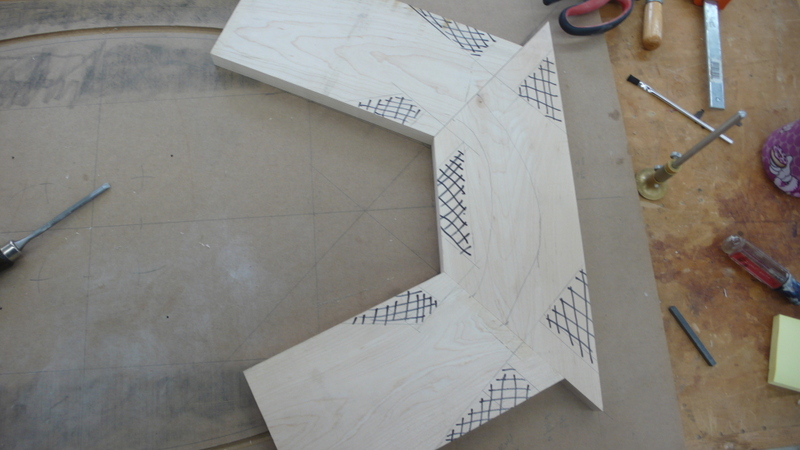  |
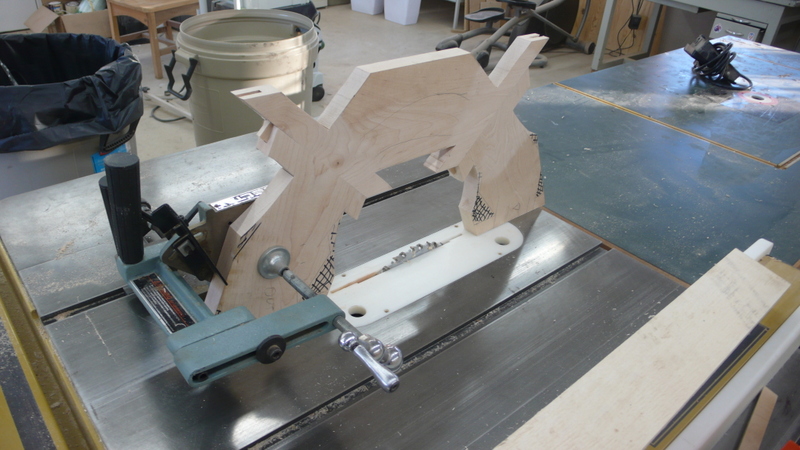
This series of pictures
shows how I used a tenoning jig with a 1/4 inch dado blade
to cut a groove down the center of each edge that will be
joined using 1/4 inch splines. I needed to create a
way to be able to clamp these together so I laid out areas
that I'd cut away on the band saw to make room for clamps
to clamp these pieces together. |
    |
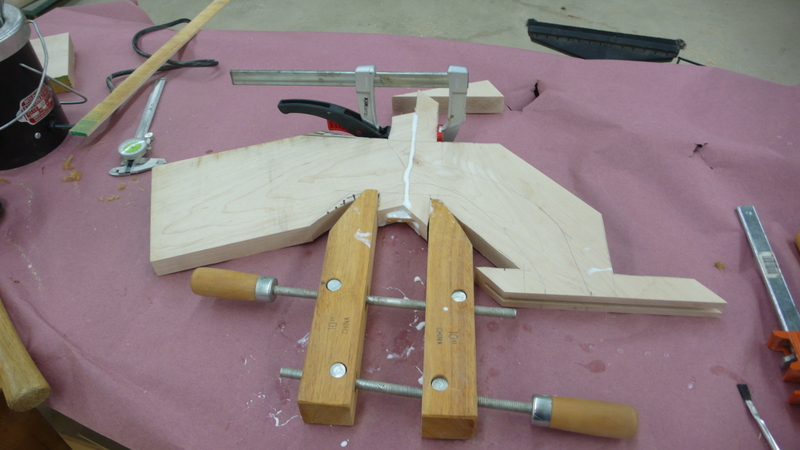
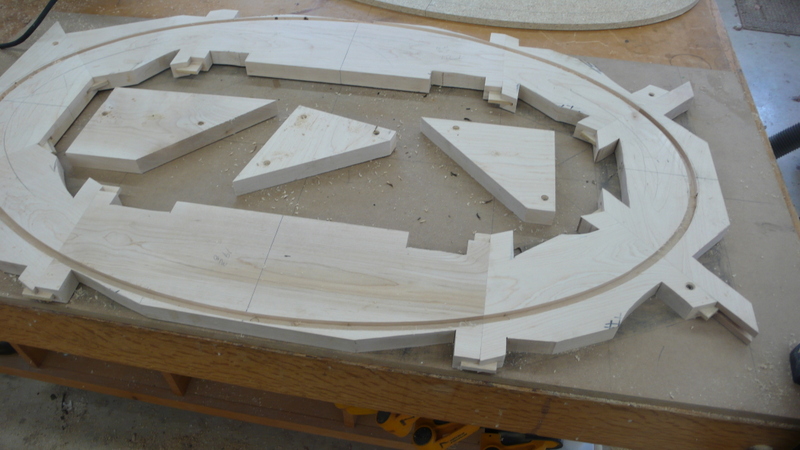
Once the two end
assemblies were glued, I needed to layout and cut the
straight pieces that would fill in the center.
Pretty much the same procedure as before. |
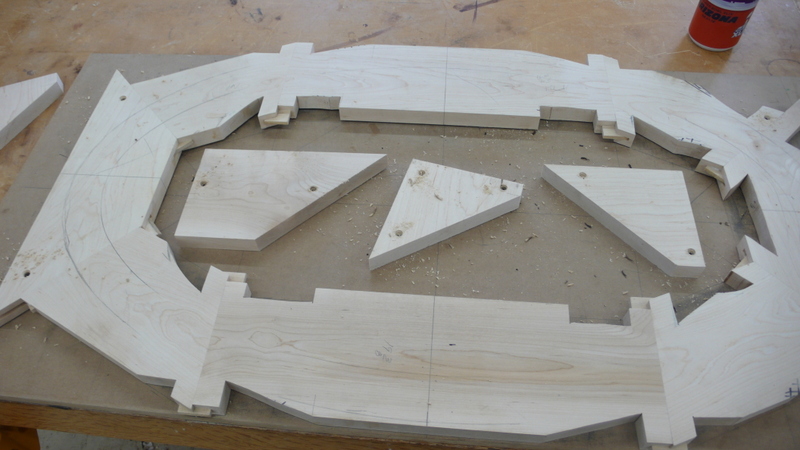    |
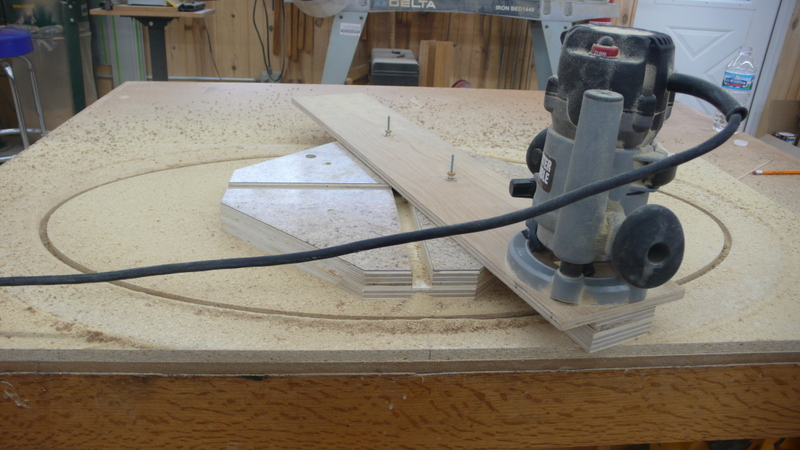
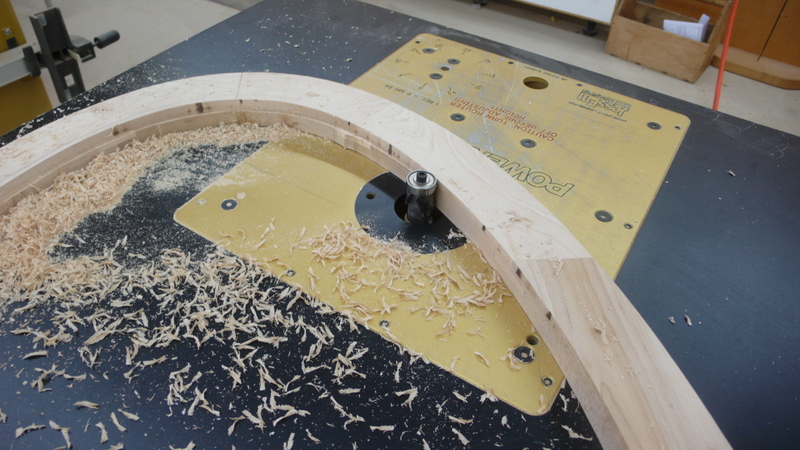
I screwed the glued up rough blank to a
piece of scrap MDF and also screwed some blocking material
in the center I could used to screw down the oval template
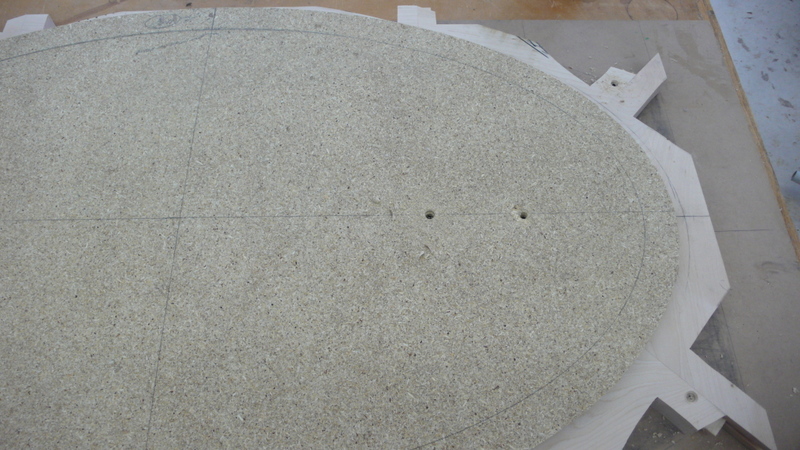
I made earlier. This series of pictures shows how I
cut the outside of the oval. I'd repeat the same
procedure to cut the inside of the oval. Note that in both cases I only cut about 3/8 inch into the frame material. It's much too much stress on the router bit to attempt to cut completely through. |
 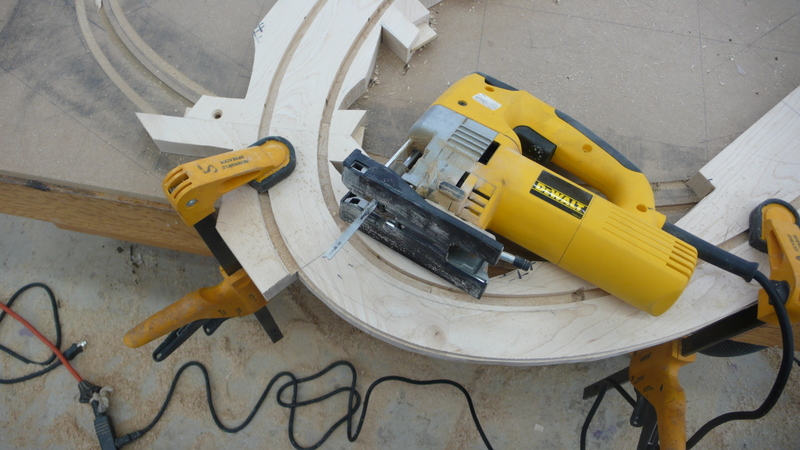   |
The top picture shows both grooves cut
into the frame blank. Next I used a jig saw to
remove most of the material from the inside and outside of
the frame leaving about 1/8 inch of material that I'd
remove using a flush trim bit. |
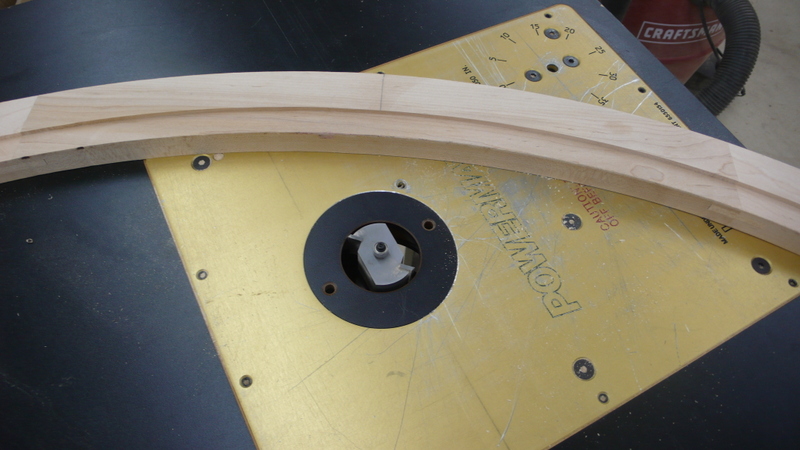 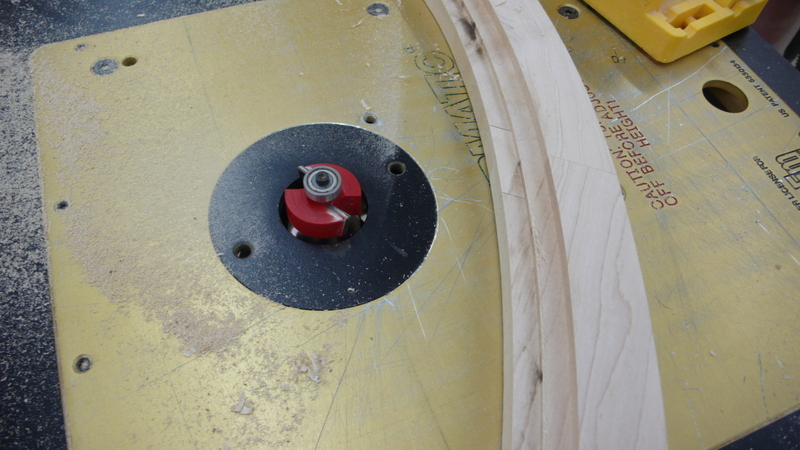 |
Using a couple of
different rabbet bits I cut a stepped rabbet on the inside
of the frame. The inner rabbet will house the
stained glass art and the outer rabbet will house an oval
retainer I made out of 1/4 inch material using the same
oval cutting jig. |