|
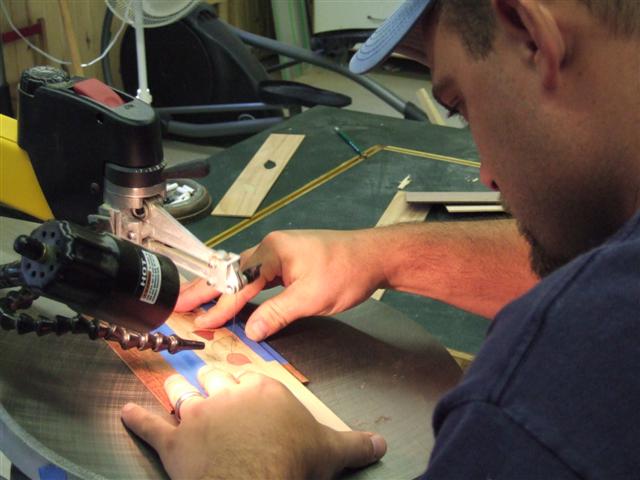
The inlay
was created using double-bevel marquitry. By tilting the scroll
saw bed about 12 degrees and taping the forground and background pieces
together, the saw kerf completely disappears! (Top of page)
|
|
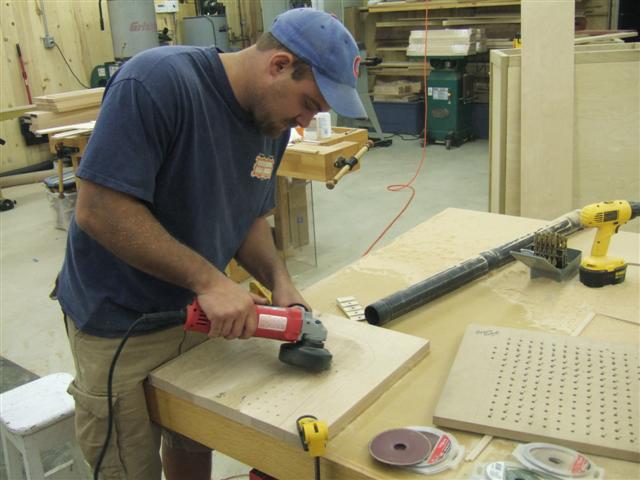
I created the depth guide you
see in the lower right out of MDF by drilling holes in a 1 inch grid.
You can also see a small incremental drill gauge block used with
the grid and a hand drill to drill holes into the seat. Holes are
drilled from 1/8 to 3/8 inches deep depending on the depth desired.
Chris is using an angle grinder with 36 grit paper to remove the
bulk of the wood. The idea is to simply sand away enough stock to
make the holes disappear. Many additional sanding steps followed
with finer grits of sand paper to smooth and finish the seat.(Top of page) |
|
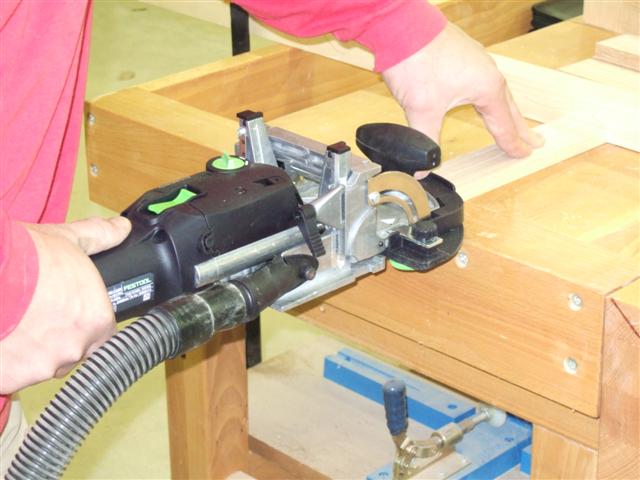
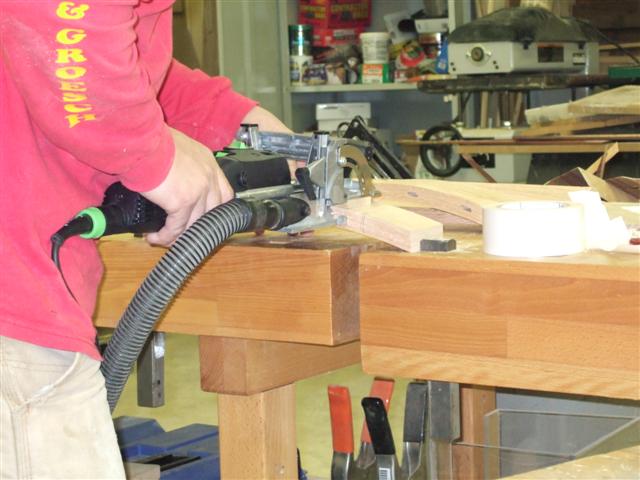
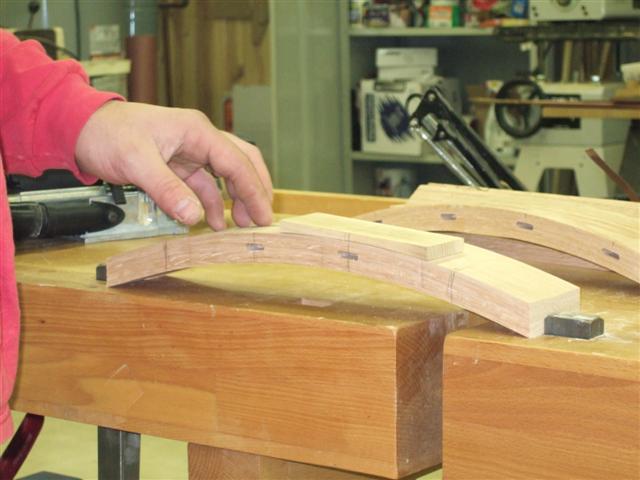
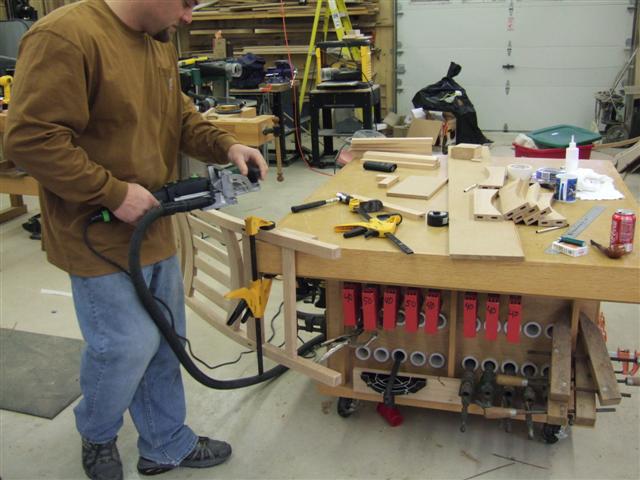
Here we use the Festool Domino machine to cut
mortises in the slats and curved back rests. The curved back
rests were created by laminating seven 1/8 inch thick oak strips on a
curved form using plastic resin glue. (Top of page) |
|
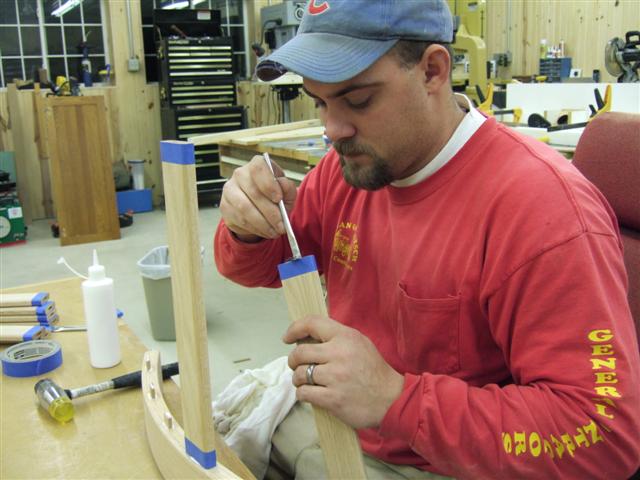
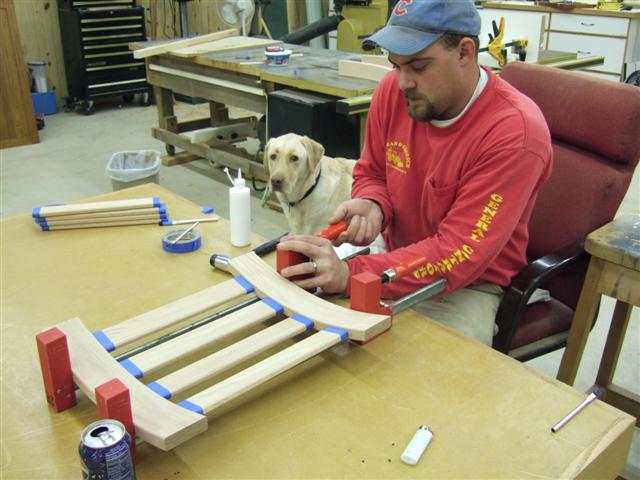
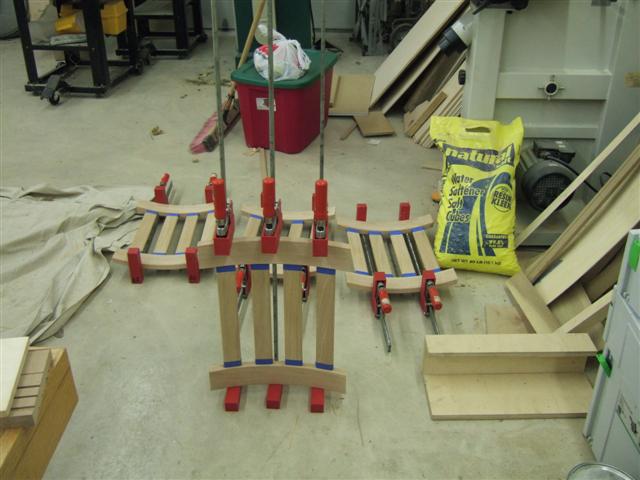
The slats being glued into the curved back rests. Chris's dog Indy is supervising!(Top of page)
|
|
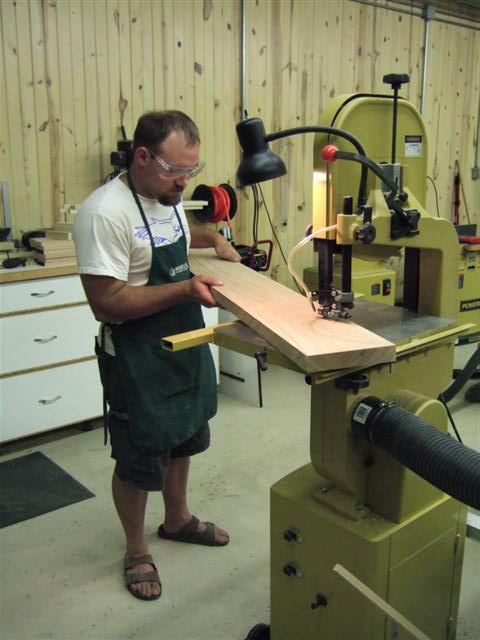
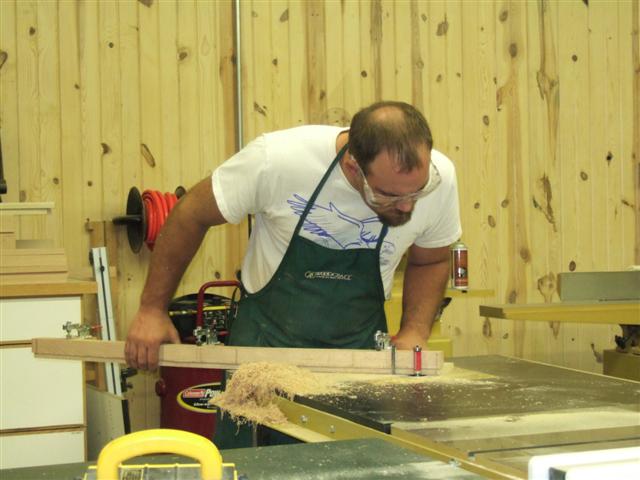
The sides are roughed out from 8/4 stock on the
bandsaw. The final shaping is done on the router table using a
pattern bit and a pattern made out of 1/2 MDF. (Top of page) |
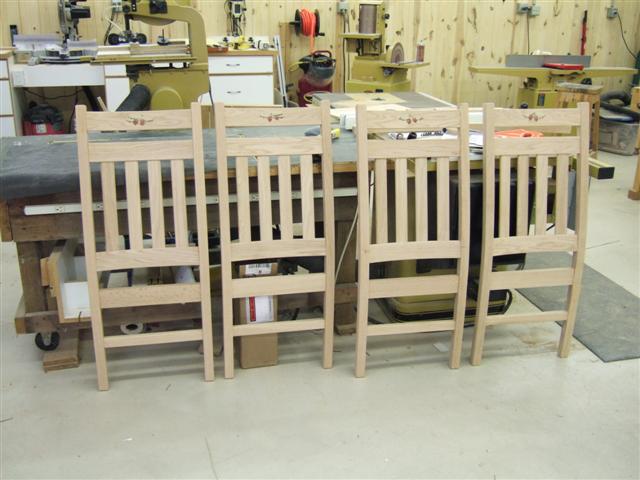 |
Here the sides are joined to the curved back rests.(Top of page) |
|
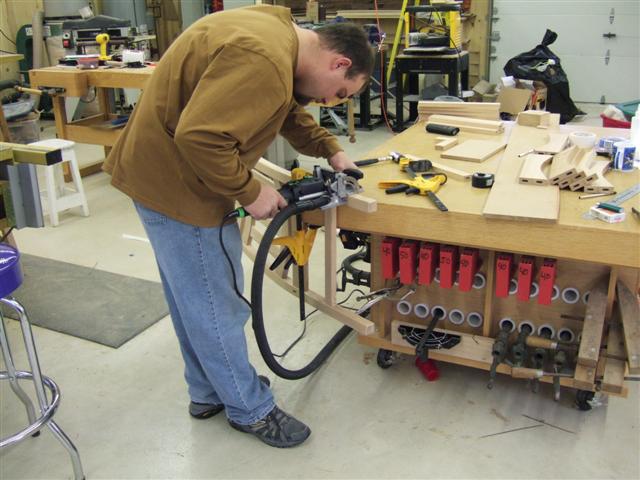
The Domino machine is used to cut mortises into the glued up back assemblies to prepare to attach the front assemblies.(Top of page) |
|
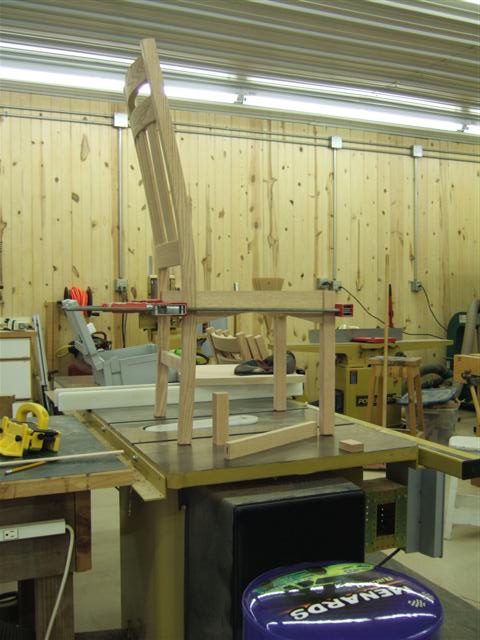
One of several dry fits prior to final glueup.(Top of page) |
|
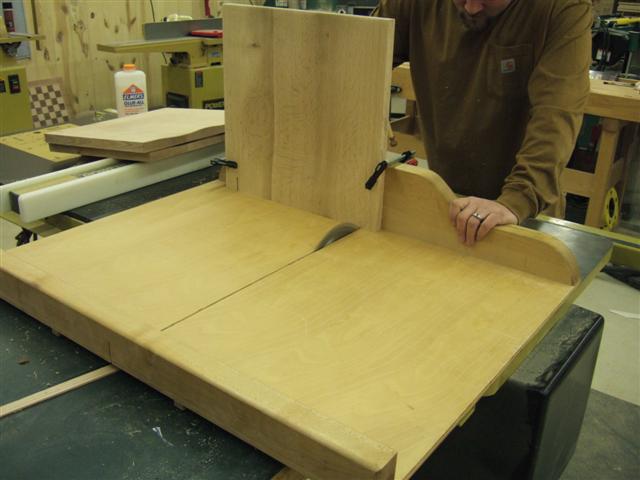
The seat is notched using the table saw sled.(Top of page) |
|
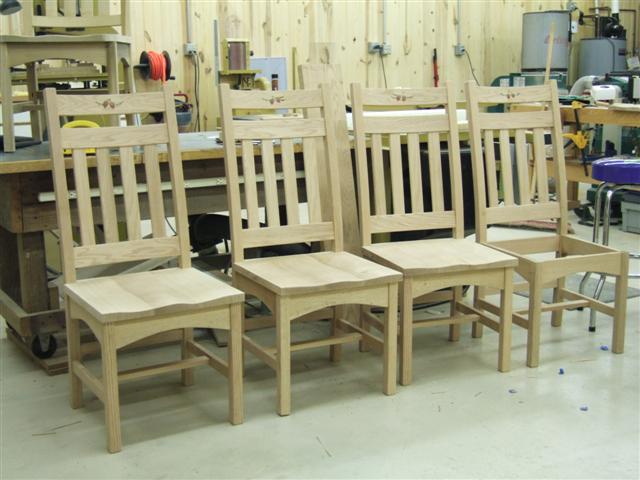
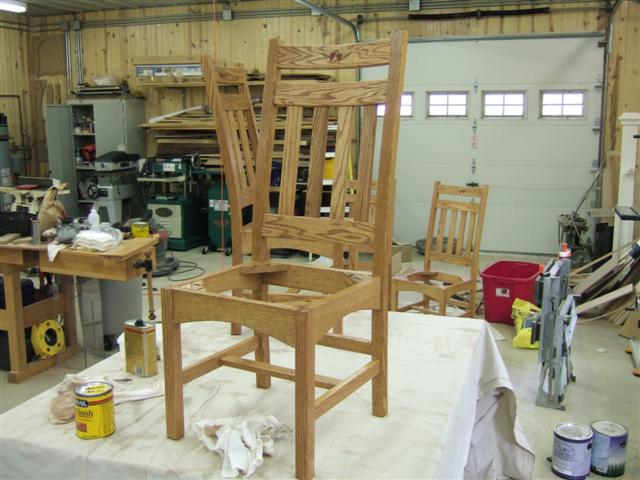
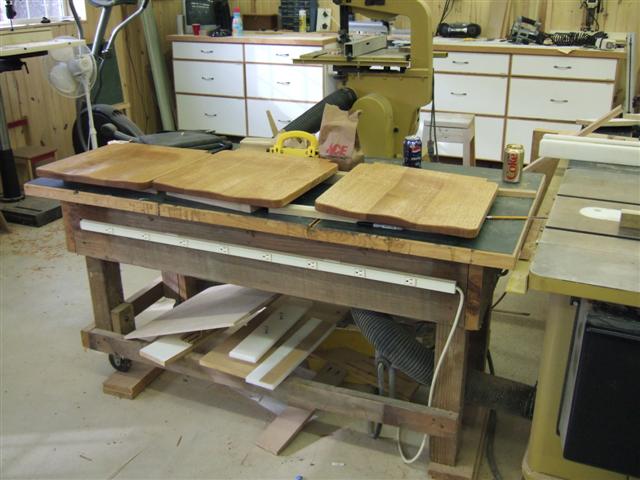
The finishing process ( Top of page) |

