 |
 |
 |
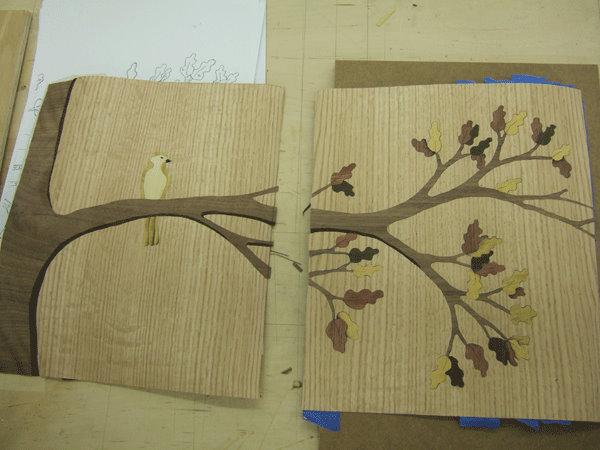
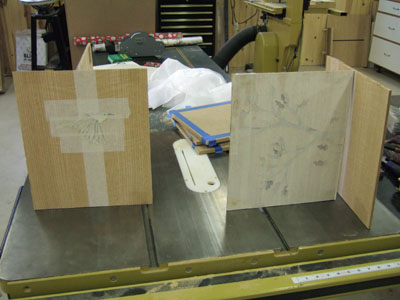
| Original photo | Line drawing | Finished Panel |
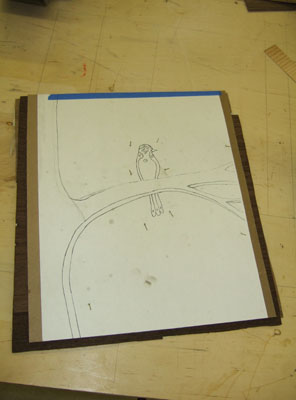 |
The marquetry panel begins with the line drawing glued to a sheet of cardboard cut slightly larger than the desired dimensions of the finished panel. This photograph is actually a few steps further into the process and shows a finished packet ready for the scroll saw. The packet consists of the top cardboard and bottom cardboard held together like a book with veneer arranged underneath. |
 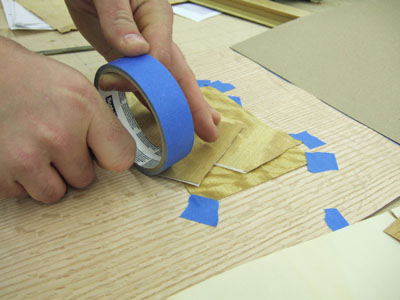 |
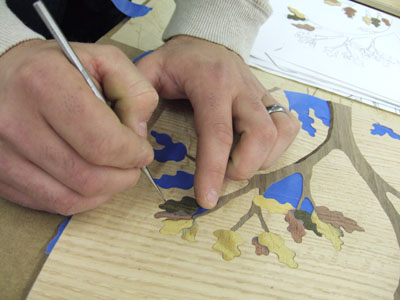
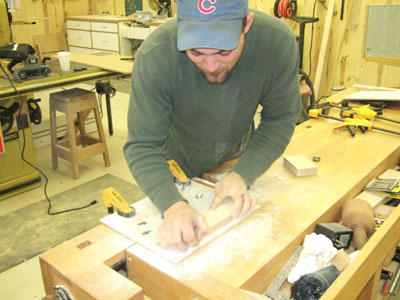
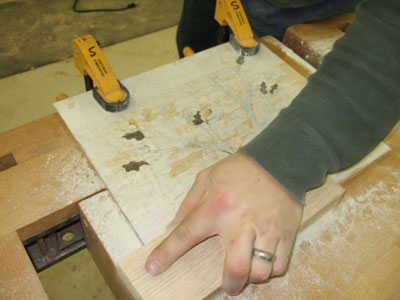
These two photos show the process of aligning small pieces of veneer directly underneath the picture and oriented in the correct way. Pictures are formed by taking advantage of veneers with different colors and also by carefully orienting the grain direction of each sheet of veneer. |
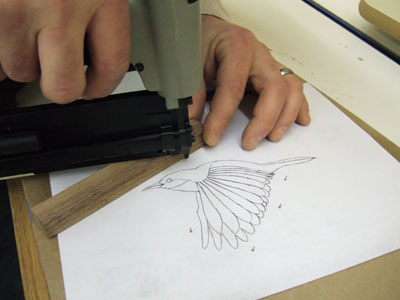 |
Here a micro pin nailer is used to insert a few pin nails through the packet to secure and unitize the packet for scroll sawing. |
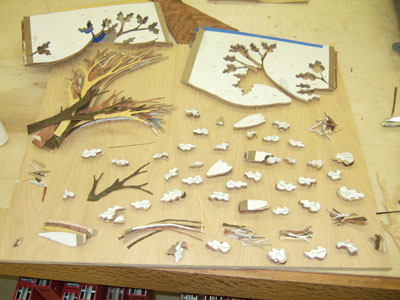  |
Each
individual element is carefully cut out with the scroll saw and each
element along with each identically cut piece of wood is carefully
stacked. Great care must be taken to ensure that every scrap
of
wood is kept until we are sure it is no longer needed. The background is then removed from the packet. |
 |
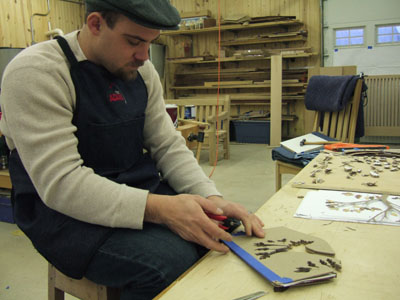
The process of assembling the picture begins with reconnecting both sides of the background with a foreground element from the picture. In this case the large branch served to connect both sides together. |
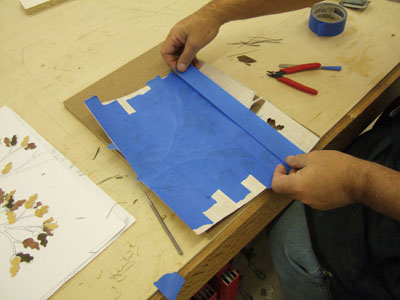 |
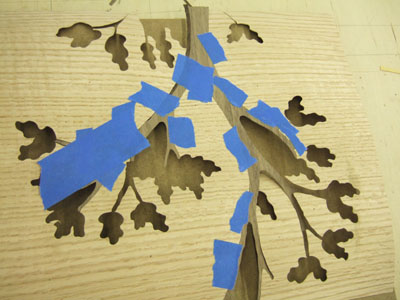
Lots of blue tape is used during this process. Here the "show side" of the picture is completely covered with blue tape. |
 |
With the "show side" covered with blue tape it is now possible to select each picture element and carefully stick it in place in the picture. When this step is completed, this entire face is completely covered with blue tape. The sheet is then turned over and the blue tape from the show side removed and replaced with veneer tape. The sheet is turned over again and the blue tape removed from the glue side (you have to see Paul's video!) |
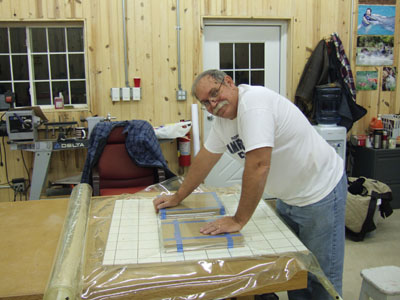 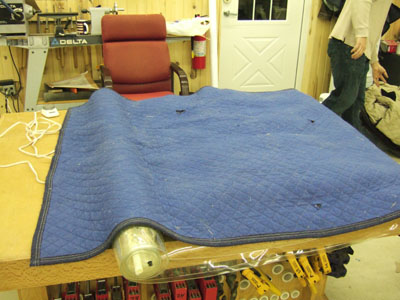  |
Here the panels are placed in the vacuum press which is
covered with a heating blanket and left to dry under vacuum over night. The next day the panels are removed from the press and stood to dry for a few hours. |
  |
A sanding block is used to begin the process of removing the veneer tape from the panel. This is a very important step because the veneers that make up the picture are not all of the exact same thickness. So sanding accomplishes two things - removing much of the veneer tape and leveling the surface. |
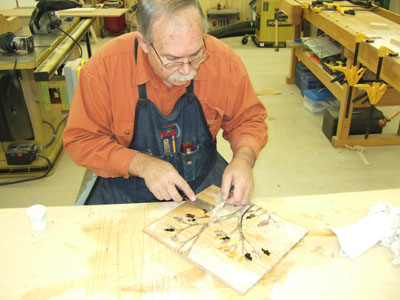 |
The final step is to throuroughly soak the face of the picture with water to let the remaining veneer tape become saturated. A very sharp putty knife is carefully used to scrape any remaining tape from the picture. |
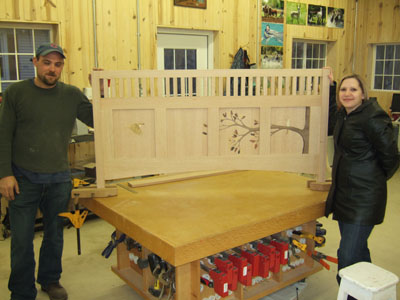 |
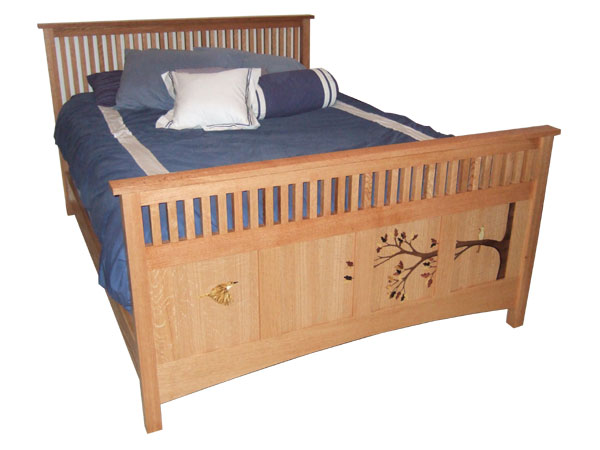
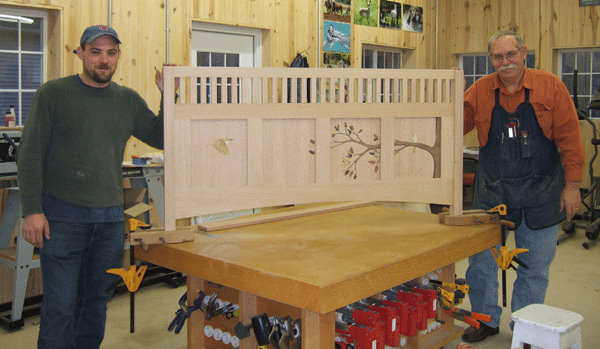
Here is my son and his wife the first time she got to see the panels installed in the nearly completed footboard. |