 |
This project began with a full size drawing. From the
full size drawing I create templates out of 3/4" MDF. You will
note that paper you see adhered to several of the templates hints at
how I do this. I take semi-transparent drawing paper and tape it
to the full size drawing for each template I need to make. I
trace the component on the semi-transparent paper as carefully and
accurately as I can. Using spray adhesive I then adhere the
tracing to an appropriately sized piece of MDF. Using the bandsaw
I cut out the shape leaving the line. Using the spindle and belt
sander, I refine the shape to get the template to exactly what appears
on the drawing. |
 |
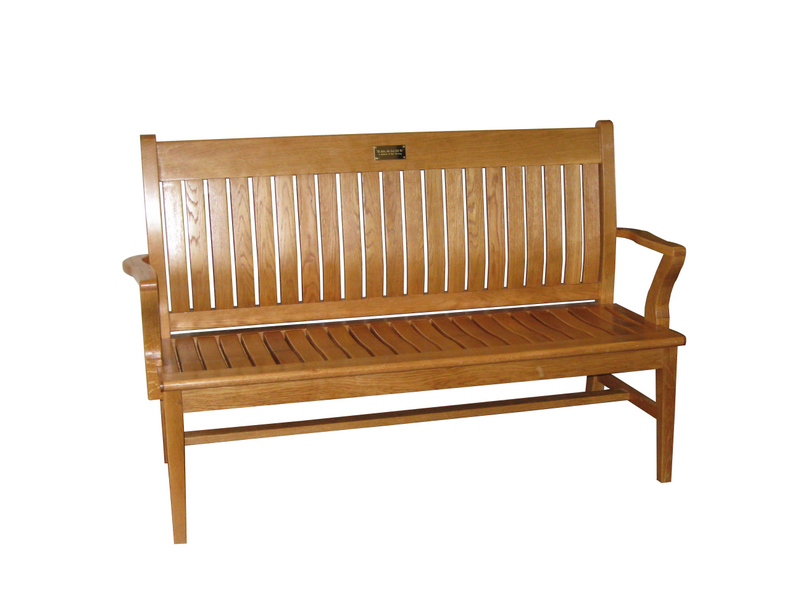
The anotomical curve in the back is absolutely key to the
bench's comfort. Reproducing this curve in each back slat was the
most challenging part of this project. |
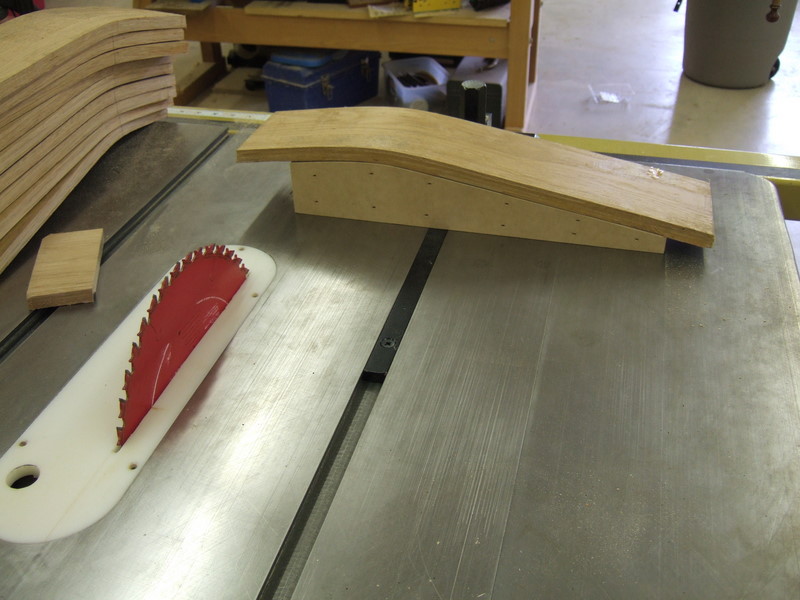 |
The back slats are made using bentwood lamination. You
can see the stack of laminations that resulted from the process.
Each glue lam will be used to eventually make two slats. The
slats are made from four 1/8" thick lamination glued with Urea-formaldehyde
glue and pressed in my vacuum press. Urea-formaldehyde glue is a
critical success factor for the bentwood lamination technique I
use. In this picture you see the double lamination sitting on a
jig I made that conforms to the exact shape of the slat that I drew on
my drawing. This process demands that each slat is consistent
with the last and that the curve precisely matches the curve of the
form used to create the laminations. Both the form and this and
other jigs have the identical curve. This particular example is
how I created the 90 degree angle at one end of the slats that is
needed to allow each slat to align properly in the back assembly.
The left side of the lamination in this photo will be the bottom of the
slats as shown in the picture just before this one. |
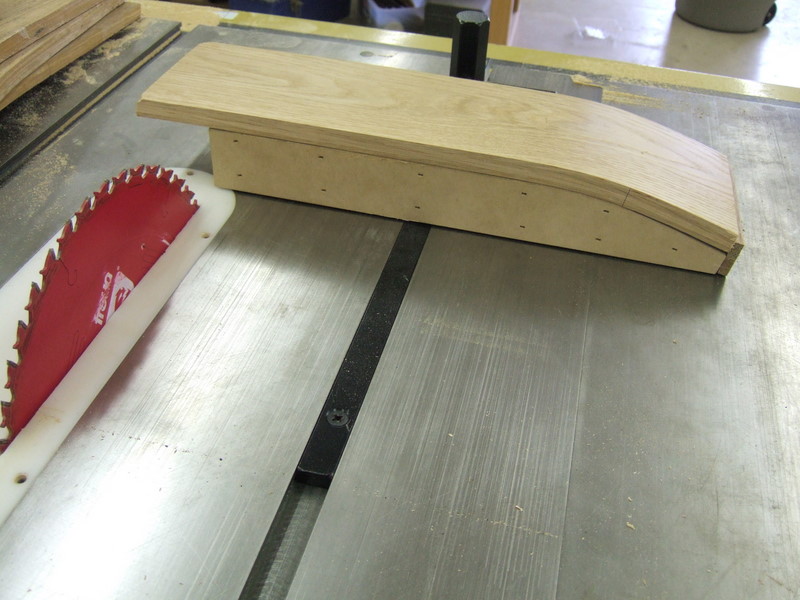 |
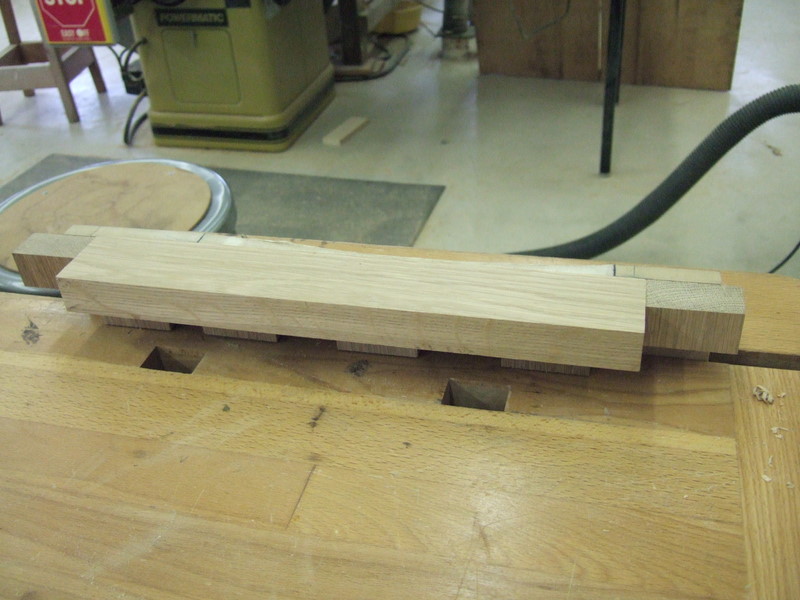
Here is the second cut I needed to make on the back
slats. Note that I created a different jig based on the same
shape but from a different relative perspective allowing me to get the
angle of the cut correct. |
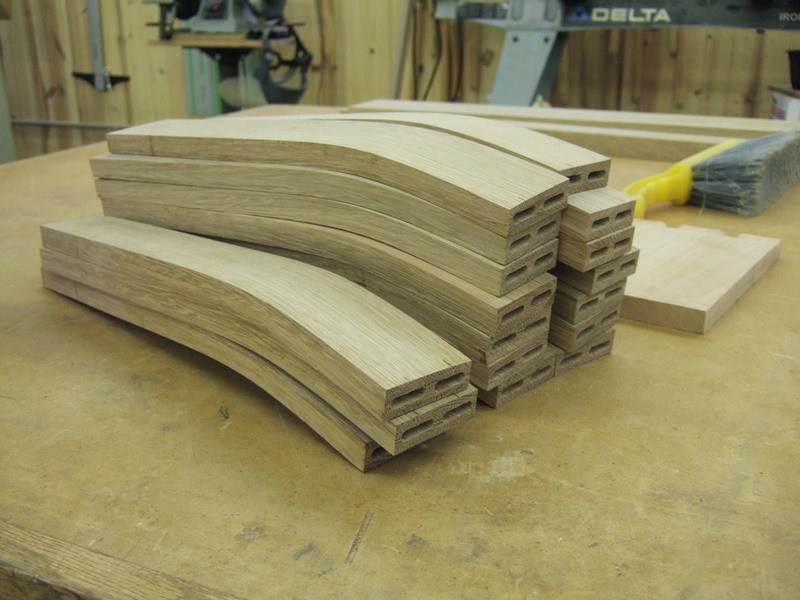 |
Here are the back laminations separated into individual slats
with the mortises cut in. The same jigs I used to cut each end of
the slats on the table saw was used as shown below to allow me to
precisely position my Festool Domino machine in the correct relative
location. |
  |
Here is one of two jigs I created to allow me to precisely
cut the mortises with the Festool Domino into the back slats. A
second jig was used in the same manner to cut the mortises in the other
end. |
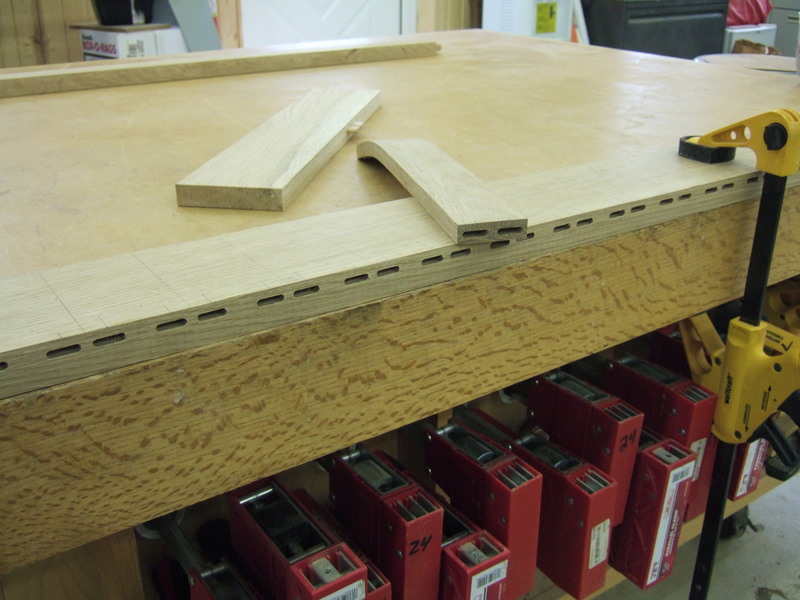 |
Here you can see the corresponding mortises cut into the top rail of the seat back. |
 |
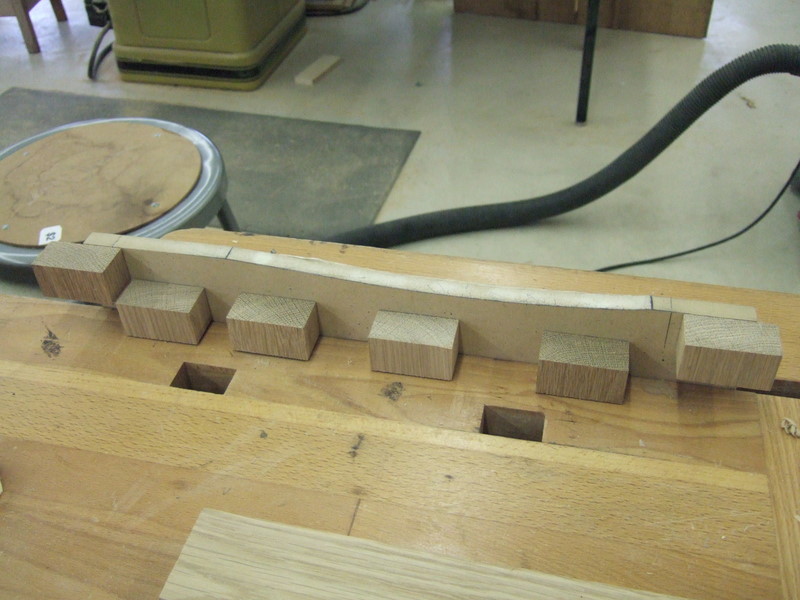
There are a total of 21 back slats, each with four mortises
for a total of 84 that I had to fit up exactly during glue up. Soft classical music and the helping hands of a good friend are essential to successfully gluing this assembly together! |
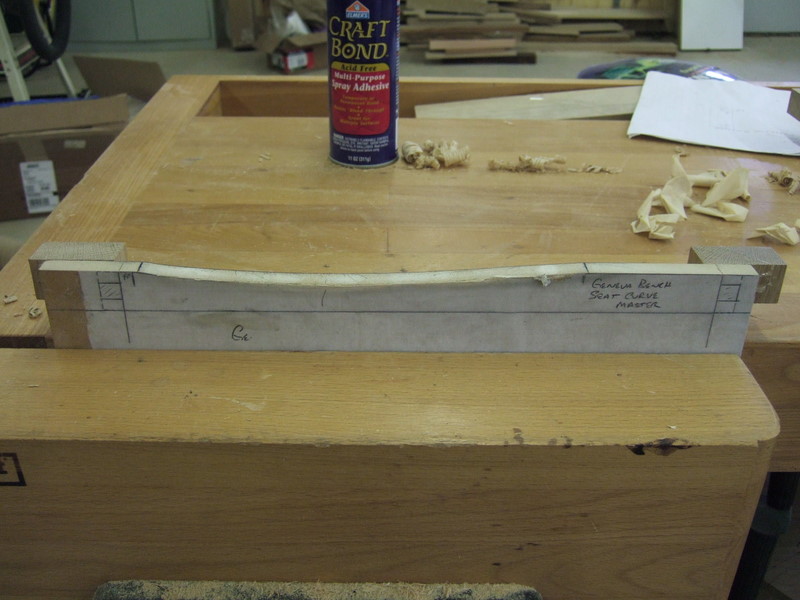   |
There is a similar curve in each of the seat slats.
Unlike the back, the seat's curve is less severe and was cut from 5/4
pieces of oak. This series of pictures shows the jig I created from the full size drawing. Believe it or not, the sole purpose of this jig is to simply draw the curve on each of the 21 seat slats. After the curve was drawn, I used the bandsaw to cut the curve leaving the line, then clamped all 21 seat slats together and sanded all the slats as a single unit. |
 |
The curves for the arm were also taken directly from the full size drawing and cut via templates. |
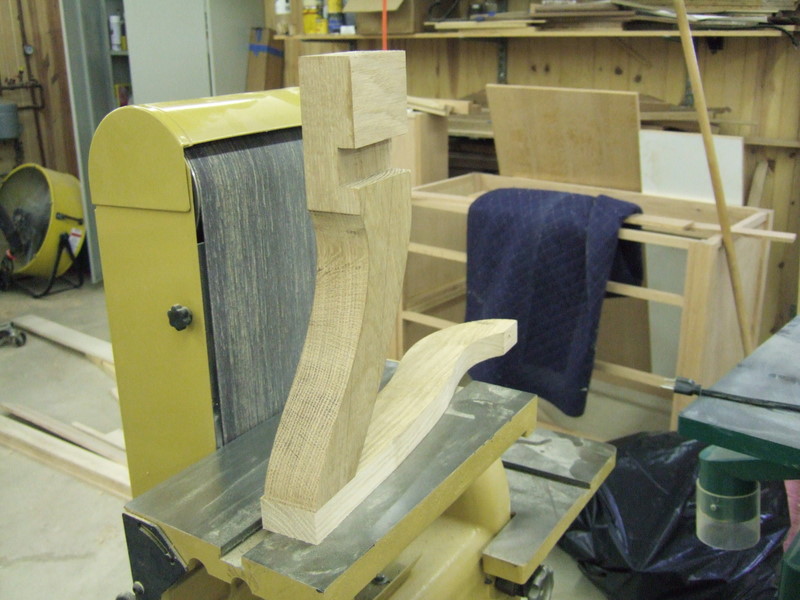 |
Here is a picture of the arm assembly before a bit of final
shaping on the belt sander. Note the dado cut into the arm
support that is positioned to fit over the seat. This was also
taken directly from the full scale drawing and actually cut before the
shape was cut into the arm support while it was still square.
Joinery of this type would be difficult if not for working from a full
size drawing and constructing templates directly from the drawing
itself. This makes it easy to transfer the exact position of
something like this dado. |
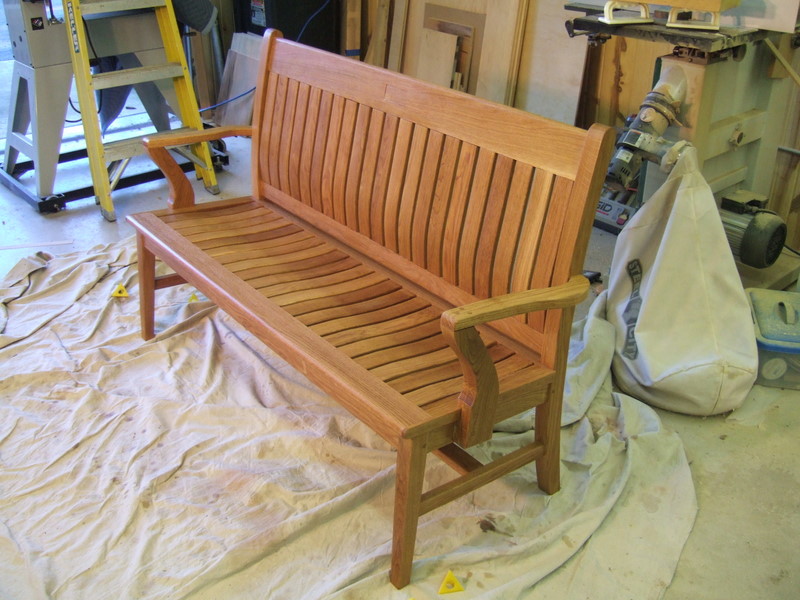 |
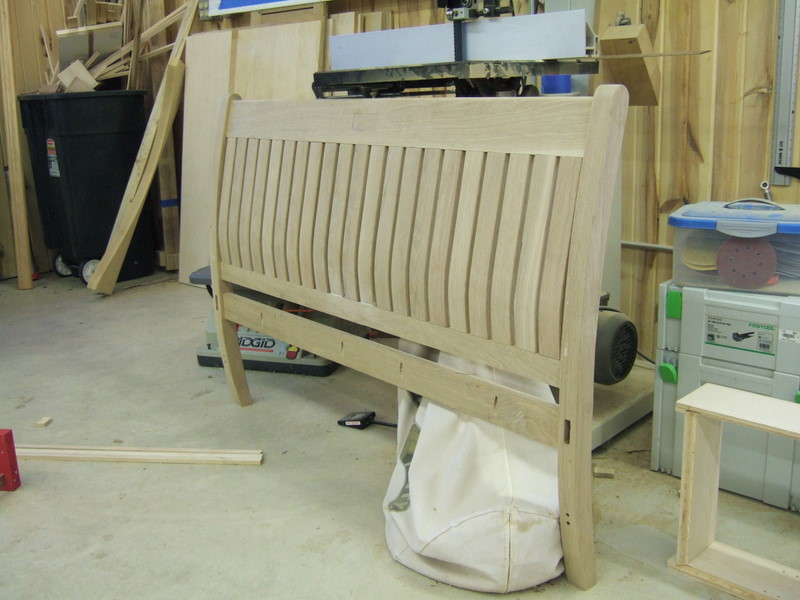
After final assembly with the stain applied and before the top coat. One final thing to note about this type of design is that the arm rests actually serve to stabilize the entire bench preventing it from racking when a person sits on the bench and leans back into the back. The pleasing curves and shape formed by this assembly masks the vital structural role the arm rests play in the design. |