 |
The
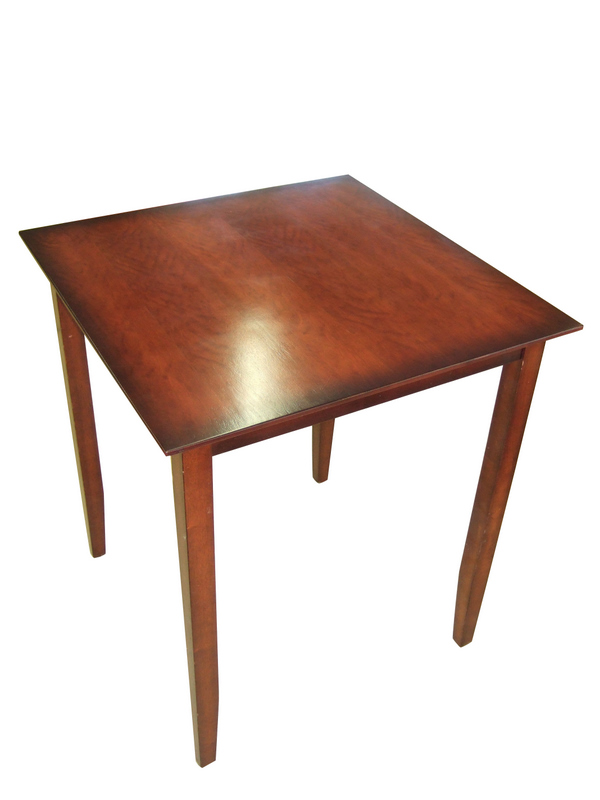
table top on this table had been destroyed by placing a plant on the
table. After watering the plant for a couple of weeks, the
container leaked and kept the top moist ruining the finish. The sequence of photos below shows how I created a new table top to match the original top. By far the most difficult part of this project was color matching the new top to make it look like the original. Notice the dark shading around the edges of the table. This was accomplished by tinting lacquer black and toning with a spray gun. |
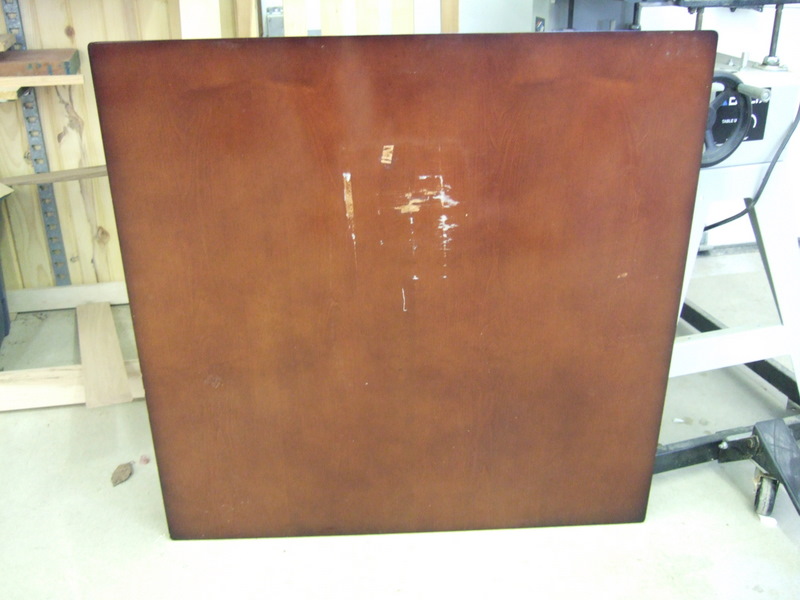 |
This
table top was ruined when a vase with flowers was placed on it and left
for several weeks. The constant moisture managed to delaminate
the veneer. I was asked if I could fix it but felt that the
damage was so extensive that I needed to construct a brand new table
top. The challenge in the project was color matching the new top as closely as possible with the old top. I wanted to salvage the legs and the rebuilt table had to match the set of four chairs that were part of the set. |
  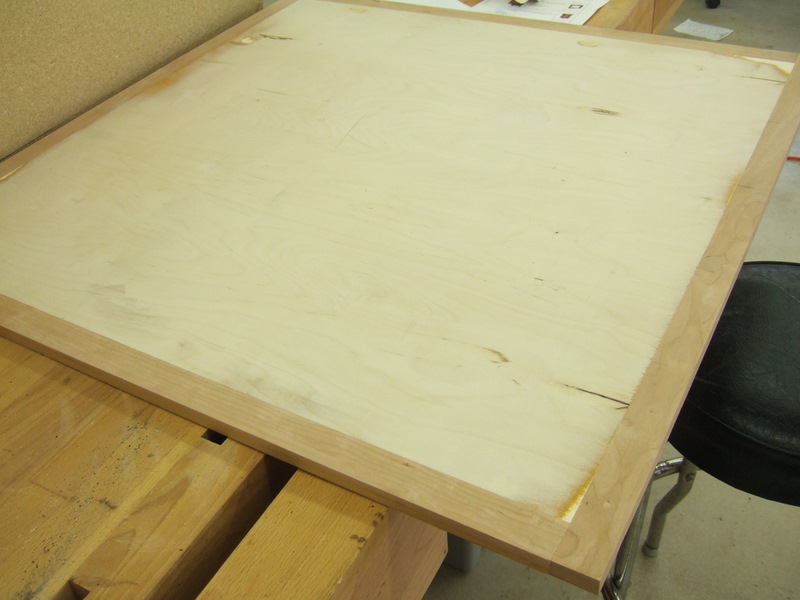 |
The
top is made from 3/4 in baltic birch plywood edged with cherry.
Baltic birch plywood is a high quality plywood that is available from
specialty lumber dealers. It is usually sold as 5 x 5 sheets or
as 4 x 8 sheets. This plywood is not cheap but is made from many
plys and has virtually no voids. |
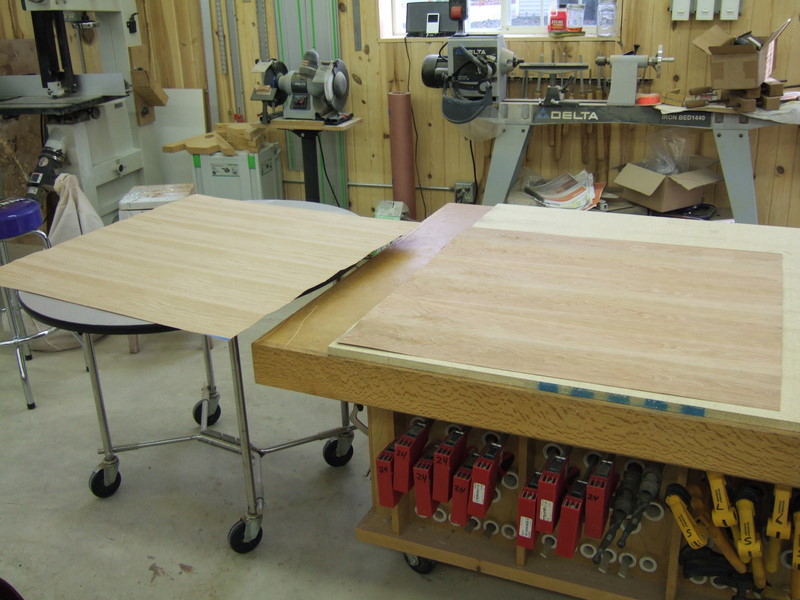 |
Here
is the veneer ready to be glued to the plywood. The veneer on the
right is cherry and the veneer on the left is oak. The oak will
be the bottom of the table and never seen. Veneering a panel
(like this table top) requires that a balancing veneer be glued on the
back. The balancing veneer evens out or distributes the stress on
the panel caused by seasonal movement of the veneer on the top. I use urea formldyhide glue for veneer work because of its long open time and exceptionally ridgid glue line. The veneer and plywood sandwich was pressed in a vacuum press. |
 |
The
process of coloring the table top involved applying two separate dyes
followed by a lacquer sealer followed by a couple of coats of
lacquer. Here you can see the TransTint dye I used. |
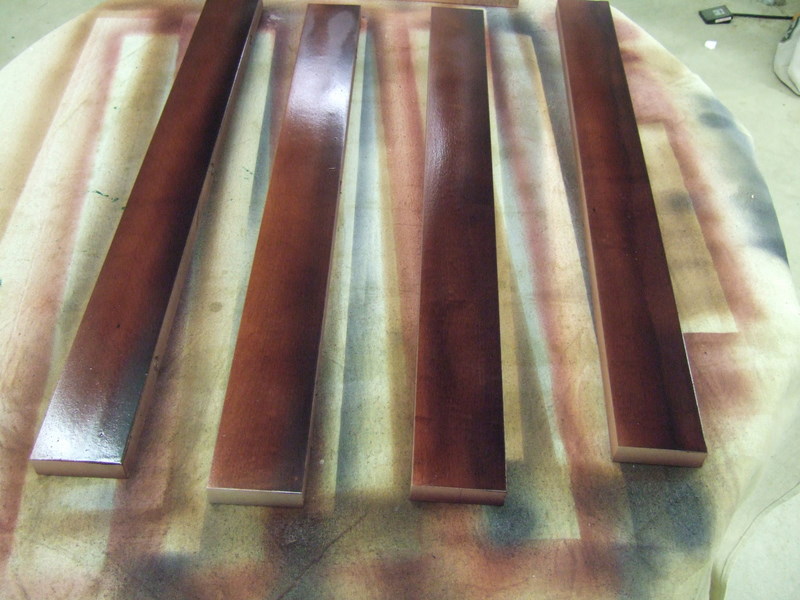 |
Here
are the table aprons which are maple. I used TransTint dyes to
color match the aprons to the table top, then made of lacquer toner by
mixing some black dye in with some lacquer. I used a small auto
touchup spray gun to apply the black toner to the edges of the apron
and the table top. |
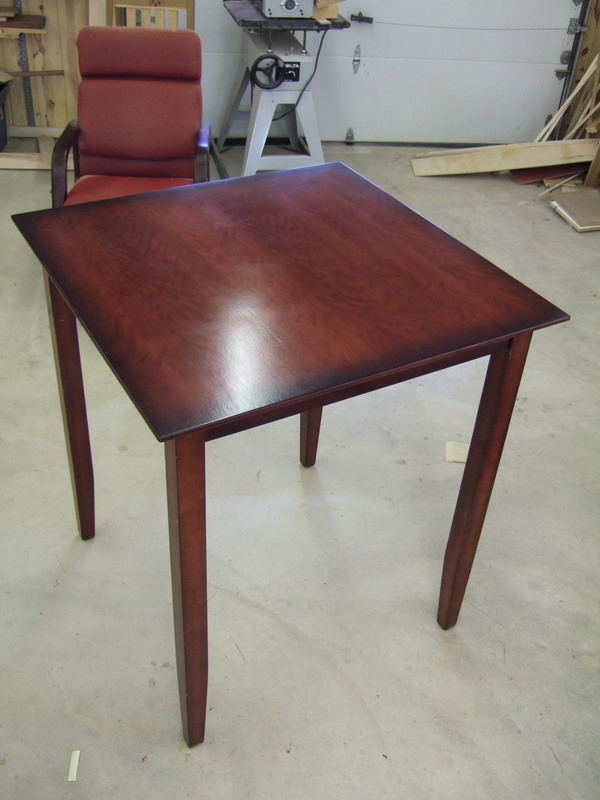 |
Here
you can see the result of applying the black toner on the edges of the
table. The combination of dyes and toner along with a lacquer top
coat allowed me to change the color of the piece to match the old
top. The grain of the cherry shows thru very nicely. |