 |
This “Krenov” style hand plane is of a genre made popular by James Krenov who believed that the hand plane was the woodworker’s violin. He felt that a properly tuned plane that a woodworker built himself was an experience in the finer side of our craft that few woodworkers experience. Krenov writes of the joy he experienced with a plane he made himself as he would “play” the surface of a fine board and be rewarded by gossamer shavings and a silky smooth surface that could never be achieved with sandpaper. The modern woodworker is seldom skilled in the art of planning wood with a hand plane, yet a plane he made himself. We are trained to use sandpaper and we know more about sandpaper than we do about planes. This was me until a few years ago when I decided that all my power tools were fine, but that I was missing a certain joy or satisfaction with my woodworking because virtually everything I did involved something plugged into the wall. |
 |
The plane starts off as a
solid block of a very hard wood. I chose
maple because I happened to
have a very nice piece in the shop.
After cutting the blank to rough size, the first step is
to slice off
two blanks about 3/8 inch thick from each side. Note the use of a cabinetmaker's triangle to keep the parts oriented correctly. Also note that I marked arrows to indicate the direction the plane should travel across the surface of the wood. These are such that as the plane is worked, the motion of the plane goes with the grain on the bottom of the sole, not against it. |
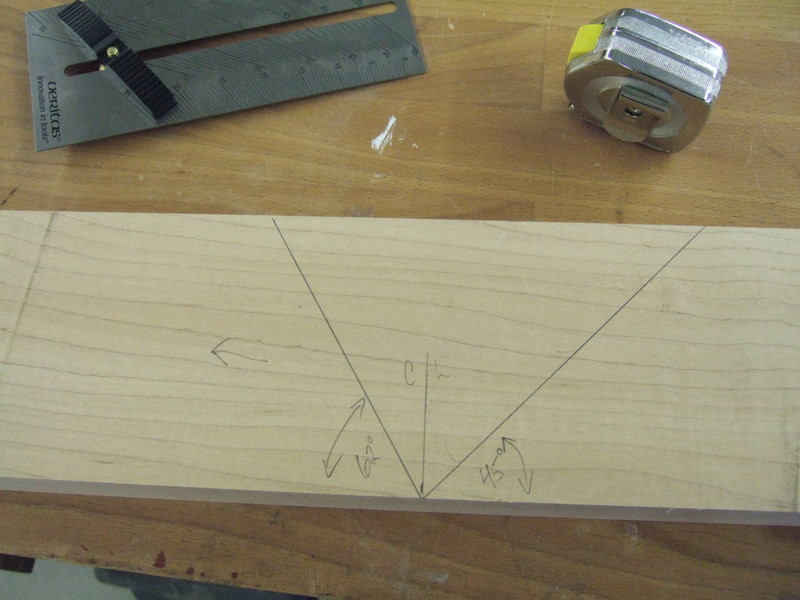 |
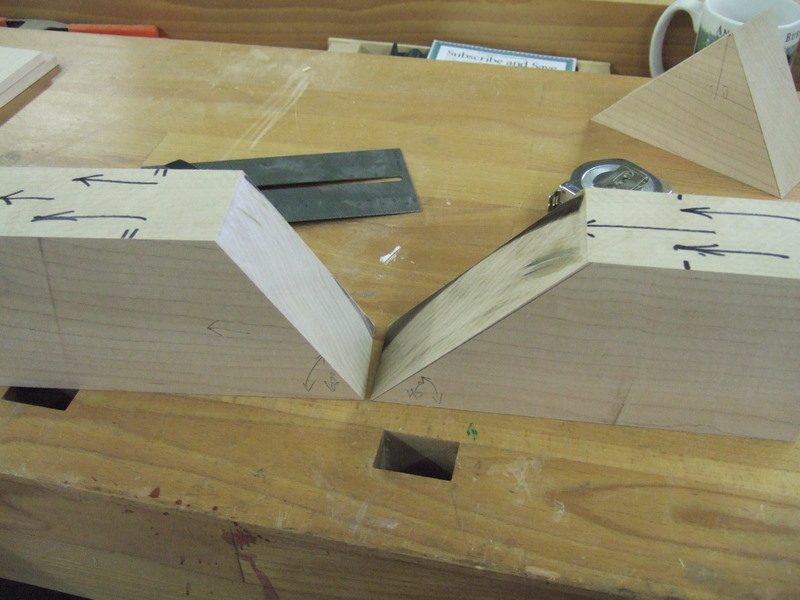
Two angles are drawn on the middle blank, sixty two degrees and forty five degrees. The plane iron will be bedded in the forty five degree side and the sixty two degree side will help form the cavity where the shavings can accumulate. |
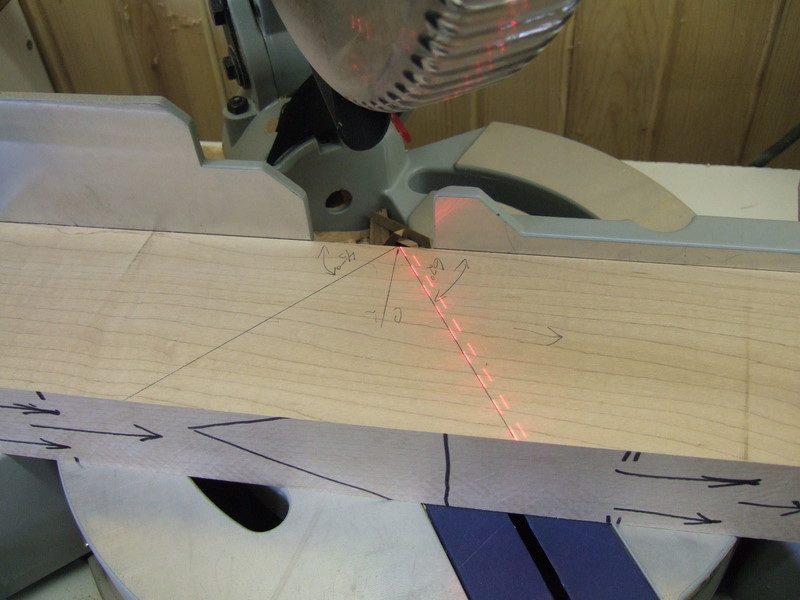  |
Using the laser on my miter
saw it is easy to accurately cut the center on the lines. |
 |
Next I used the router table
to cut a shallow grove in the 45 degree side to accomodate the screw
head that holds the blade to the chip breaker. I purchased a
blade and chip breaker specifically manufactured for use in a
Krenov-style plane from Hock Tools. |
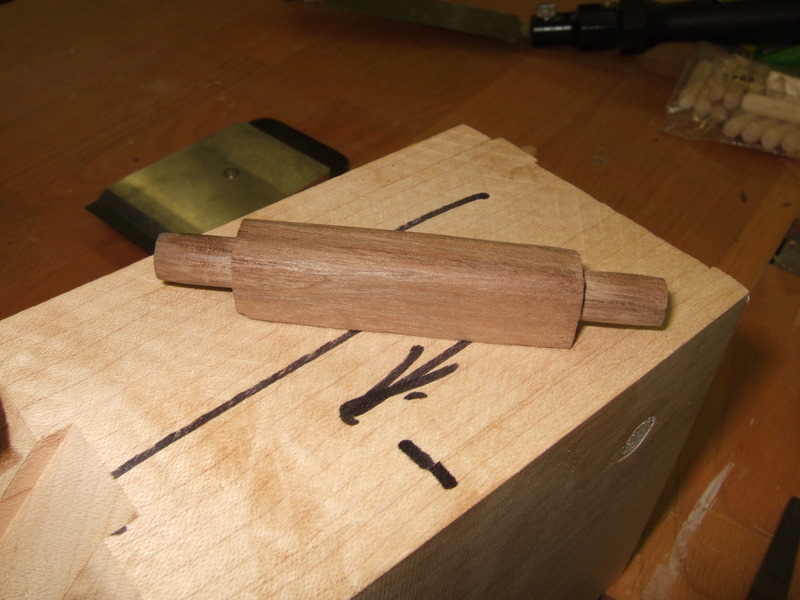 |
I made a blade holder from
Walnut and drilled holes to locate it such that with the use of a
wedge, the blade would be held firmly in place. |
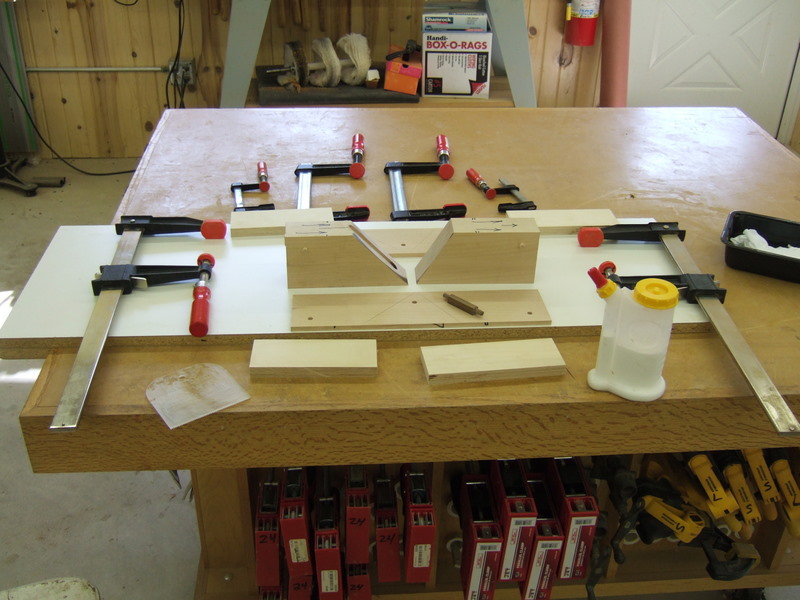 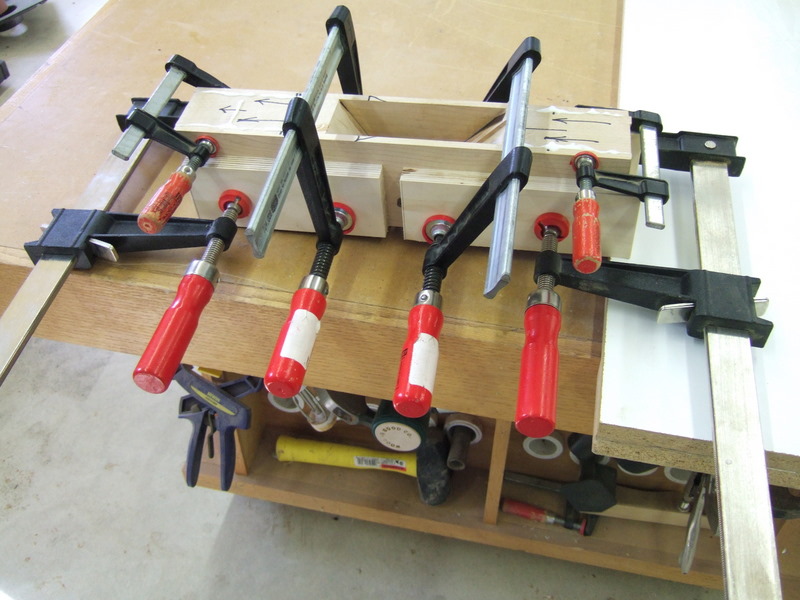 |
Here everything is layed out
just prior to glueup. Note the dowels drilled in the sides that
are used to precisely locate the sides relative to the front and back
blocks. |
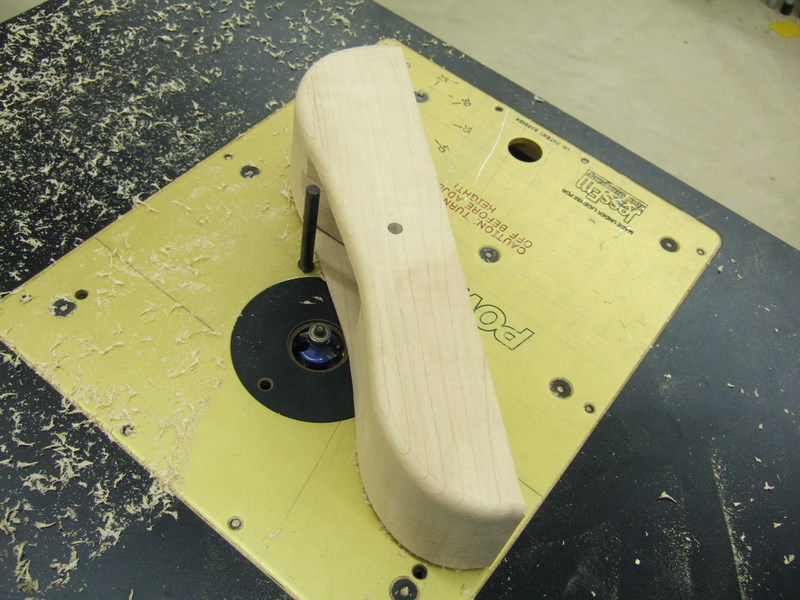 |
After the glue set I cut the
final shape on the bandsaw and here I'm easing the sharp edges on the
router table using a roundover bit. |
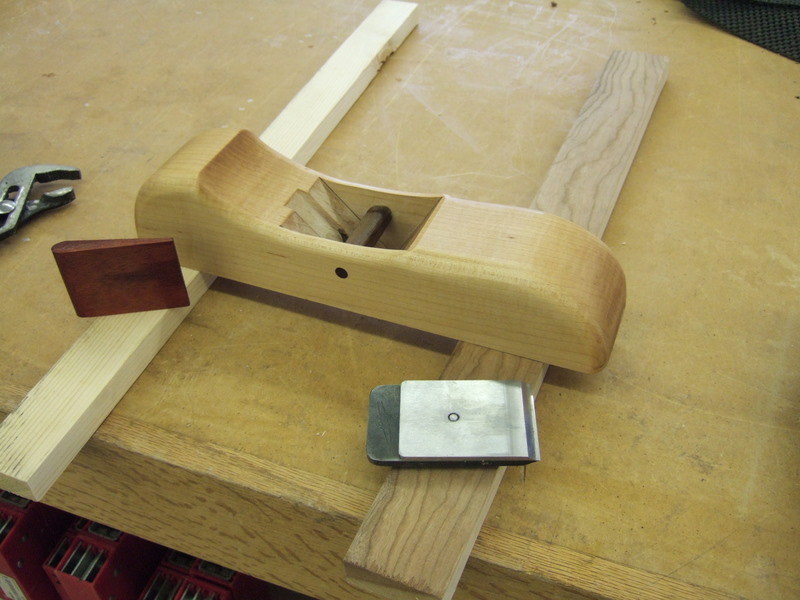 |
After applying some linseed
oil. This picture also shows the wedge I made out of bloodwood
(it looked cool and was a nice contrast) to hold the blad in place. |
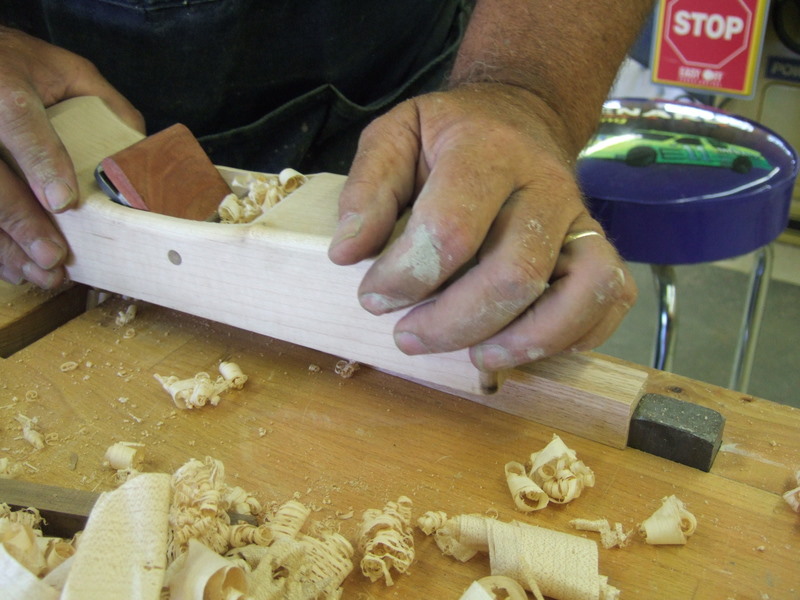 |
With a bit of fine tuning I
was able to quickly produce nice shavings. Since building this plane I find myself reaching for it more and more often. It is a pleasure to use, is less harsh on my hands than my Stanley planes, and I made it myself! |